> ## Documentation Index
> Fetch the complete documentation index at: https://help.draftable.com/llms.txt
> Use this file to discover all available pages before exploring further.
# Using docker-compose to launch instances
> Our recommendation is that users launch Draftable API Self-hosted containers via Docker Compose, as it is the most reliable and configurable method of container deployment. This article will guide you to the correct procedure to launch instances using docker-compose.
**This documentation is for API Self-Hosted Version 2 (Legacy)**
Version 2 is a legacy deployment model. All new customers **must** use Version 3, which features a modern multi-container architecture with improved security and performance.
👉 [Get started with API Self-Hosted v3](/hc/en-us/articles/51133475373465-API-Self-Hosted-v3-Quick-Start-Guide)
## docker-compose
Docker Compose is a tool that was developed to help define and share multi-container applications. With Docker Compose, you can create a YAML file to define all the services and settings of a Draftable Self-hosted instance, and then with a single command launch everything up or deactivate a instance.
Read more about Docker Compose here: [https://docs.docker.com/compose/](https://docs.docker.com/compose/)
For more configurations and settings using Docker Compose, please refer to the [docker compose configuration guide](/hc/en-us/articles/6140653011865-Understanding-the-docker-compose-yml-file-and-parameters-guide).
## Before you start
If using a local windows 10 machine for testing purposes, ensure that you have installed Docker desktop (Community Edition or Enterprise Edition). If however you are using a Linux based server however, please ensure that you have the latest docker engine installed and docker-compose also installed on that operating system.
## Launching a new instance via docker-compose
Retrieve the latest Draftable API Self-hosted release.
* This can be done via the terminal on the local machine with the following command:\
docker pull draftable/apish:latest
Create a YAML file titled "docker-compose.yml" on your local machine.\
**Note:** If you are using windows and need further clarification, please see the example [here](#example-setting-up-docker-compose-directory-using-windows) for further direction.
Populate the YAML file with your Self-hosted configuration. Basic configuration is as follows; comments are in **bold.** You can copy paste this configuration into your own docker-compose file for testing purposes. Alternatively, here is a [link to the same file.](https://draftable.sharepoint.com/:u:/g/EST4jJmRv9xIn_q9LVtBs6cBMjcuTTGGHcIWQe3QTT_xhQ?e=4dWPBB)
```bash theme={null}
version: '3.5'
services:
apish: #Name of the service being used
environment: #Enviroment settings for the appliance
DRAFTABLE_APISH_NGINX: |-
image: draftable/apish #Select which image is to be used on your appliance
ports:
- 80:80/tcp # HTTP port settings
- 0.0.0.0:8440:443/tcp # HTTPS port settings
volumes: #Configure which volumes will be used for your appliance
- draftable-apish:/srv/draftable
- /sys/fs/cgroup:/sys/fs/cgroup
volumes: #Configuration for volumes used, settings should match above
draftable-apish:
```
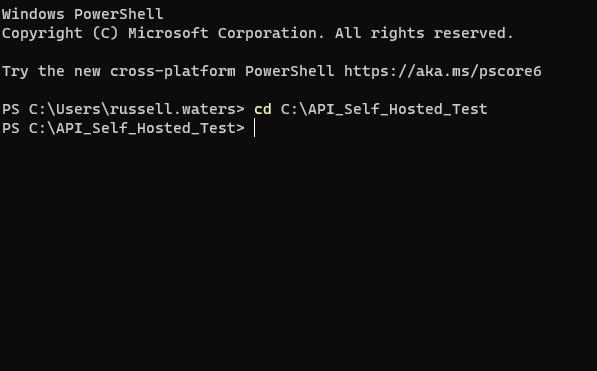
Go to your terminal and navigate to directory which hosts the location of your docker-compose YAML file.
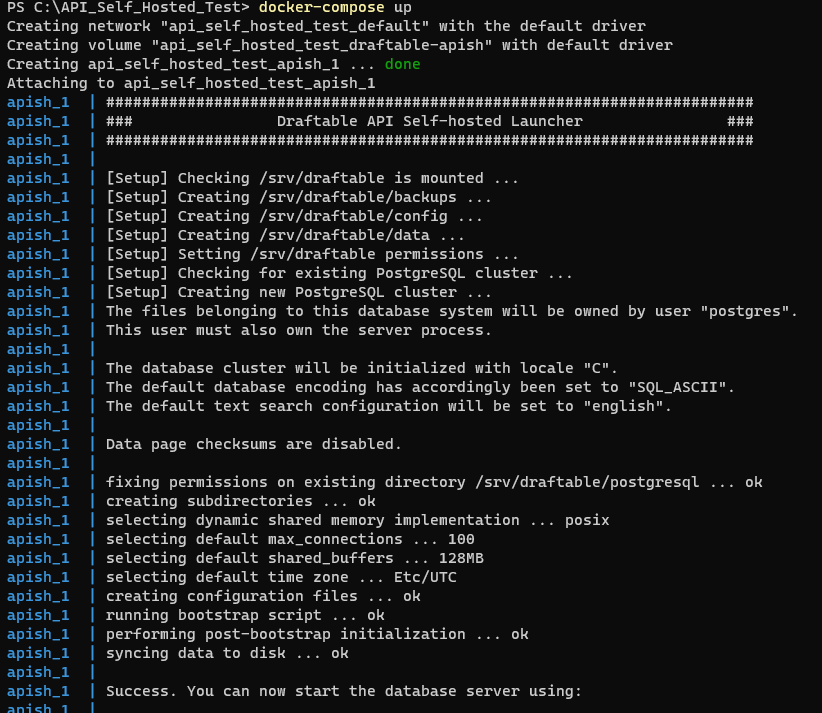
 Start building your instance by invoking the command:
* `docker-compose up`
Start building your instance by invoking the command:
* `docker-compose up`
 Your instance will now be running, and to start using it navigate to the instance in a browser based on your port configurations. If you are setting up your instance for the first time, please refer to this article [here](/hc/en-us/articles/8424839618457-Draftable-Self-hosted-instance-first-time-configuration).
## Making changes to your YAML
If you ever need to make changes to your instance, you can simply edit the "docker-compose.yml" file, then restart the server. The restart process is as follows.
```
docker-compose down
```
```
docker-compose up
```
## Example setting up Docker Compose directory (using Windows)
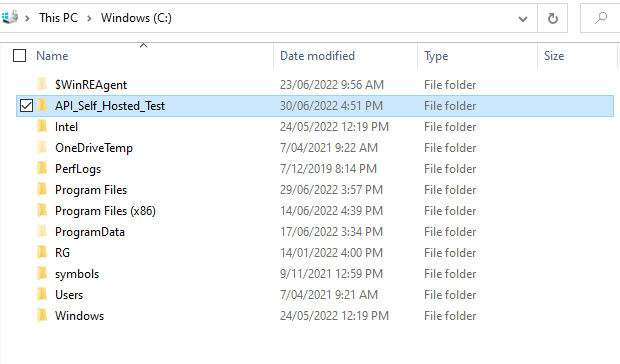
Create a directory on your system where you will wish to host the docker-compose YAML file (docker-compose.yml). In the below example I am using a windows 10 and am creating a new location to host my YAML file called "API\_Self\_Hosted\_Test".
Your instance will now be running, and to start using it navigate to the instance in a browser based on your port configurations. If you are setting up your instance for the first time, please refer to this article [here](/hc/en-us/articles/8424839618457-Draftable-Self-hosted-instance-first-time-configuration).
## Making changes to your YAML
If you ever need to make changes to your instance, you can simply edit the "docker-compose.yml" file, then restart the server. The restart process is as follows.
```
docker-compose down
```
```
docker-compose up
```
## Example setting up Docker Compose directory (using Windows)
Create a directory on your system where you will wish to host the docker-compose YAML file (docker-compose.yml). In the below example I am using a windows 10 and am creating a new location to host my YAML file called "API\_Self\_Hosted\_Test".
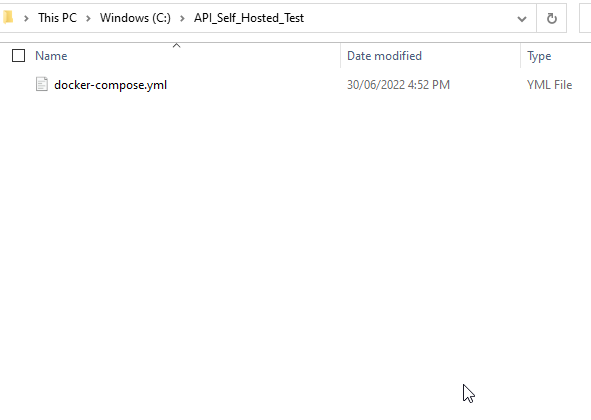
 Create and configure the docker compose file, this file will be all the parameters that dictate the configuration of your instance. Remember you **must** name your file as "docker-compose.yml" otherwise docker-compose will not function correctly.