Running a Linux virtual machine with Docker Compose remains our best-supported approach on Azure. For a v3 deployment, follow the API Self-Hosted v3 Docker Compose Guide for the container configuration — the Azure setup steps below still apply, but the Docker Compose file and image names on this page are Version 2 and should not be used for a new deployment.Azure Kubernetes Service (AKS) also works. Because Draftable has no Azure Blob Storage backend, an AKS deployment requires a shared network file share rather than object storage, which carries a real performance cost for documents containing large numbers of embedded objects. If you are committed to AKS, see the Azure AKS Deployment Guide, which sets out the measured trade-offs and the support boundaries before you commit to that platform.See
FILE_STORAGE_TYPE for the supported storage backends.Stage 1: Configuring the Azure environment
Many components need to be ready before configuring the virtual machine and setting up the container. You may already have some of these configured, so skip any steps that are already complete.Resource group
Ensure you have a resource group configured so that Azure resources can be allocated to it as they are created.1
Click Create to create a resource group, give it a name, and complete the setup.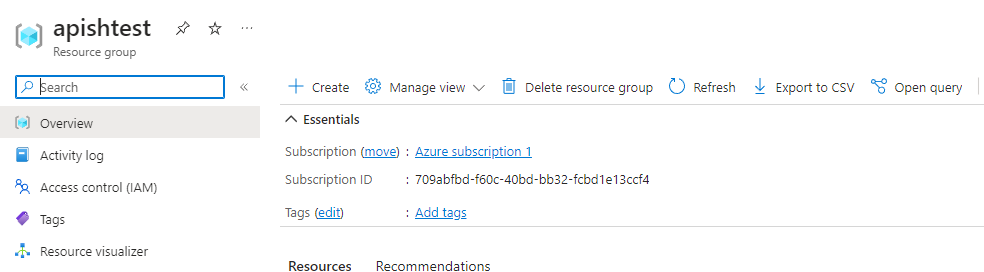
Managed identity
You will need a managed identity for the Key Vault process.1
Click Create to create the managed identity, give it a name, and complete the setup.
Key Vault
Create a Key Vault to store keys, secrets, access policies, and certificates.1
Click Create to create the Key Vault, give it a name, and complete the setup.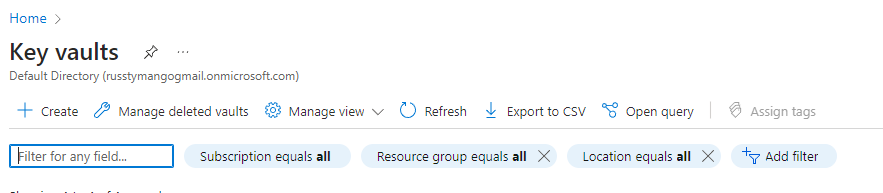
Keys
1
Select Generate/Import and give the key a name. No additional setup is required.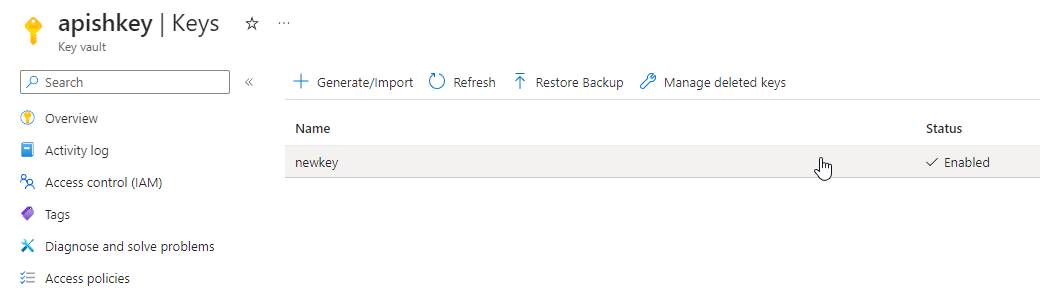
Secrets
1
Select Generate/Import and give the secret a name. No additional setup is required.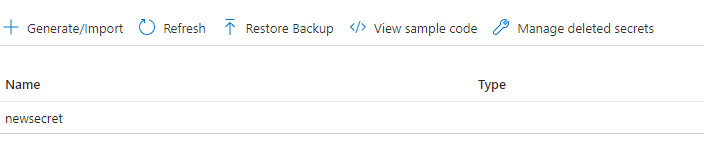
Access policies
1
Select Create to begin creating an access policy.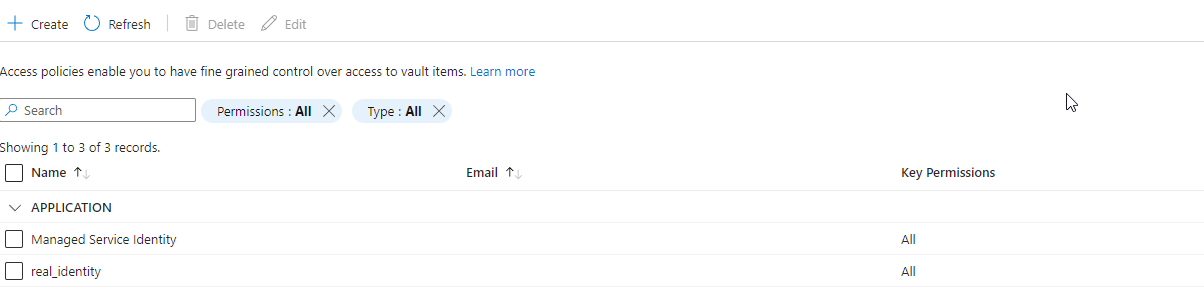
2
Assign permissions to the policy. The Key, Secret, and Certificate management permissions are all required. You can select all permissions depending on your use case.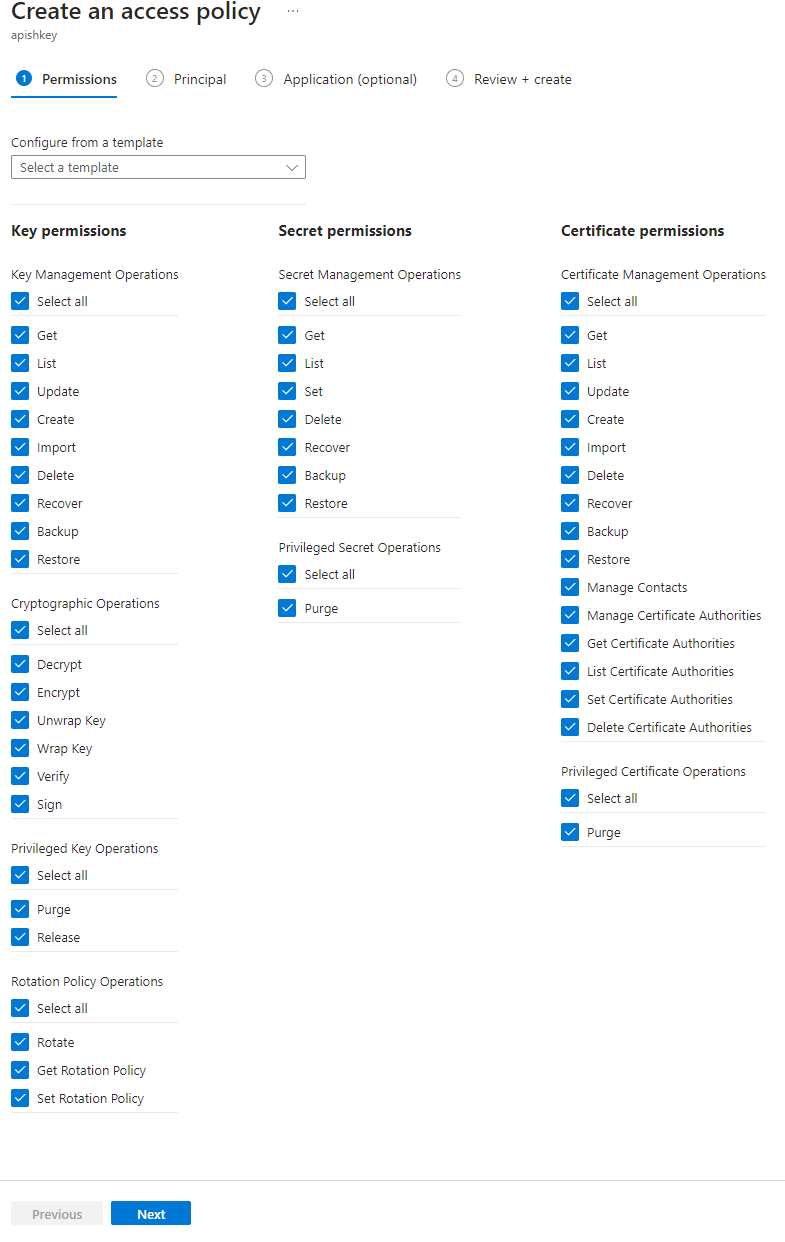
3
Assign the managed identity you created earlier as the principal. Search for the identity name and select it.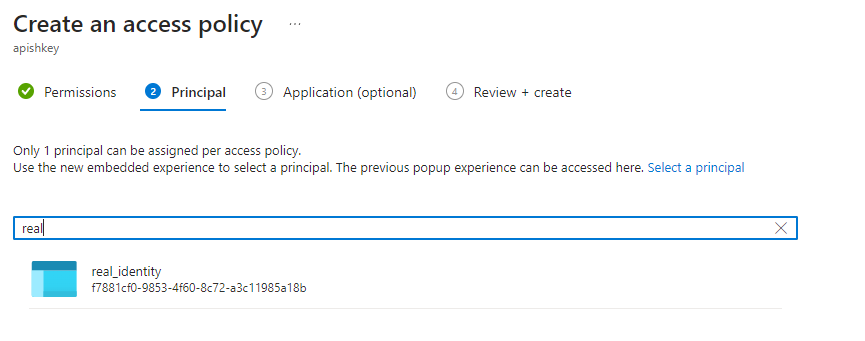
4
Skip the optional Application step and proceed to create the access policy.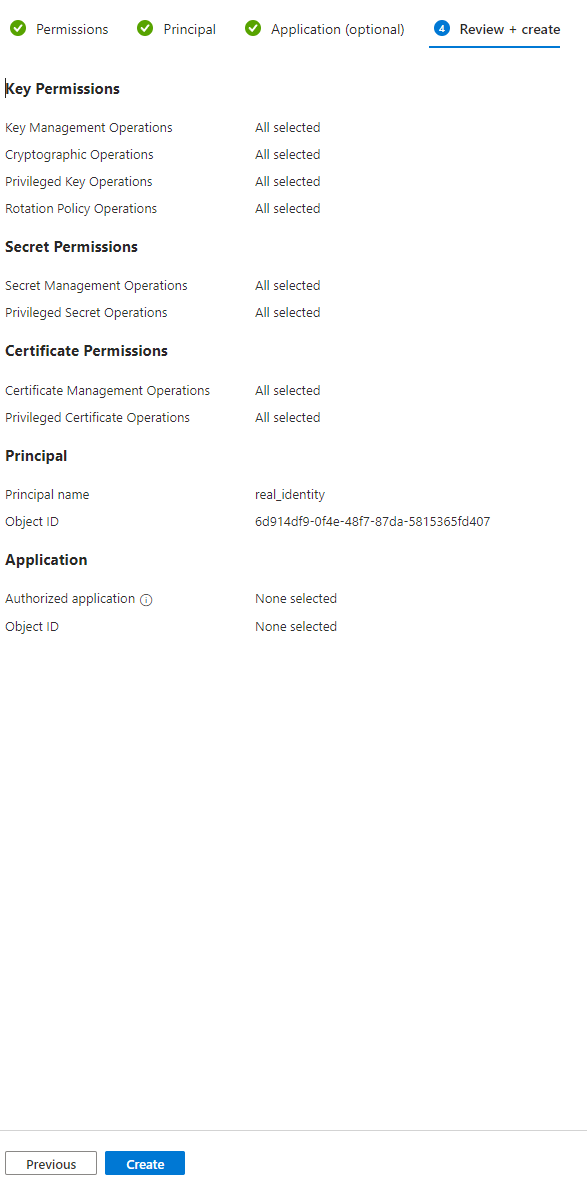
5
Review the information, and if correct, select Create.
Certificates
1
Select Generate/Import to begin adding your certificate.
2
You have two methods for certificate setup:Generate a certificate: Fill in the required fields, noting the Subject field which is important for configuring a CN.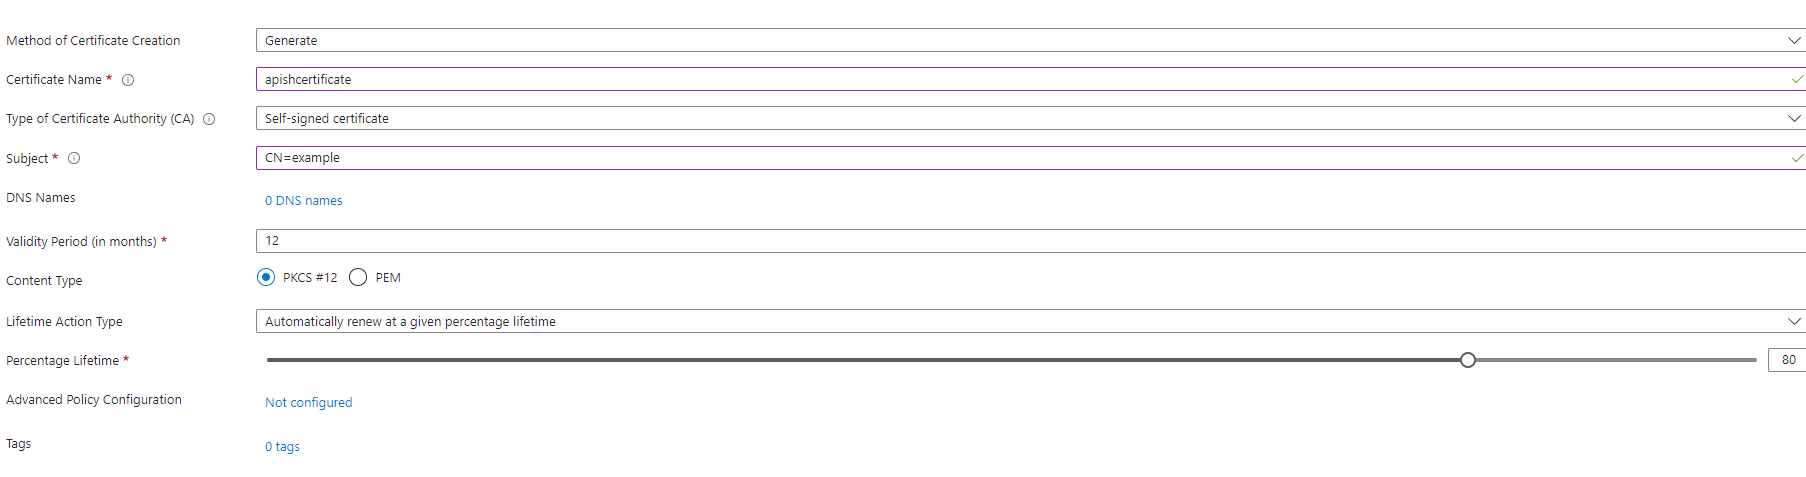

Stage 2: Setting up the virtual machine
1
Select Create in the Virtual Machine section of Azure to begin.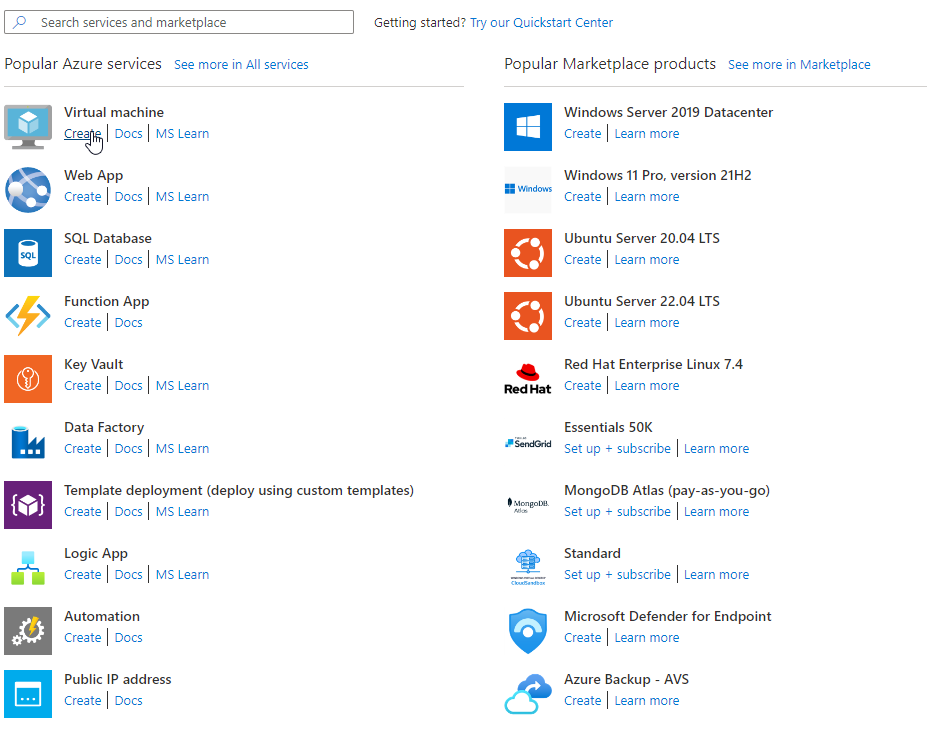
2
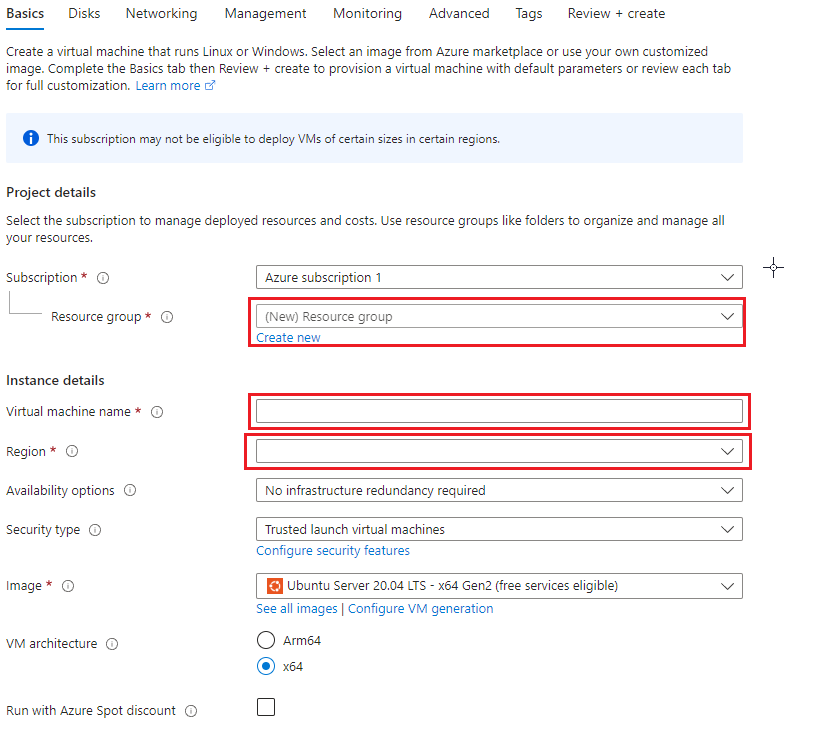
In the Basics tab, configure the following: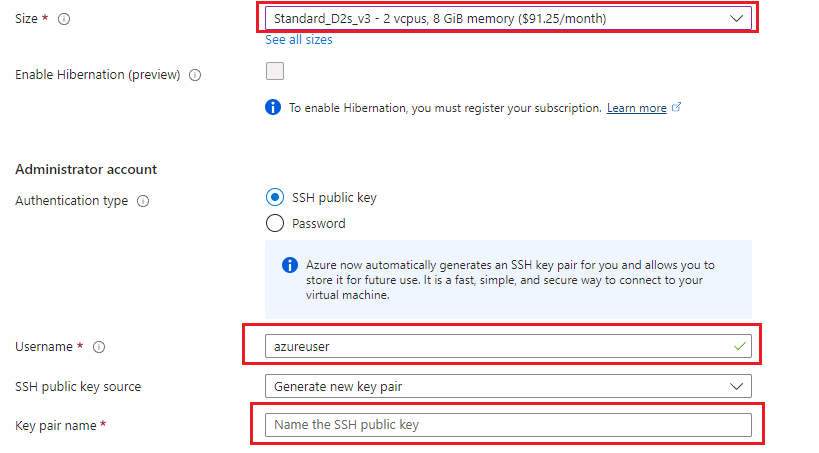
- Resource group — Select your existing resource group or the one created earlier
- Image — We recommend Ubuntu
- Name — Provide a name for the virtual machine
- Region — Set the region where the machine will be hosted
3
For the Size, ensure you select at least Standard_D2s_V3. Choosing a smaller size will cause the instance to fail due to lack of resources. The Username and Key pair name should auto-fill, but provide names for these if needed.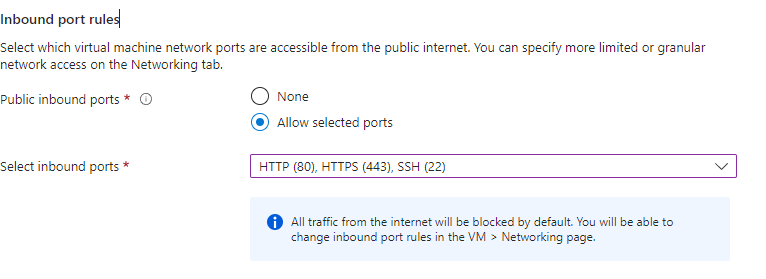
4
Configure your ports. This depends on your use case, but a typical setup includes: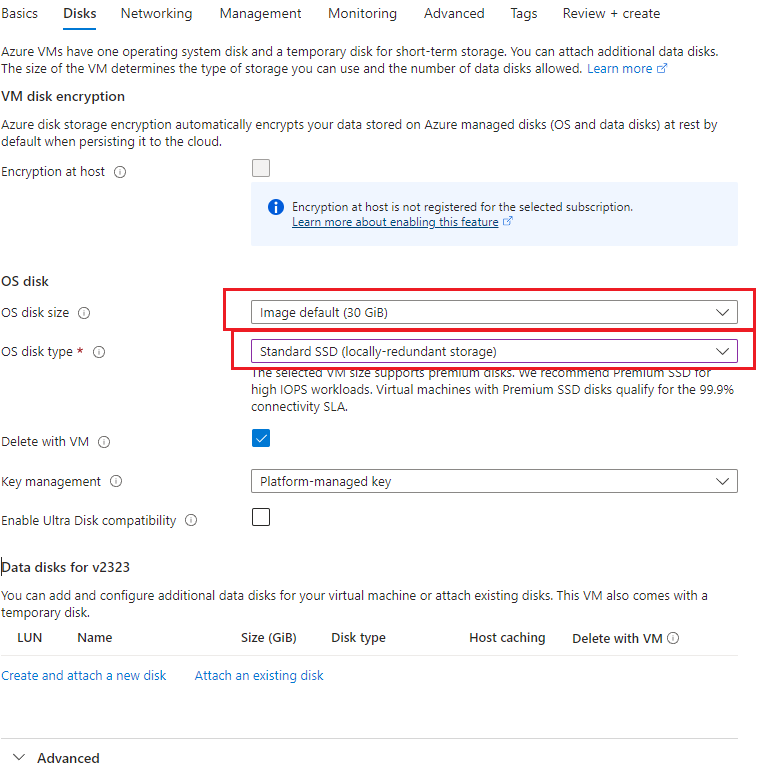
- Port 80 (HTTP)
- Port 443 (HTTPS)
- Port 22 (SSH)
5
Configure the OS disk size and disk type: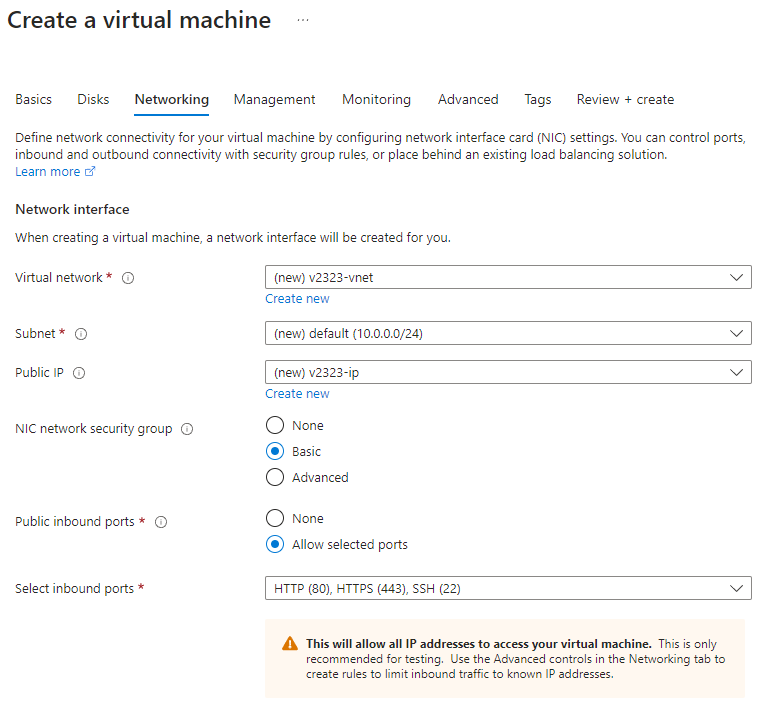
- Disk size — At least 30 GiB (scale to your use case)
- Disk type — We recommend Standard SSD
6
We recommend creating new resources for the Virtual network, Subnet, and Public IP, unless you wish to use existing resources.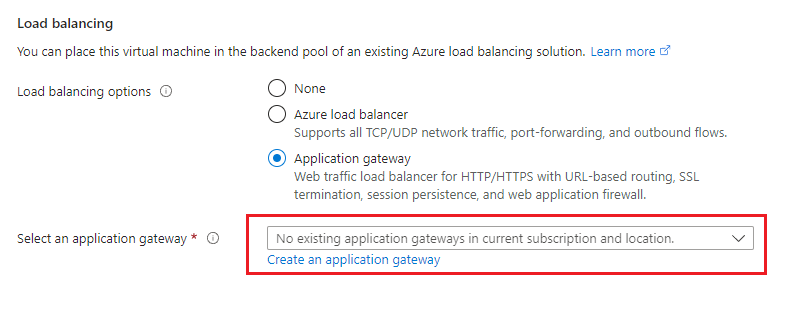
7
For load balancing, select Application Gateway — this will act as a load balancer and allow you to use the custom certificates configured earlier. Select Application Gateway, then choose Create an application gateway.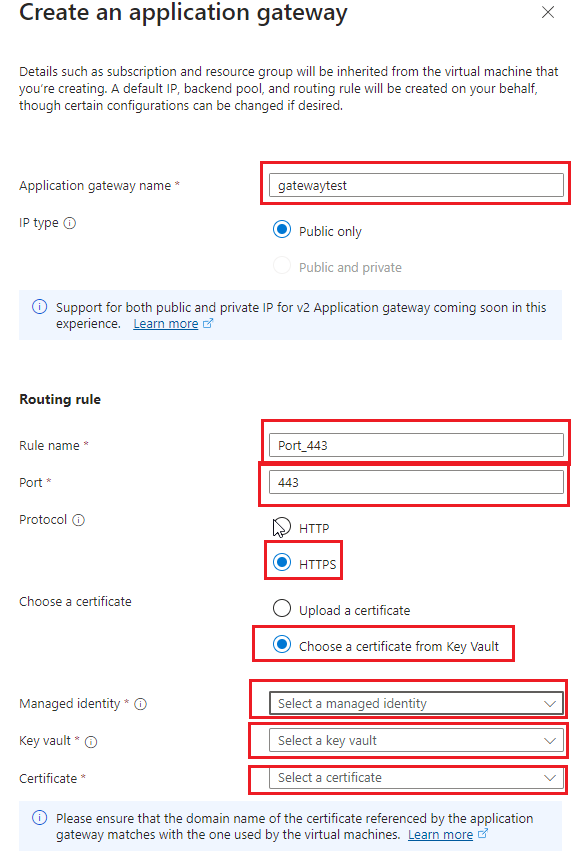
- Provide a name for the gateway
- Set the port to 443
- Set the Protocol to HTTPS
- For Choose a certificate, select Choose a certificate from Key Vault
- Select the relevant Managed identity, Key vault, and Certificate
- Click Create
8
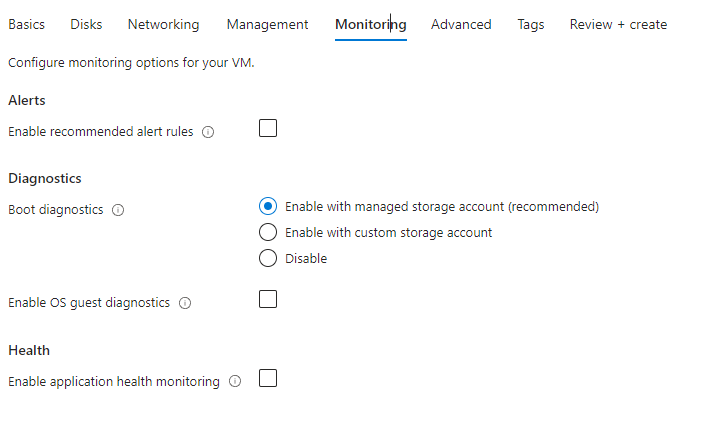
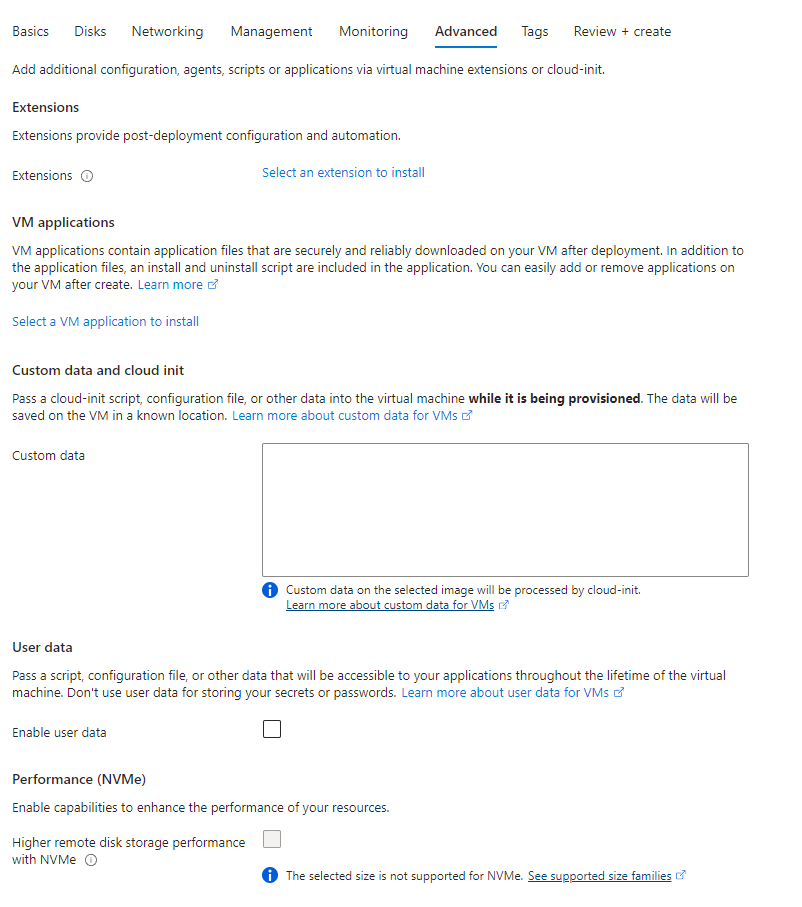
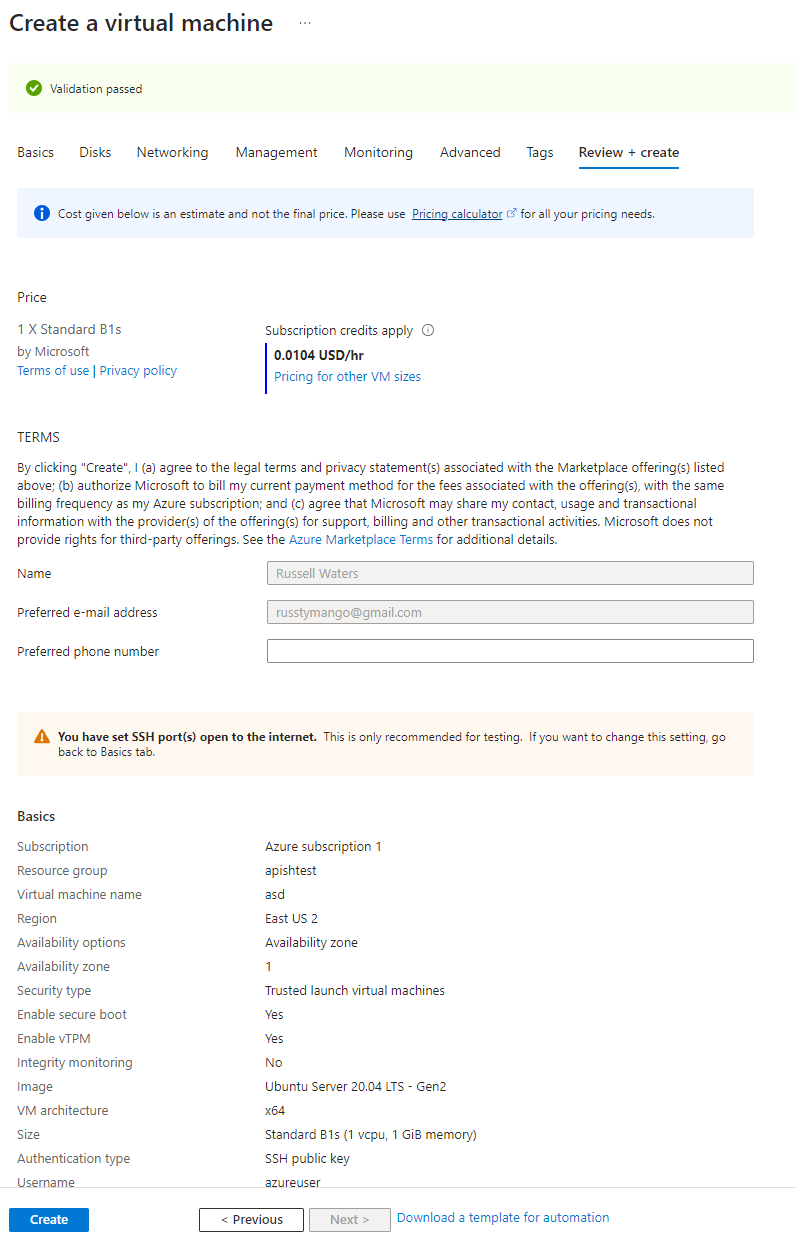
There is no required configuration in the Management, Advanced, or Tags tabs (default settings are shown below). You can configure settings here as needed.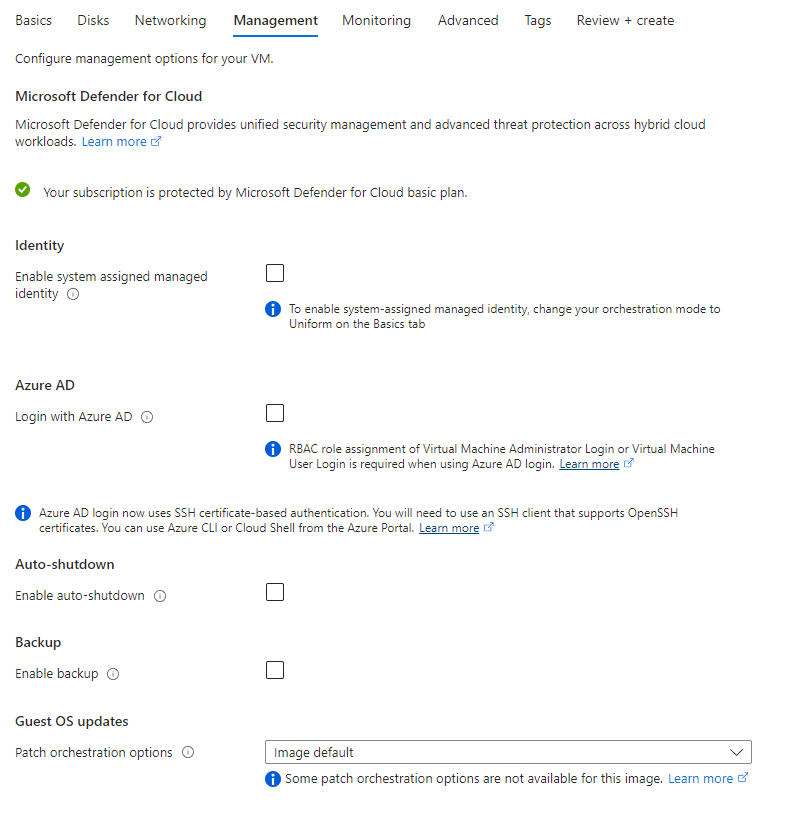
9
In the Review + Create tab, verify all the settings and confirm the validation check has passed. If everything is correct, select Create to begin deployment.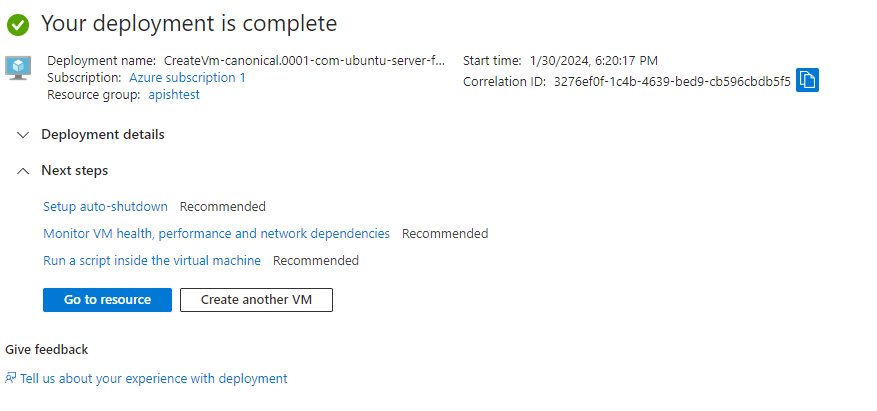
Stage 3: Configuring the virtual machine and launching the container
Connecting to the virtual machine
1
Once the virtual machine is running, click Connect and select SSH using Azure CLI.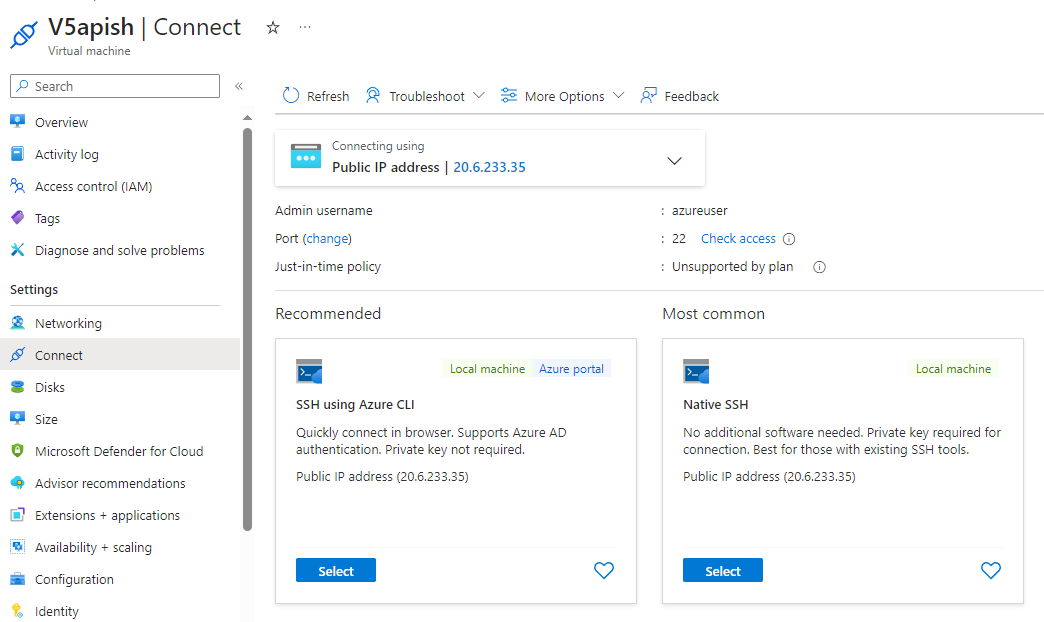
2
Wait for the validation checks to complete, then click Connect.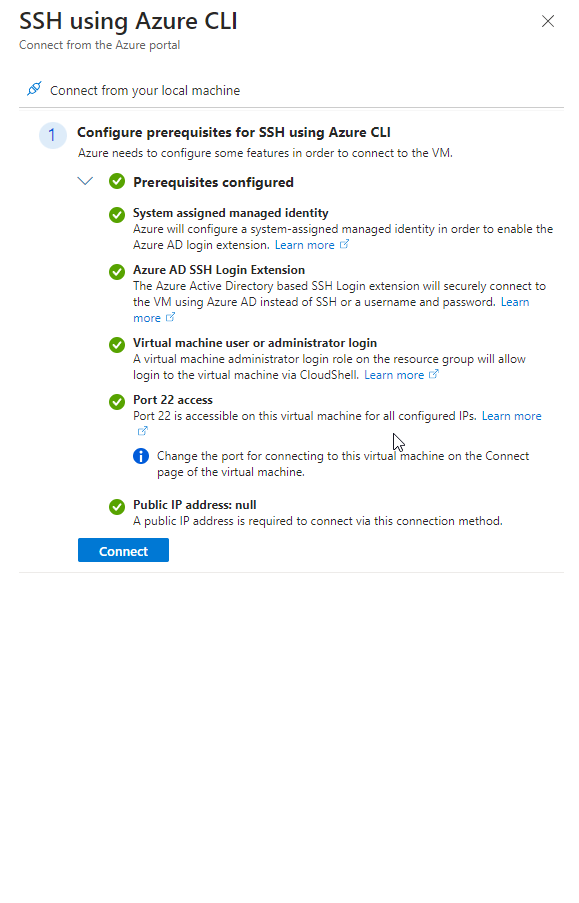
3
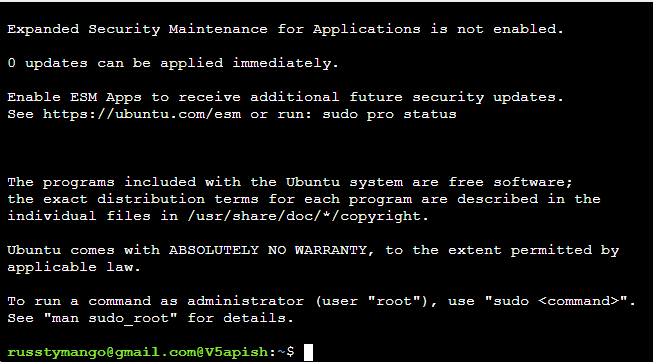
A Cloud Shell CLI will launch in your browser. Type Yes to accept the fingerprint and connect.
Installing Docker
1
Run the following commands to set up the Docker repository: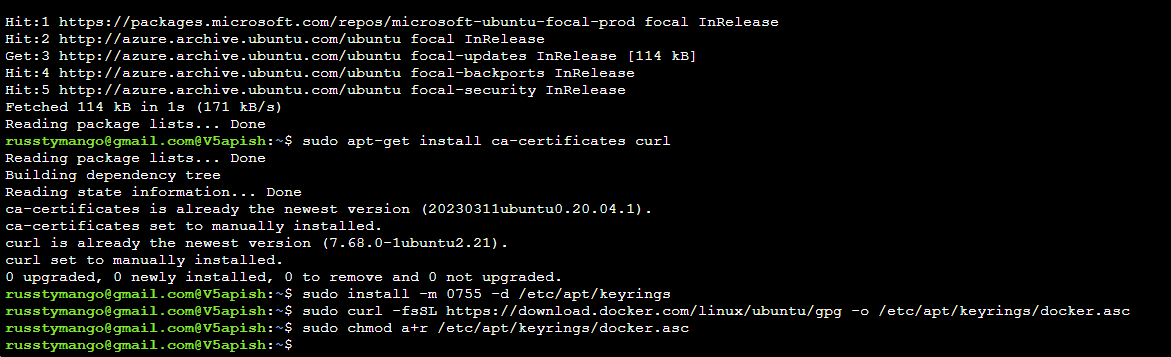
2
Add the Docker repository to your sources: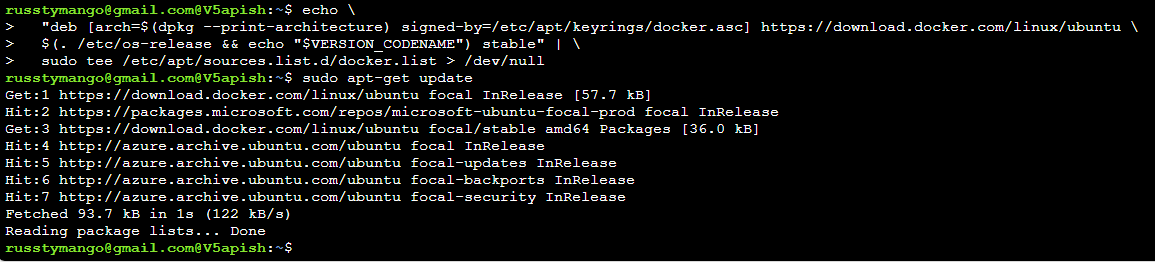
3
Install Docker: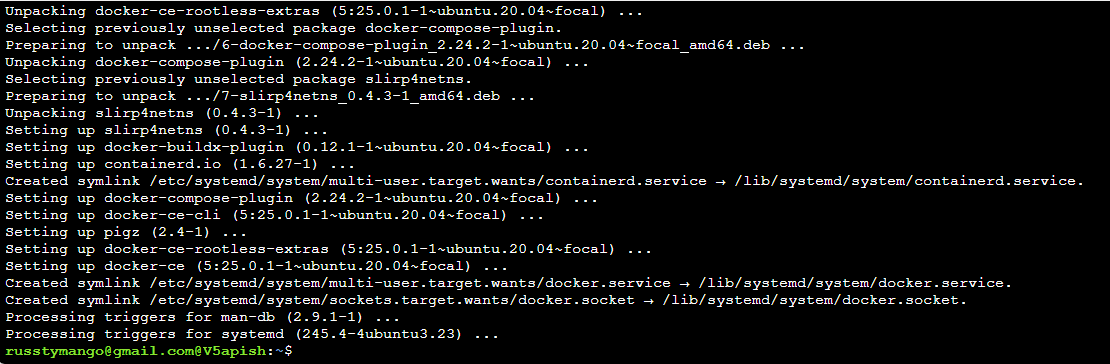
4
Verify the installation by running the 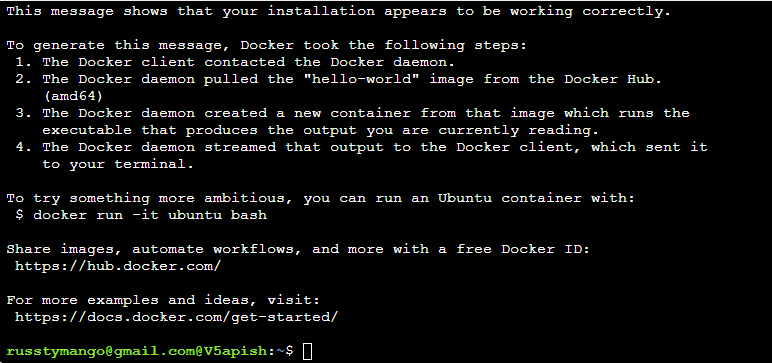
hello-world image:Pulling and configuring the Draftable container
1
Pull the latest Draftable API Self Hosted image: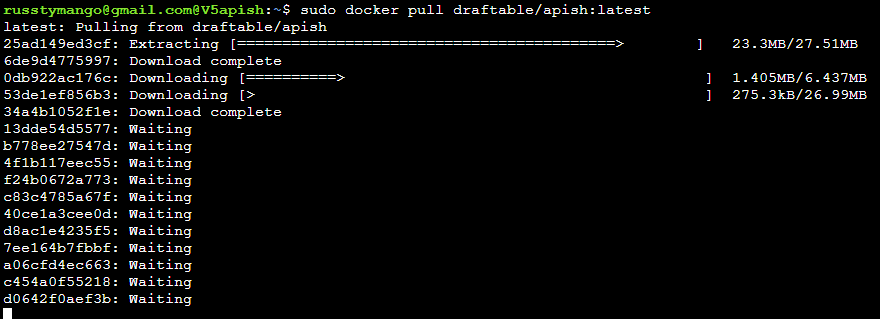
2
Navigate to the root directory and create a folder for your Docker Compose file:

3
Navigate into the folder and create the 
docker-compose.yml file:4
In the 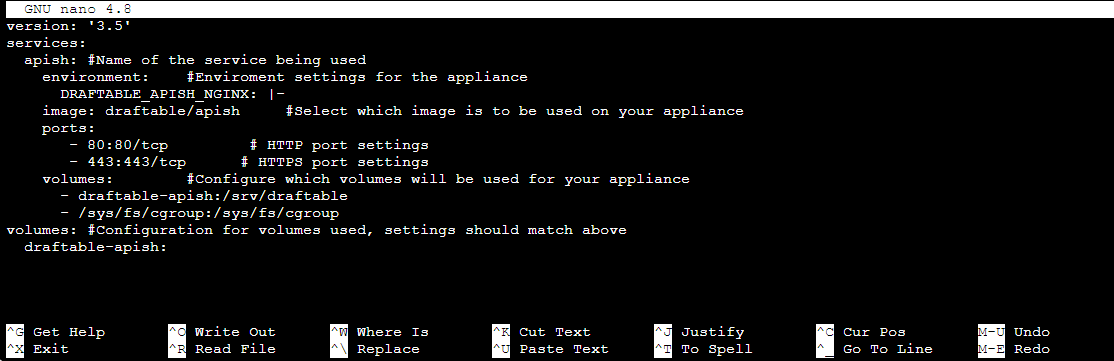
nano editor, paste the following basic configuration. For additional parameters, refer to our API Self Hosted documentation.Ctrl+O and exit with Ctrl+X.Starting the container
1
Start the Docker service:
2
Install the Docker Compose plugin: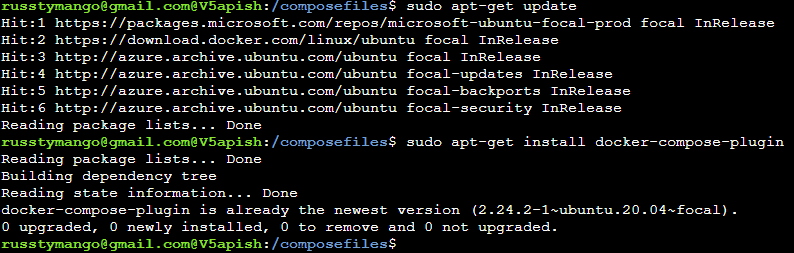
3
Launch the container with Docker Compose:The container will begin its boot sequence. Give it time to configure, and upon successful completion you should see a message saying 
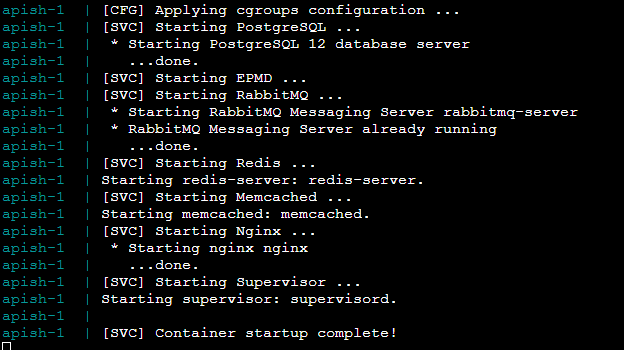
Container startup complete.4
Navigate back to the virtual machine in Azure to retrieve the public IP address. Copy it and enter it into your browser to connect to the instance.