Note:Please ensure that Draftable Legal is running and open in the background; otherwise, Redline in Email will not correctly operate in Outlook.
Remote desktop, Citrix, and RDP environments are supported from Redline in Email version 1.1.31.1 onwards.
The Redline my selection feature is available from Redline in Email version 1.1.32.0 onwards.
Using Draftable Redline in Email
Reply workflow - If you intend to Redline an Email or Accept and Reject changes

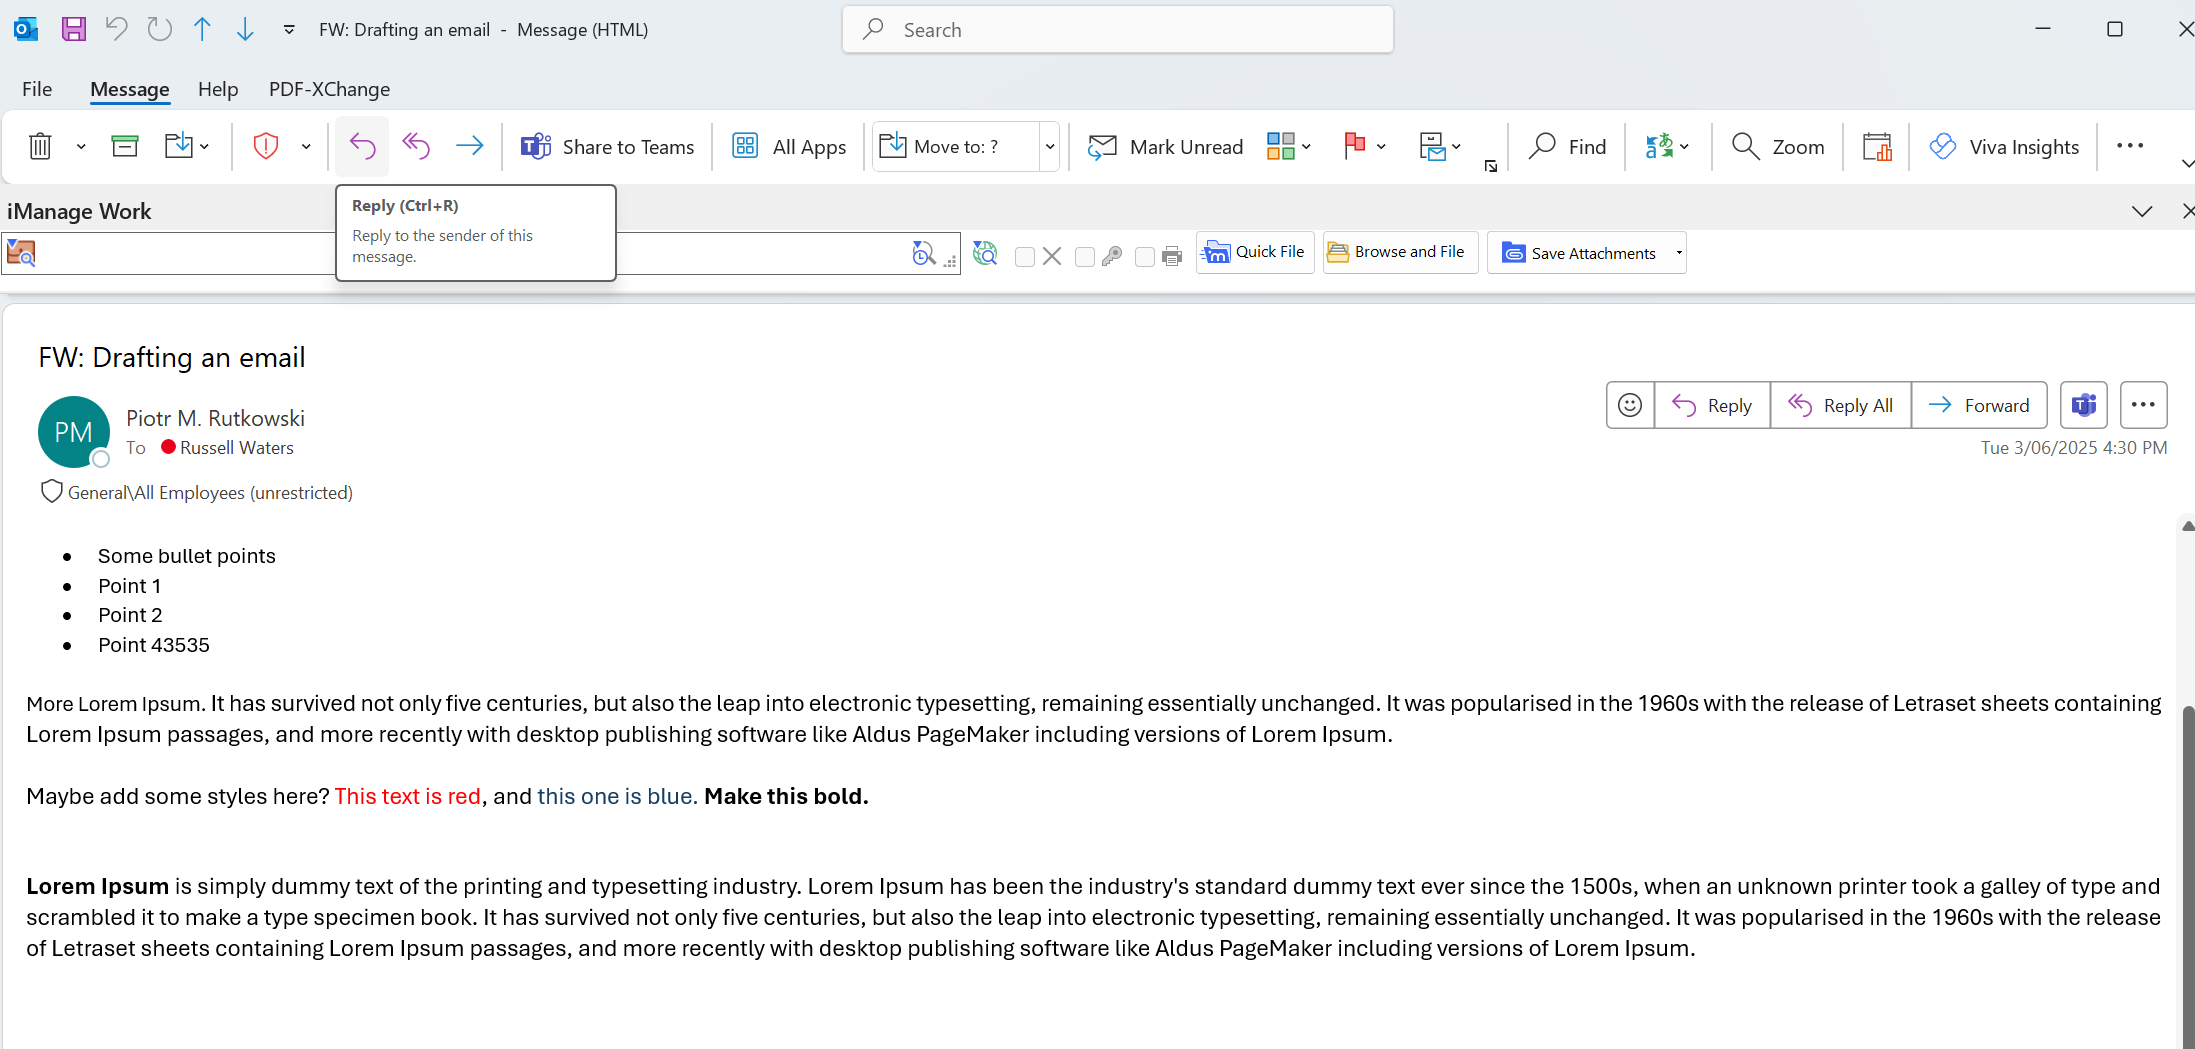
Perform any edits needed (or don’t for now) and then open up the Draftable Redlining feature by clicking the 3 dots in the top right of the toolbar: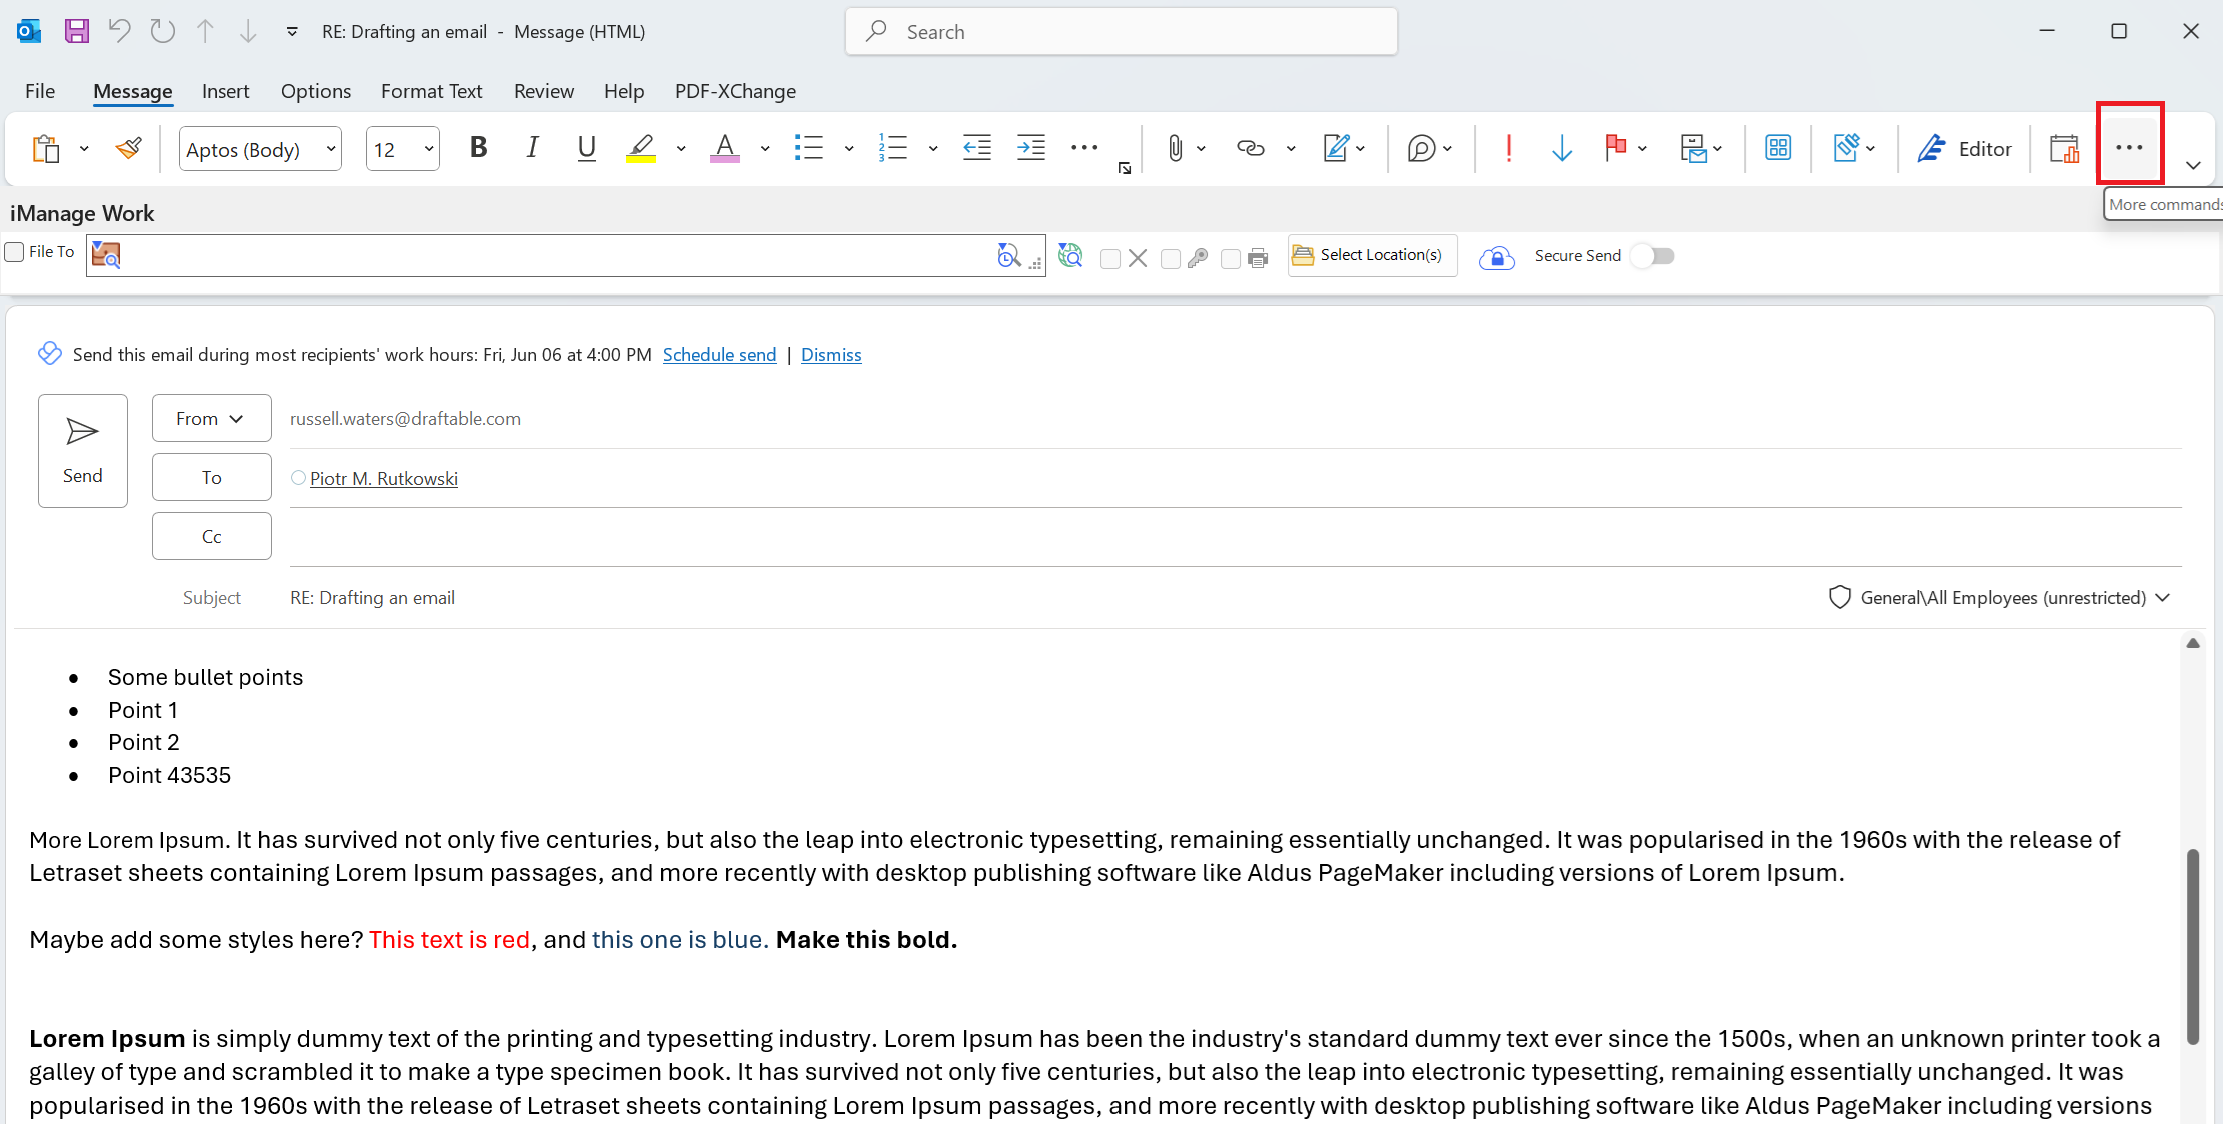
Then select the Redline in Draftable option: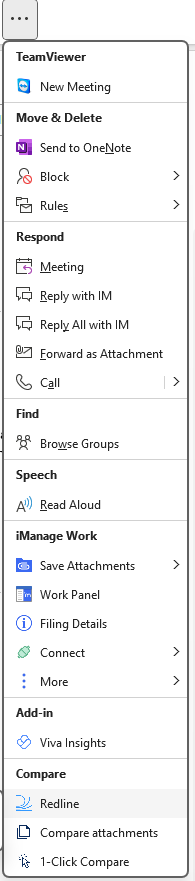
Note:There are also options for Compare attachments and 1-Click Compare options are included as workflow options in this Add-in.
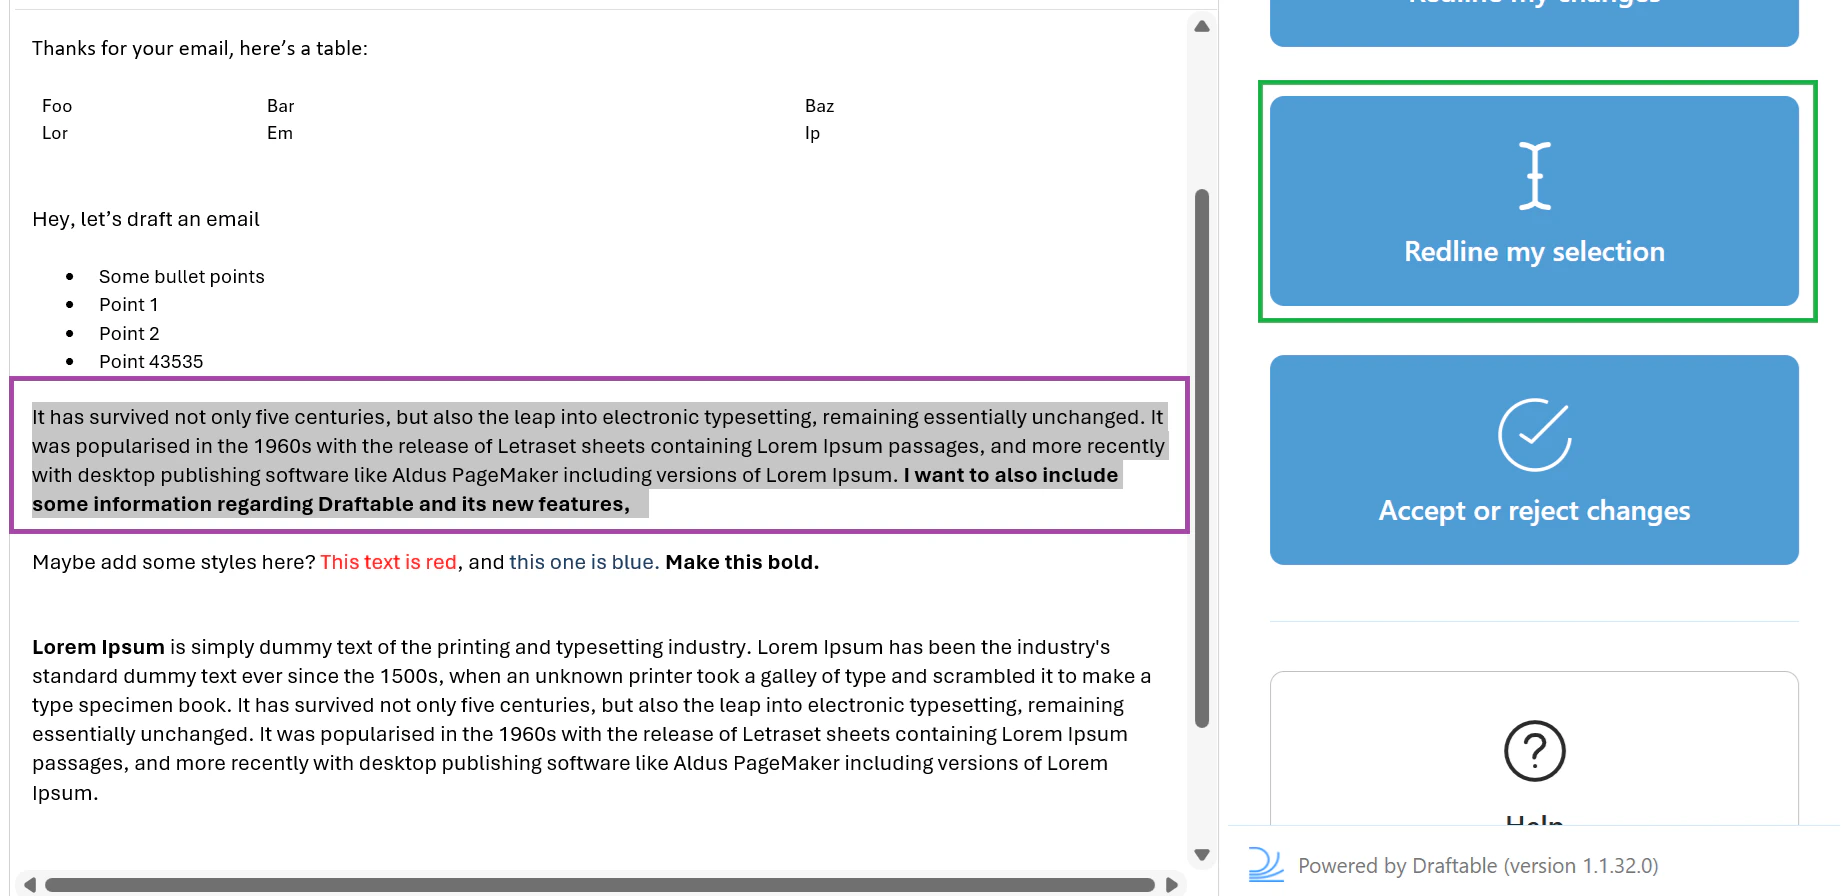
Once selected, a new menu will appear for you on the right-hand side of the email editor. You will have three options: Redline my changes, Redline my selection, or Accept or reject changes.Let’s first go over how “Redline my changes” works. If you want to skip to “Redline my selection”, skip to step 7. If you want to skip to “Accept or Reject changes”, skip to step 9.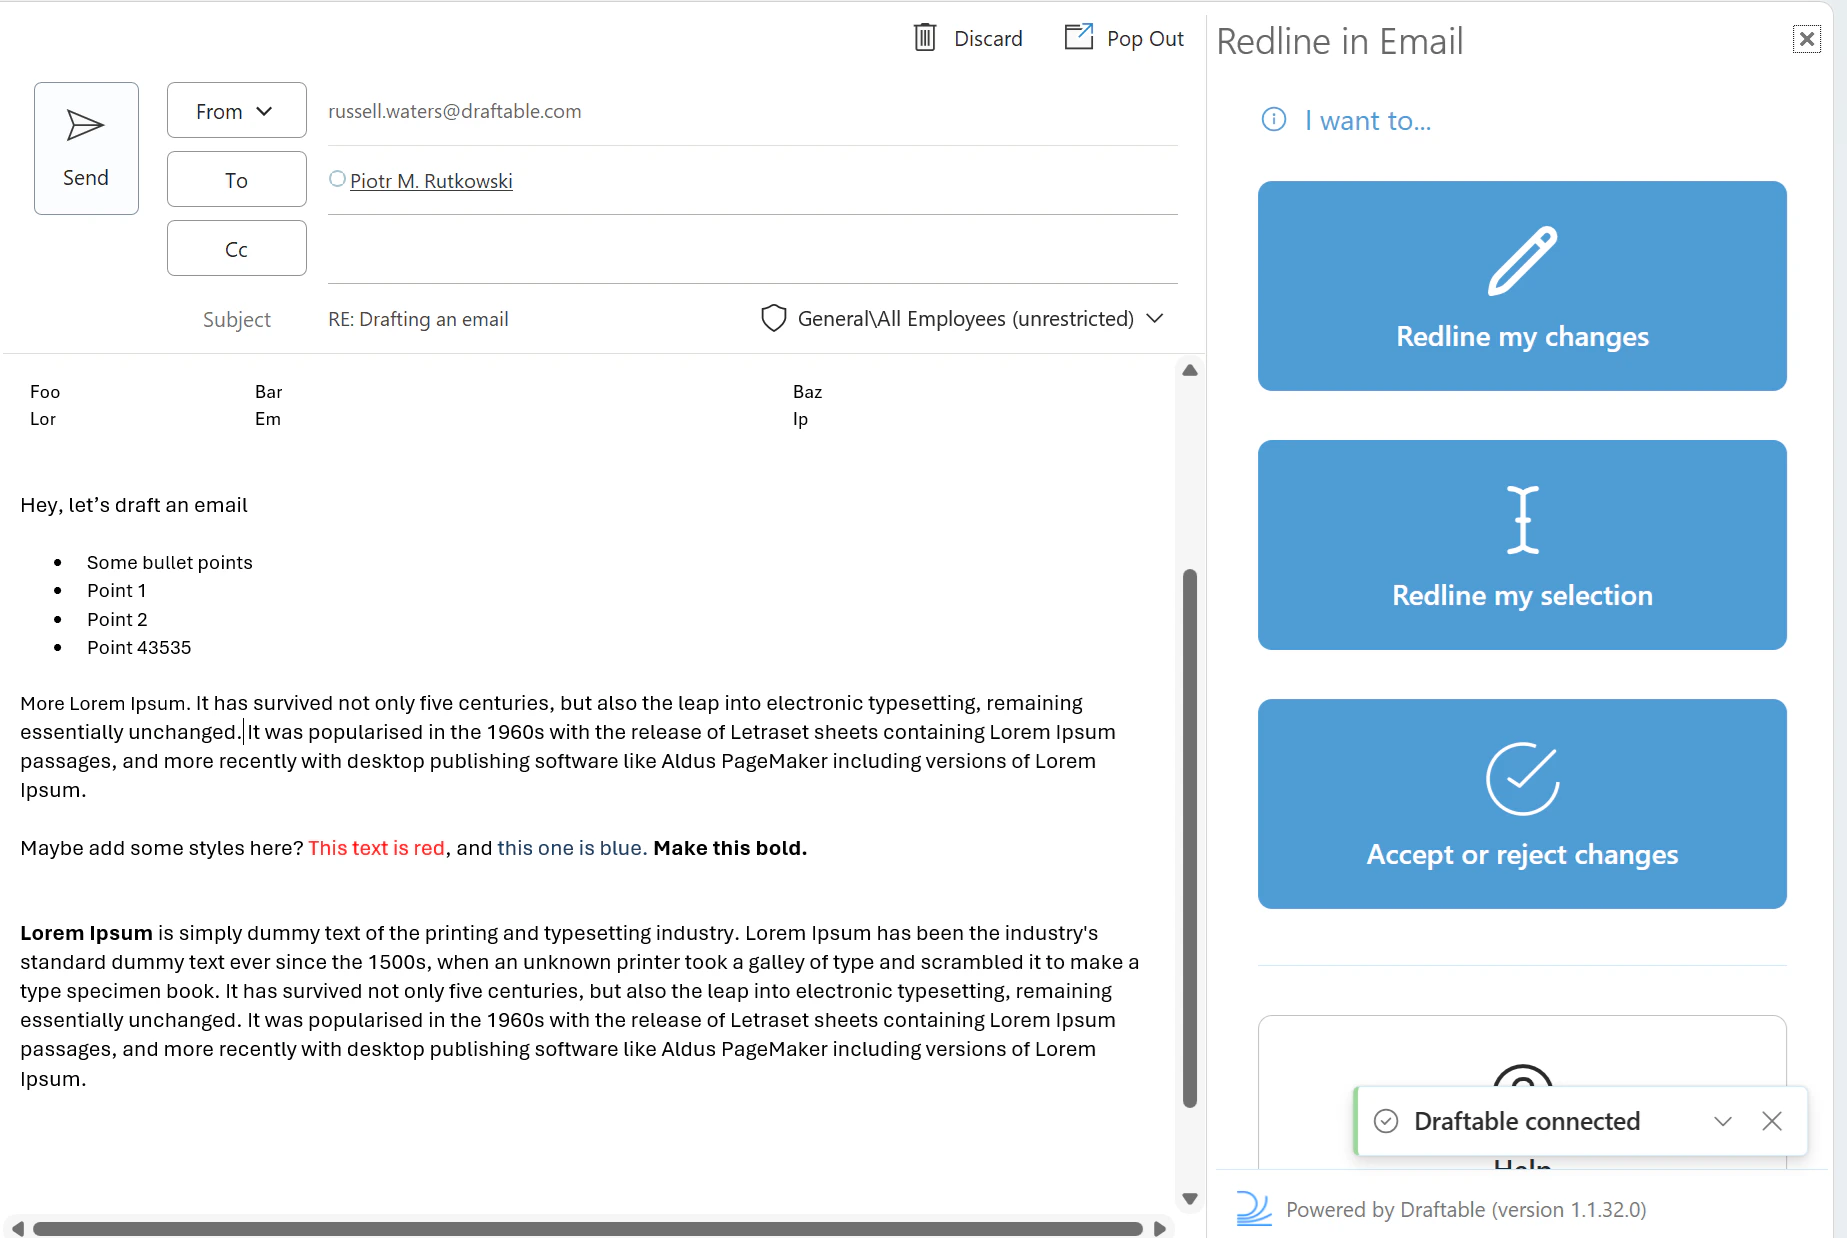
Select “Redline my changes” to begin seeing the Redline compare with your existing changes already made in the email draft.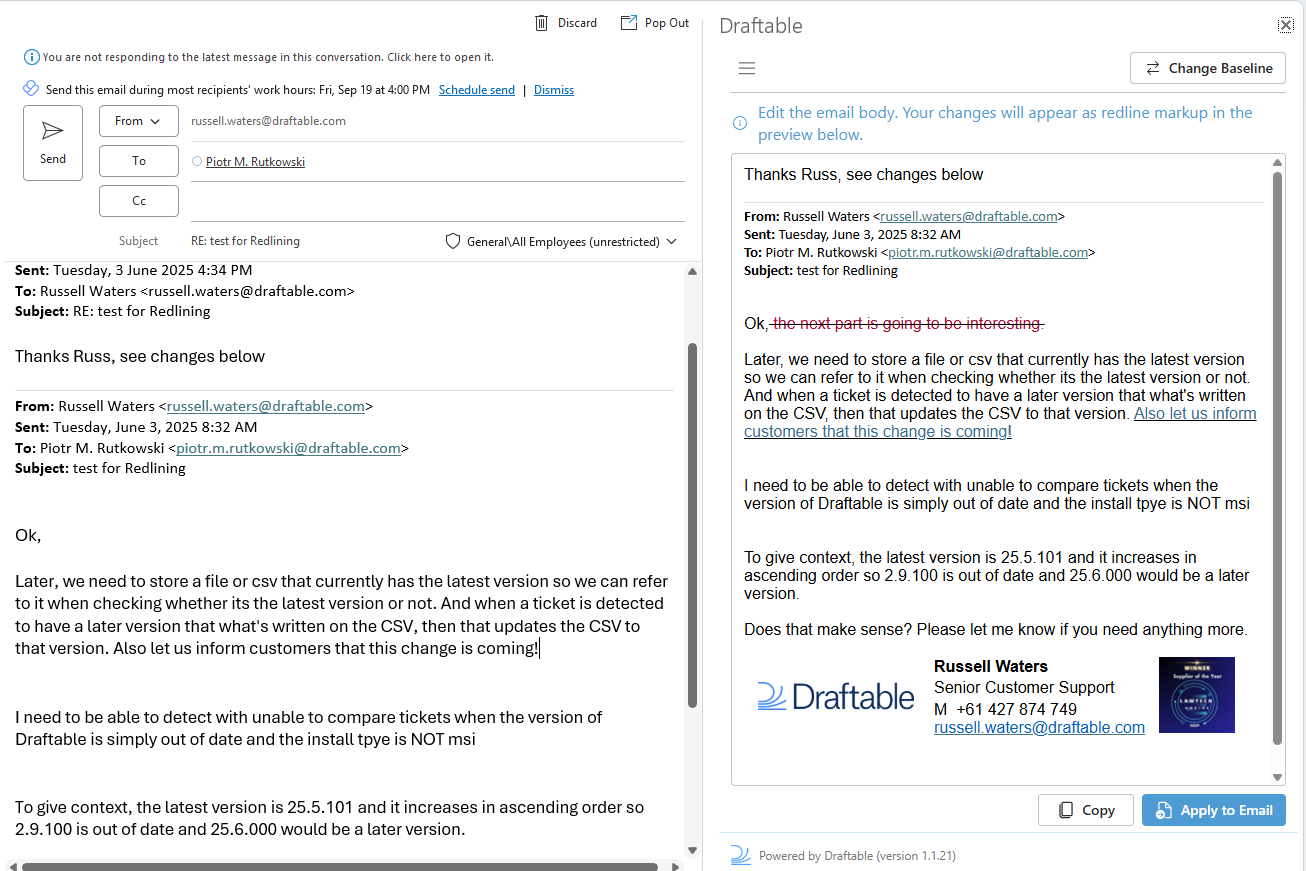

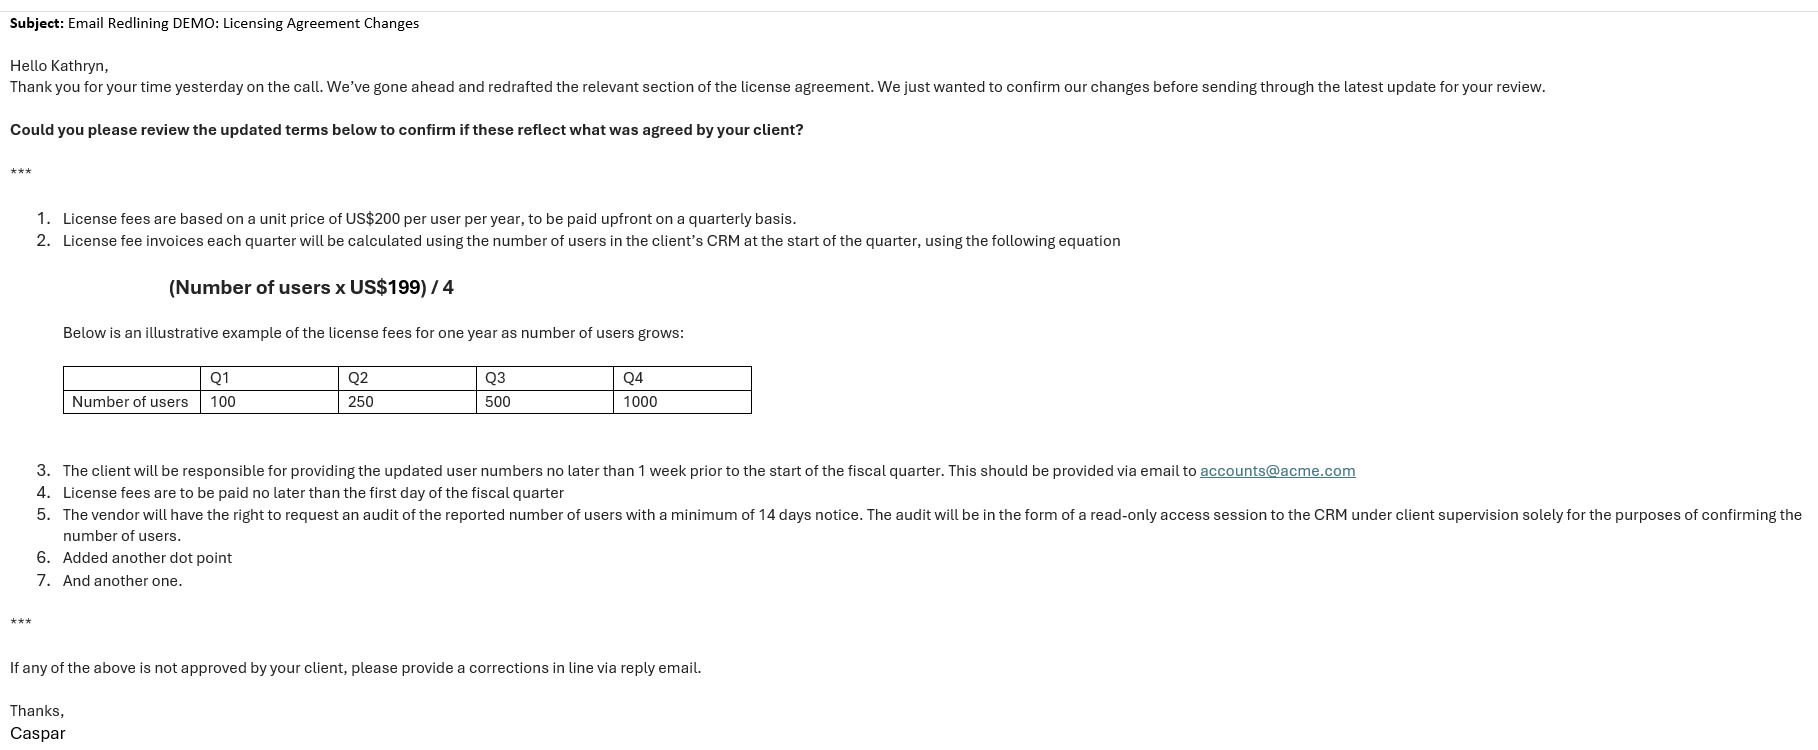
As you make changes in the email editor, these will automatically appear in the Email Redline preview window. Once you are satisfied with your changes, select “Apply to Email” on the bottom right side of the Email Redline window. Your changes will apply as below to your email draft as redline: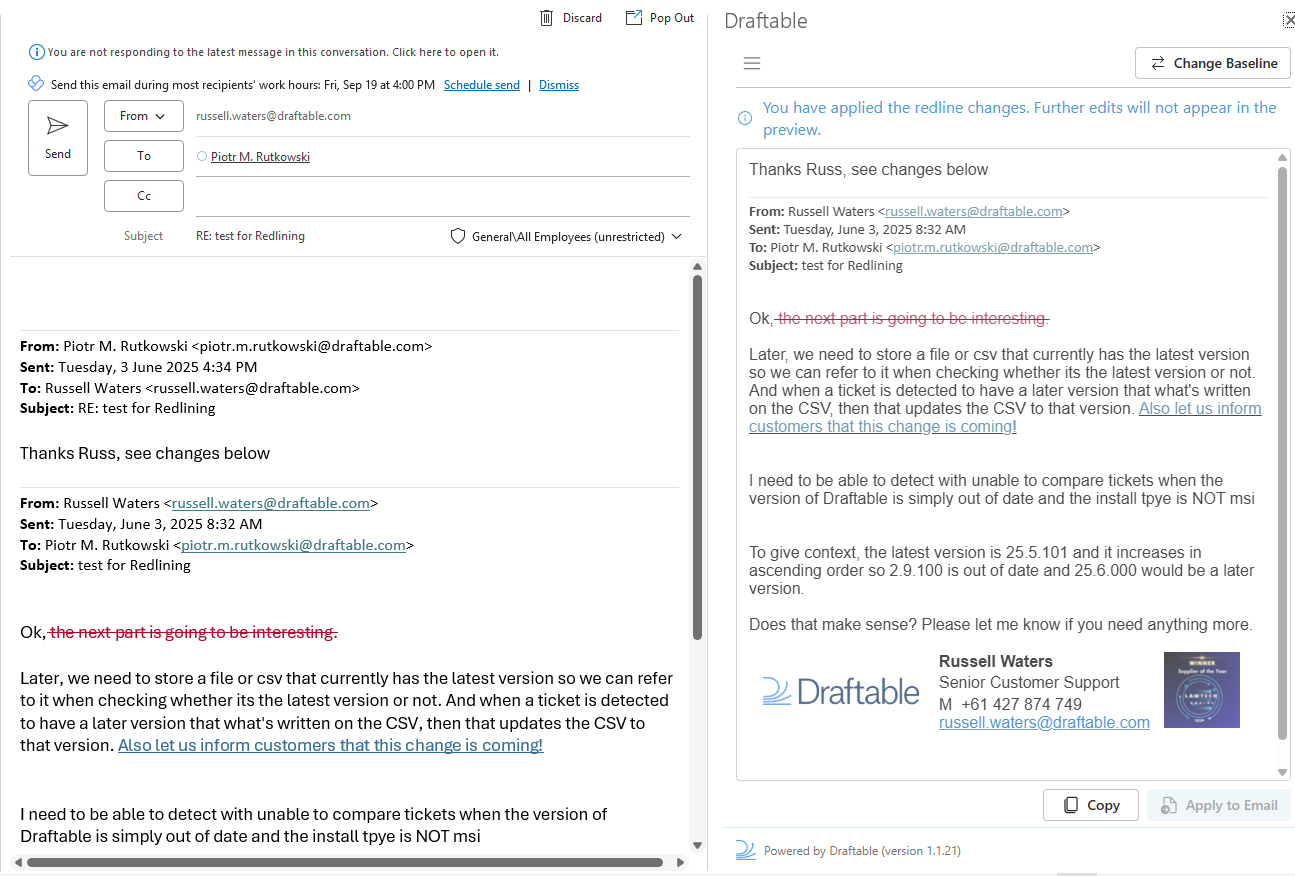
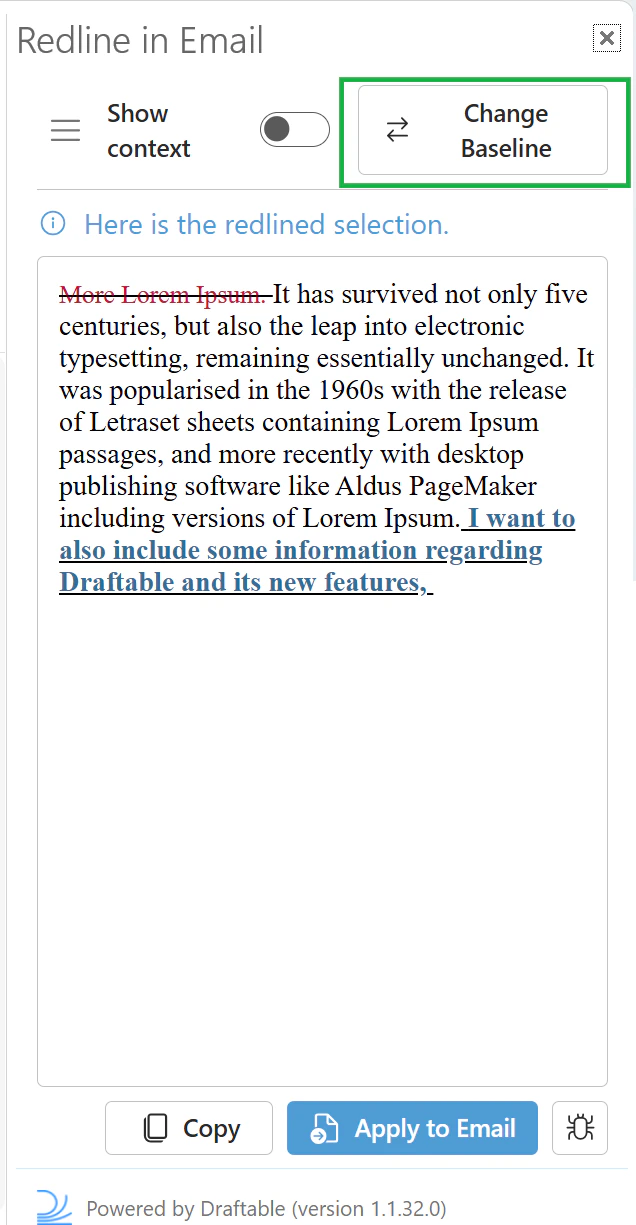
If you only want to redline a specific portion of the email rather than the entire email body, you can use Redline my selection. First, highlight the text in the email that you want to redline.
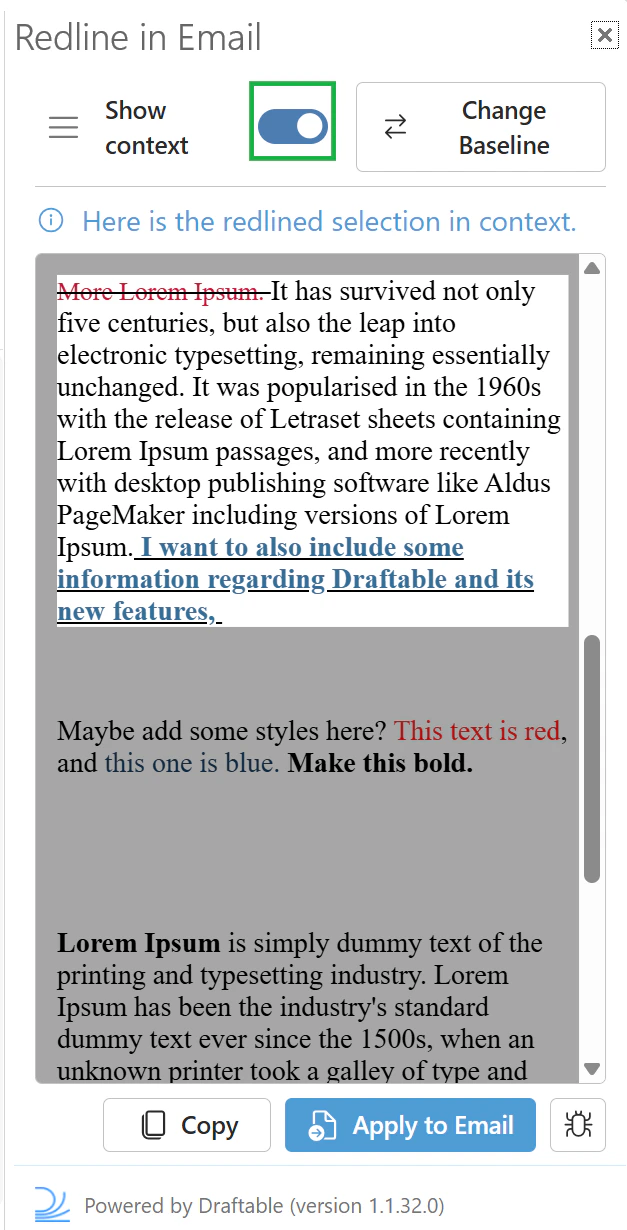
The redlined selection will appear in the preview window, showing only the changes within your highlighted text. An info message confirms “Here is the redlined selection.”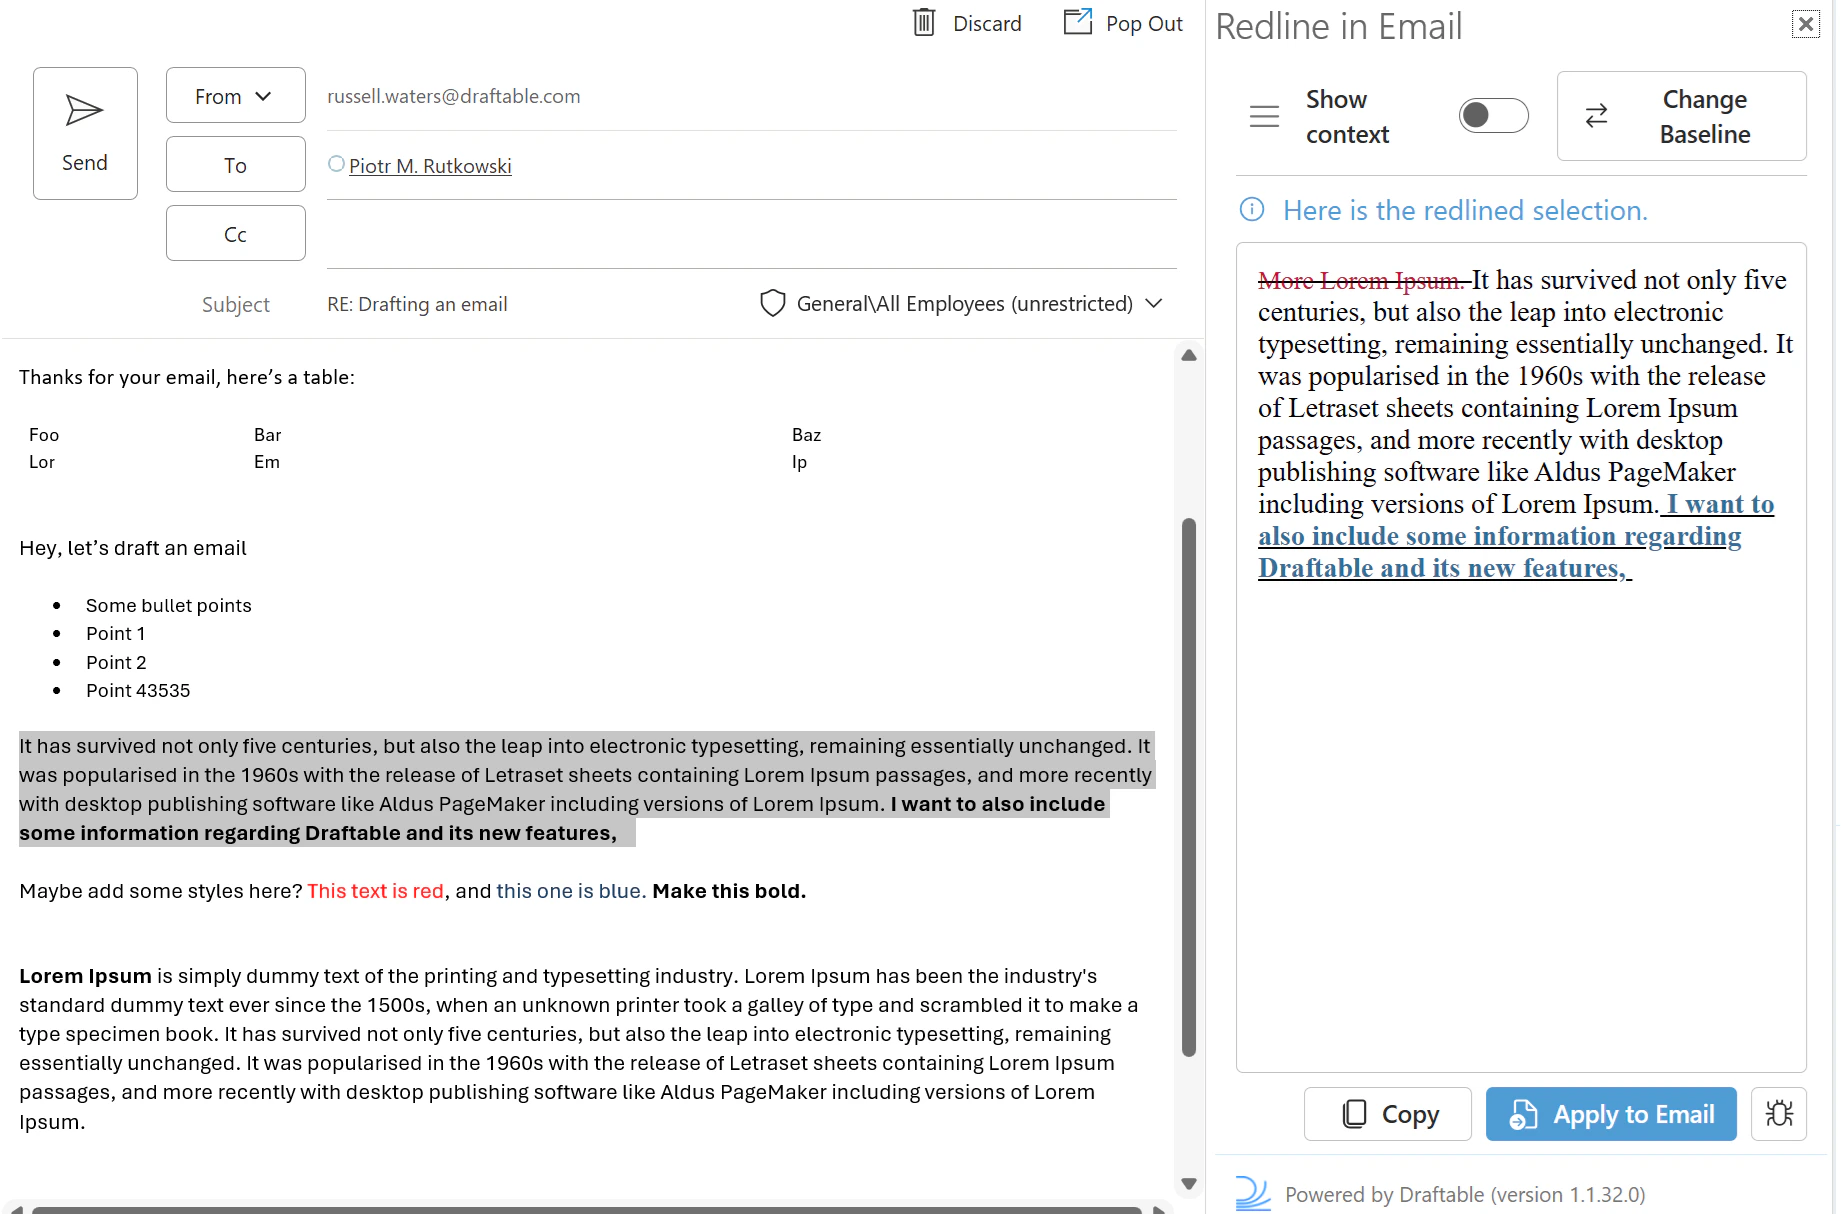
Open an email that has redlined changes. Ensure you open your new email, hit reply and open the Draftable Redline feature as mentioned in steps 1-4 earlier.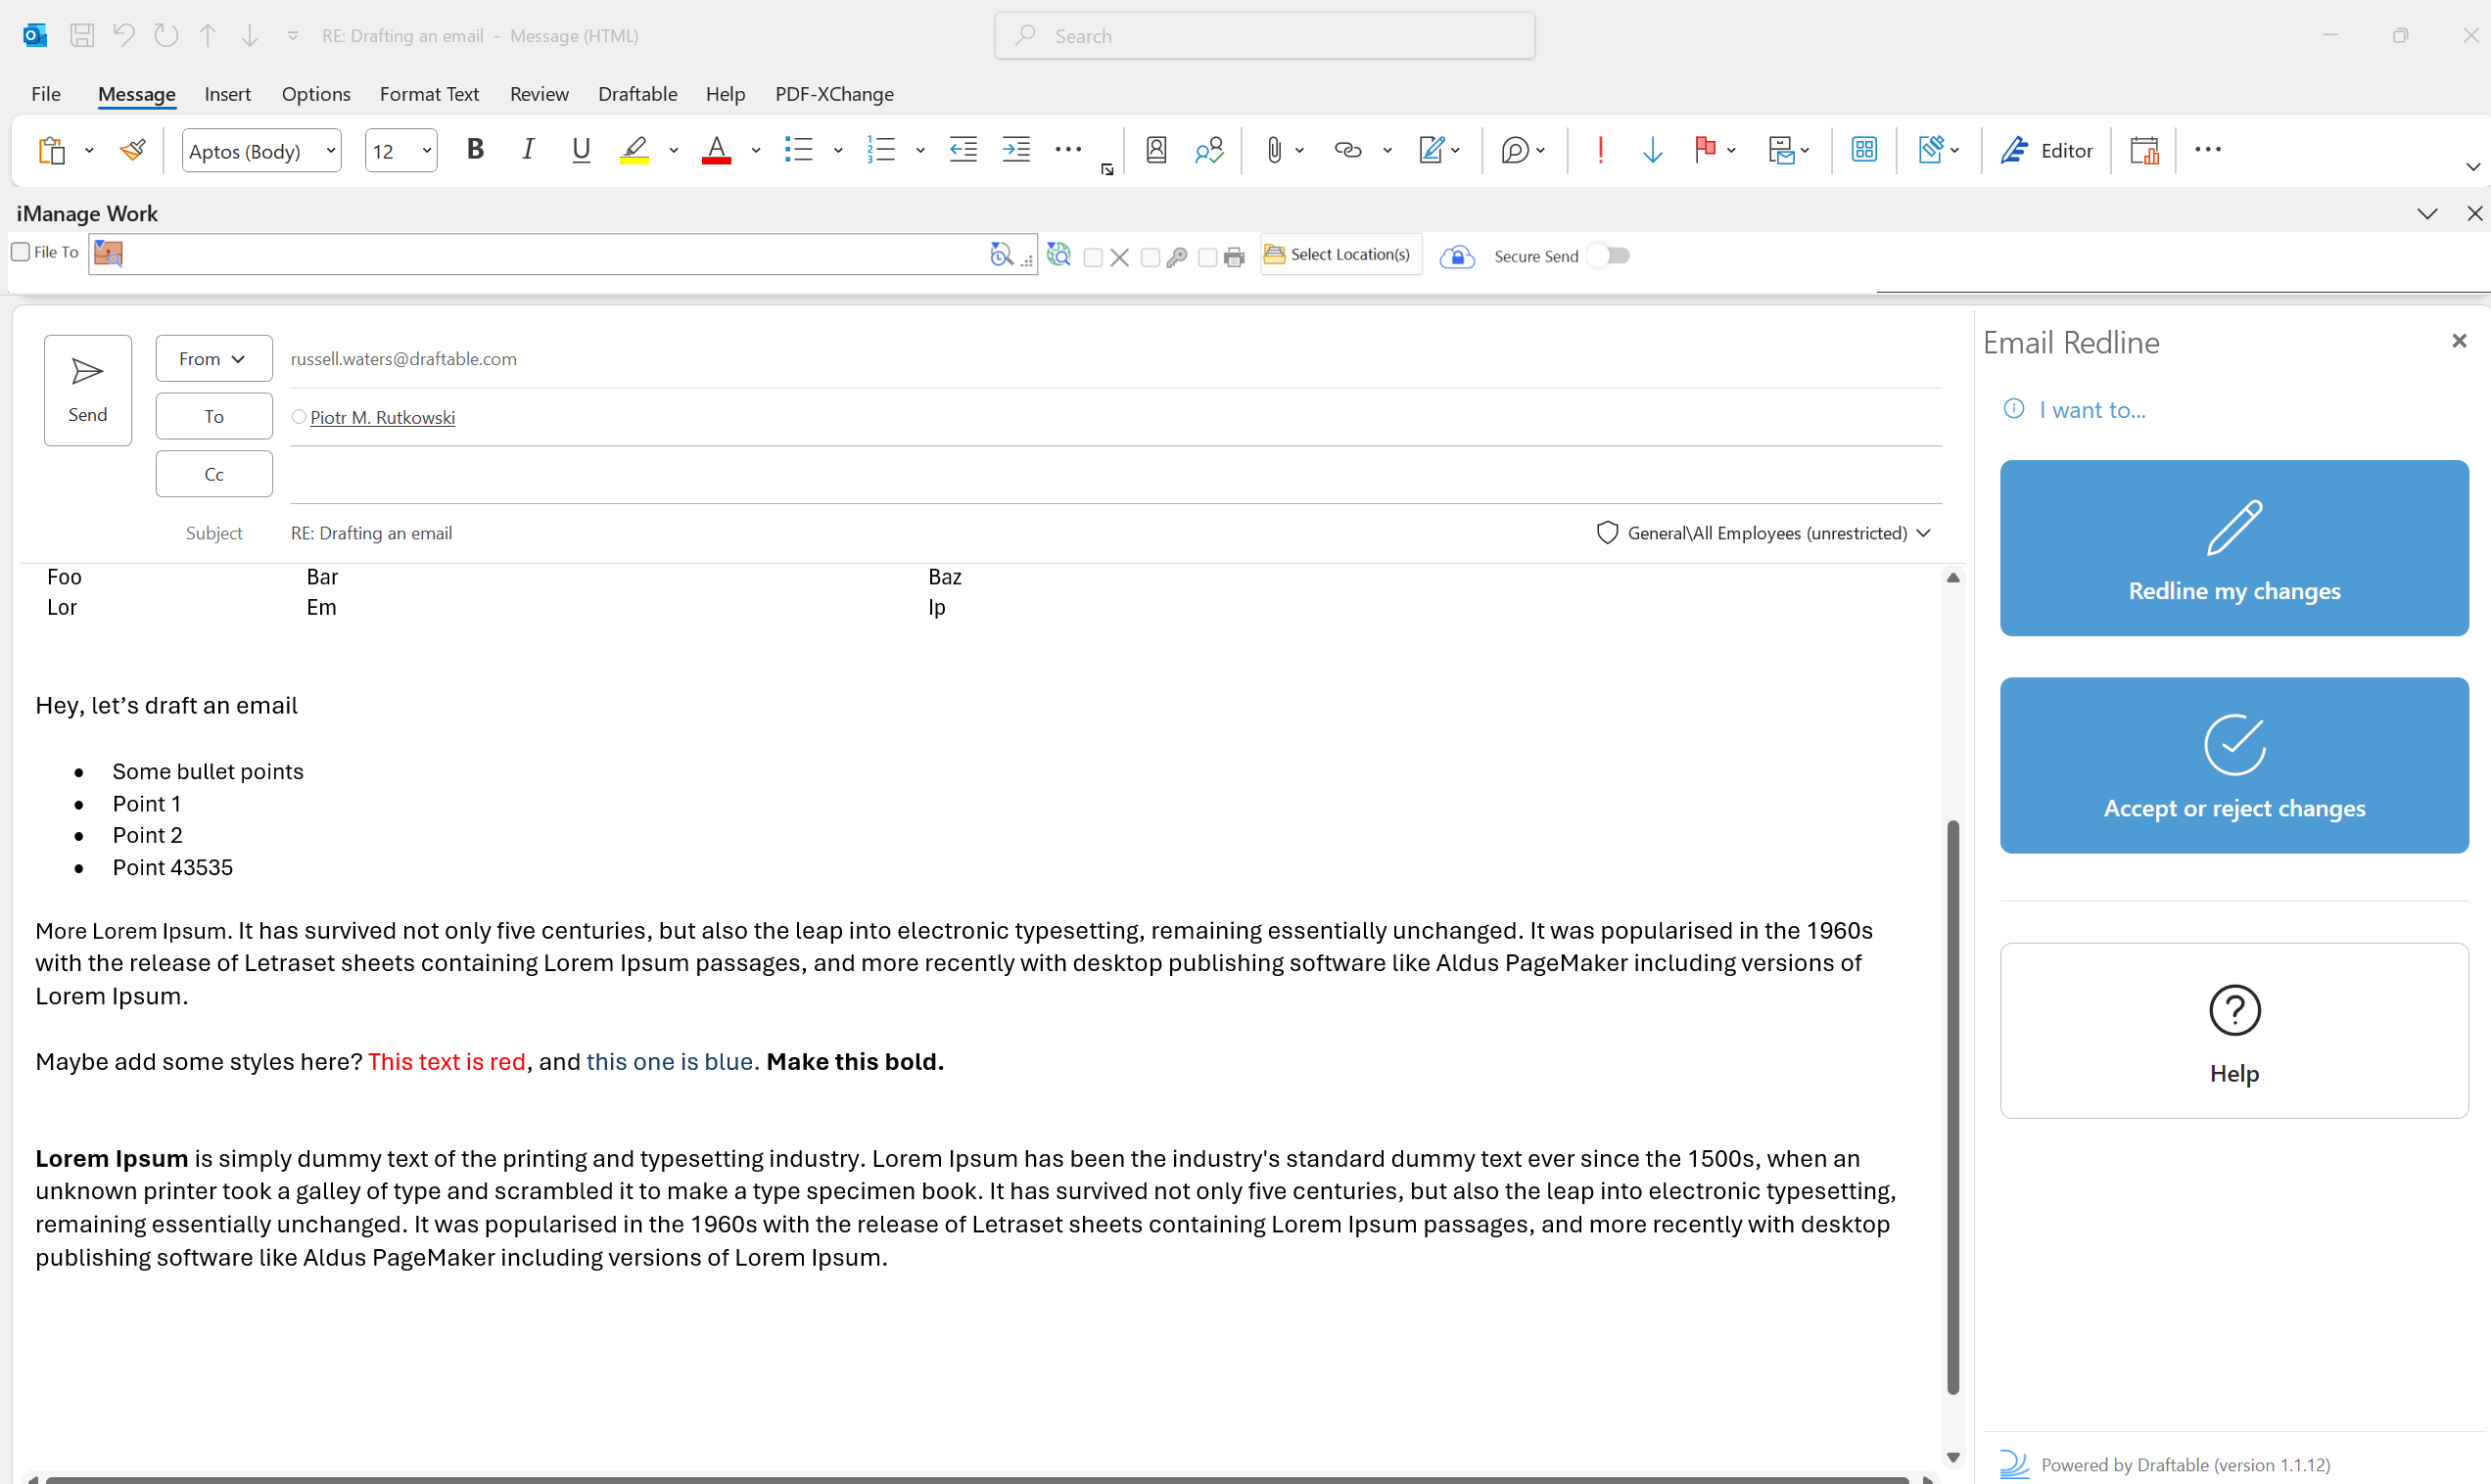
Once selected, the following window will appear. This window shows all the redlined changes that have been marked up by the sender of this email when they previously redlined the changes in their last email.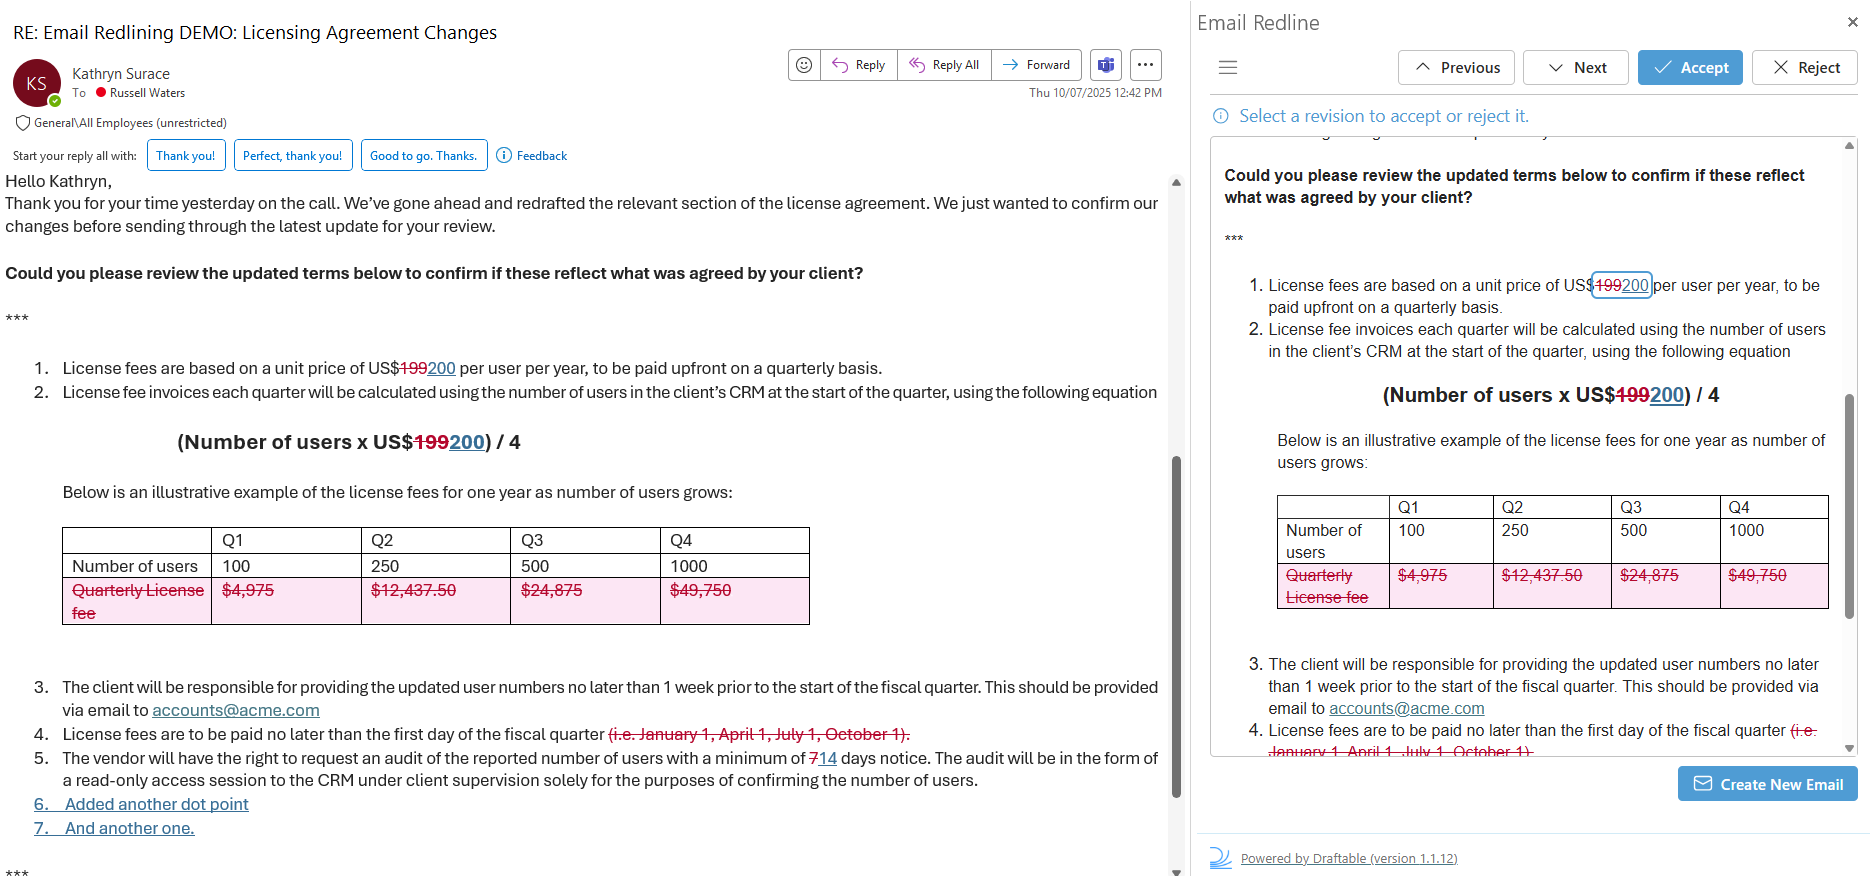
Note:If you accidentally accept or reject a change, you can hit CTRL+Z to undo it.
Continue accepting and rejecting changes until you are done, and then you are ready to reply, hit the Create New Email to create a new email with the accepted and rejected changes.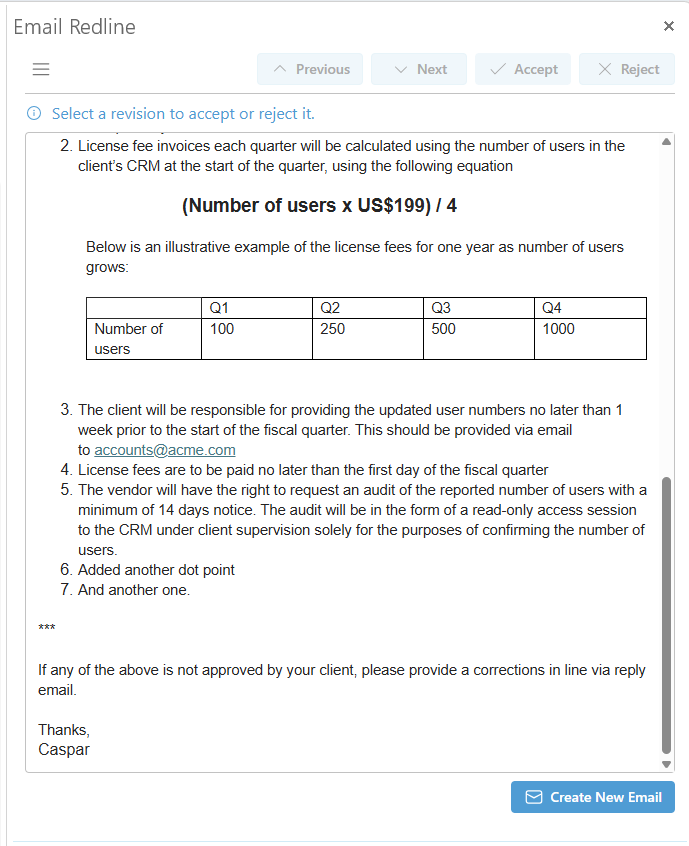
Note:If you are using ‘Compose’ mode (editing/reply mode), there are cases where the Create New Email button does not appear as the changes are being made to your live reply.
Compare againist email workflow - If you intend to only compare current email with another
Then open up the Draftable Redlining feature by clicking the 3 dots in the top right of the toolbar:

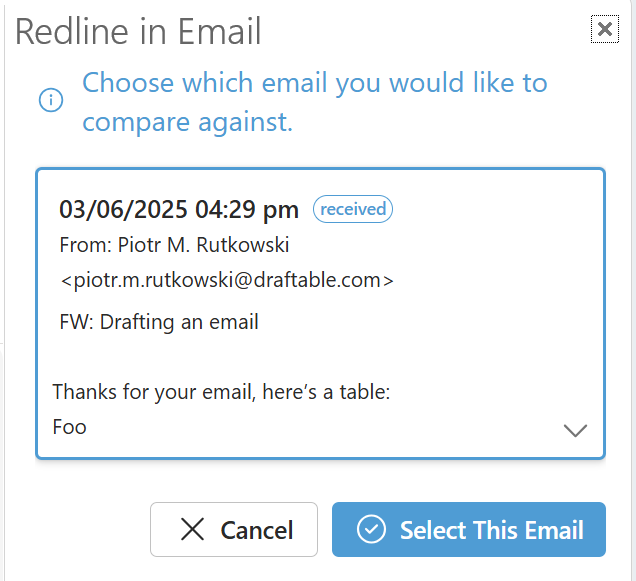
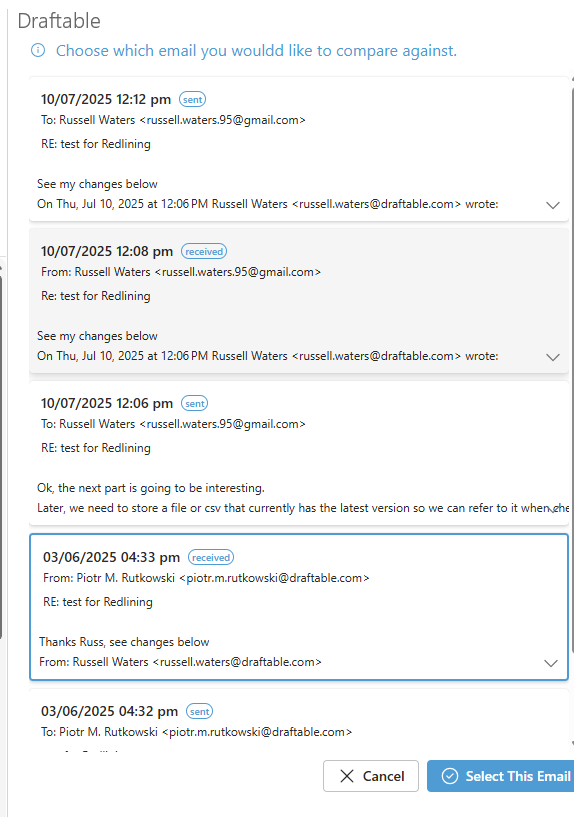
You will be presented with the following screen which offers you the ability to “Compare againist an earlier email”. Select this option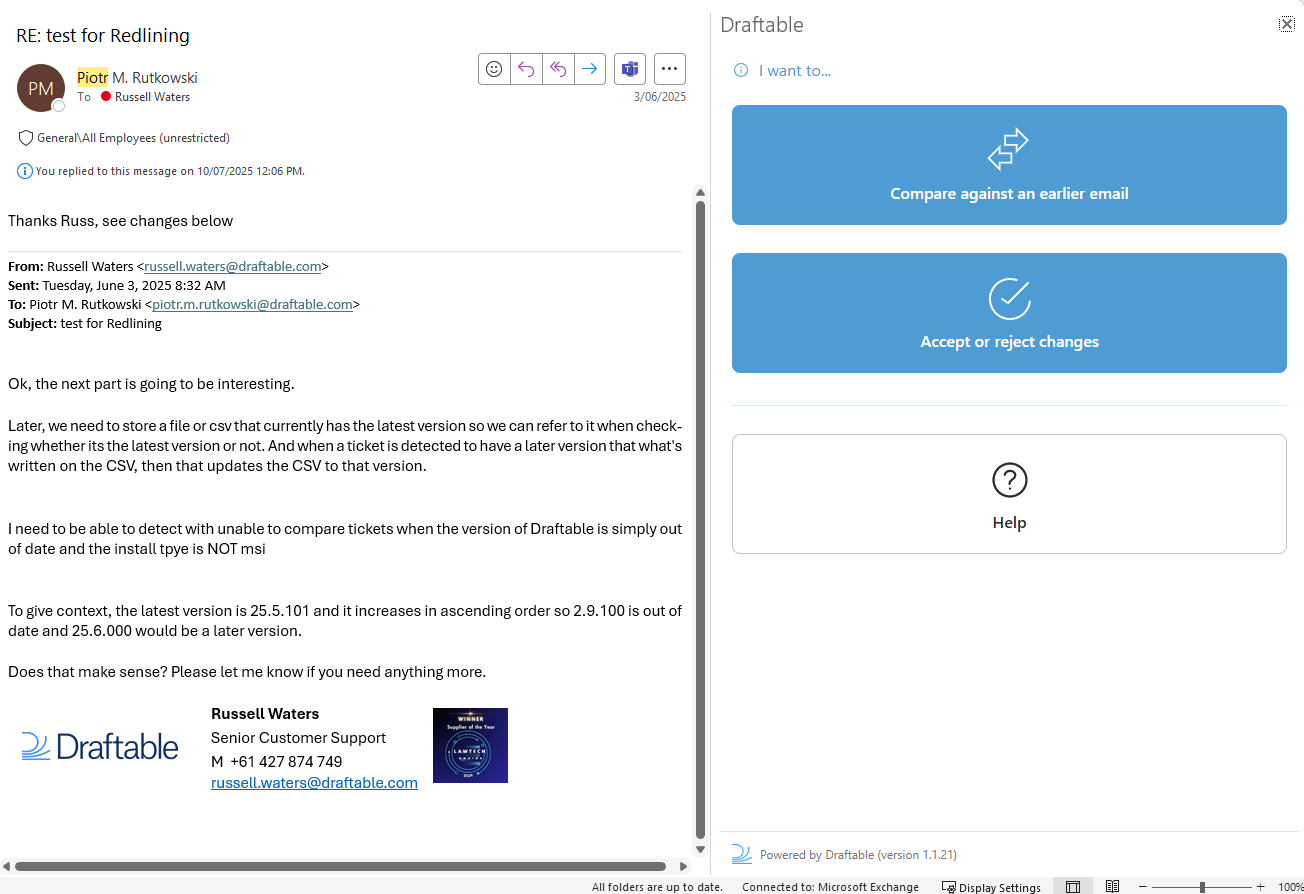
This will allow you to compare the current email againist earlier versions. This is useful when you just want to see changes but not necessarily need to Redline.
Once you have finished comparing, you can continue by selecting Accept/Reject changes, to proceed with the workflow.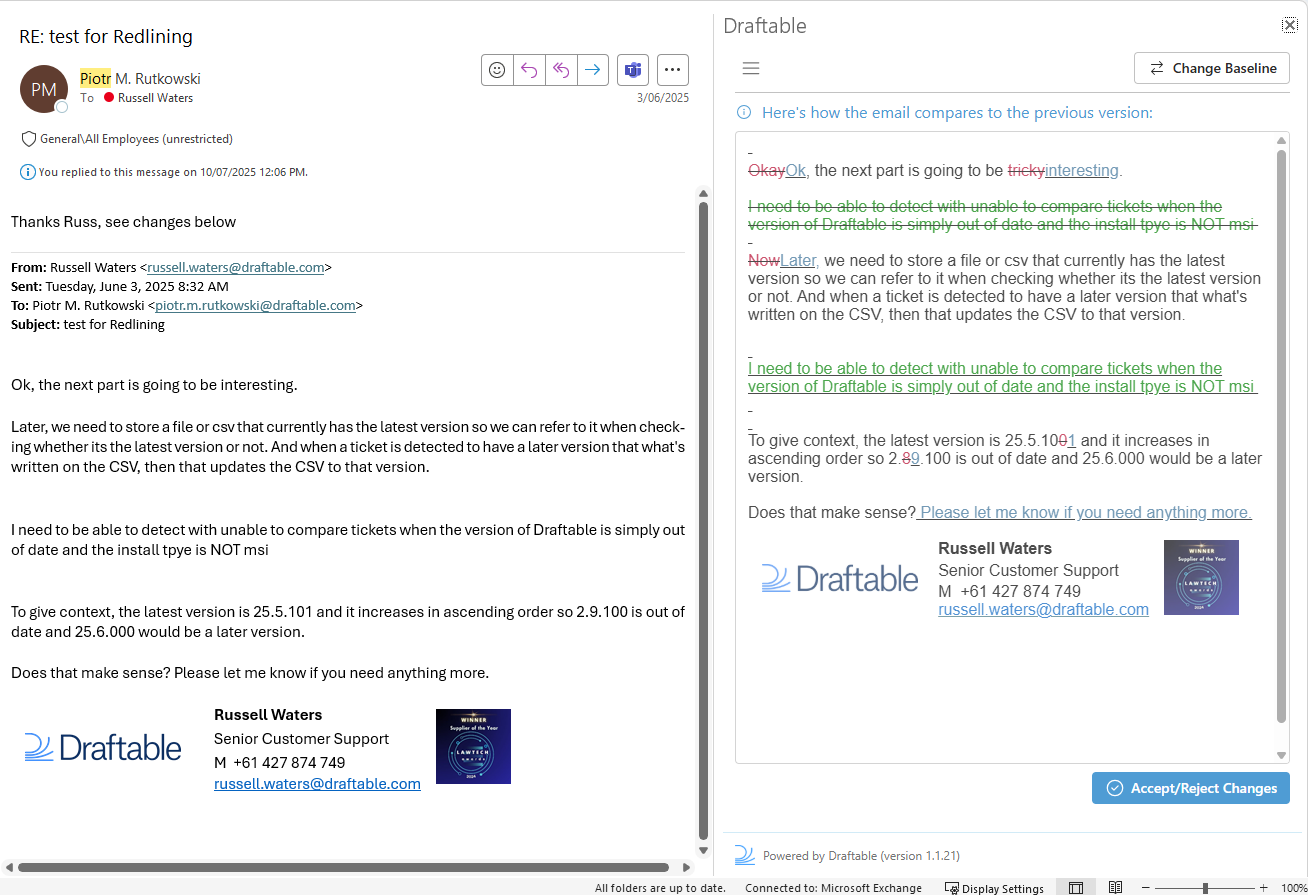
This window shows all the redlined changes that have been marked up by the sender of this email when they previously redlined the changes in their last email.
Note:If you accidentally accept or reject a change, you can hit CTRL+Z to undo it.
Continue accepting and rejecting changes until you are done, and then you are ready to reply, hit the Create New Email to create a new email with the accepted and rejected changes.
Note:If you are using ‘Compose’ mode (editing/reply mode), there are cases where the Create New Email button does not appear as the changes are being made to your live reply.
