

The settings menu was reorganised in Draftable Legal 26.6. If you are on 26.6 or later, follow the “26.6 and later” tabs below. On earlier versions, follow “Before 26.6”. To check your version, open Settings. The version number shows at the bottom-left (for example, v26.6.0).
Video Resource
This topic is included in our specially crafted explainer video.
Navigating to the Redline comparison settings
Firstly, we need to open the settings menu, this can be done in a few ways:-
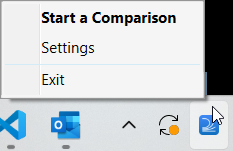
Open settings via the Taskbar
1Right-click the Draftable icon in the taskbar2Select Settings as the 2nd option
-
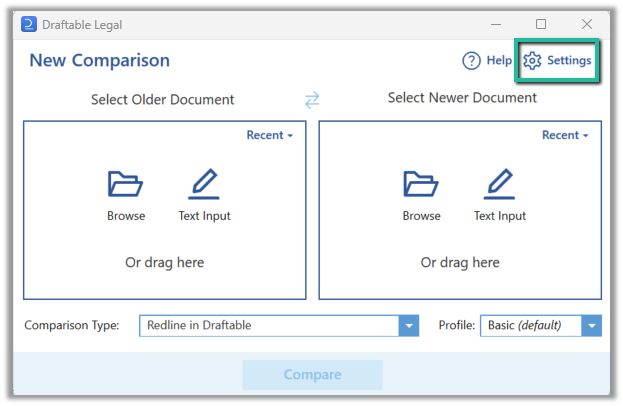
Or, open the settings menu via the New Comparison Window
1Open the New Comparison window2Select Settings in the top right of the window
- 26.6 and later
- Before 26.6
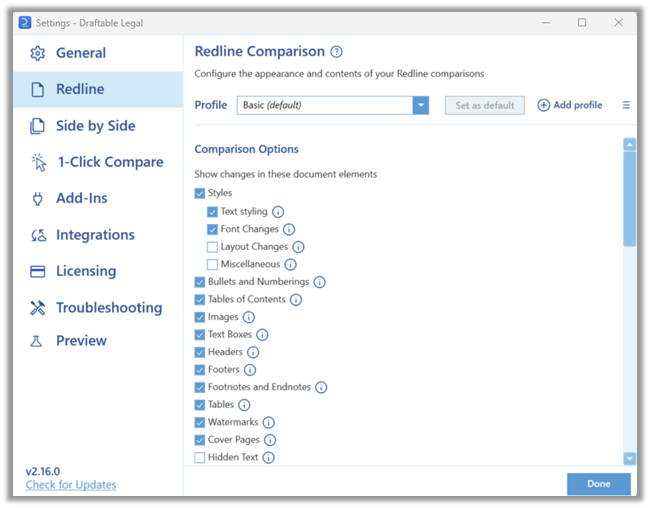
Select Redline Profiles under the Compare group in the left-hand menu. Profile management is at the top of the screen, with Import and New in the top right and the Active Profile dropdown, Set as default, Rename, Export and Delete below it.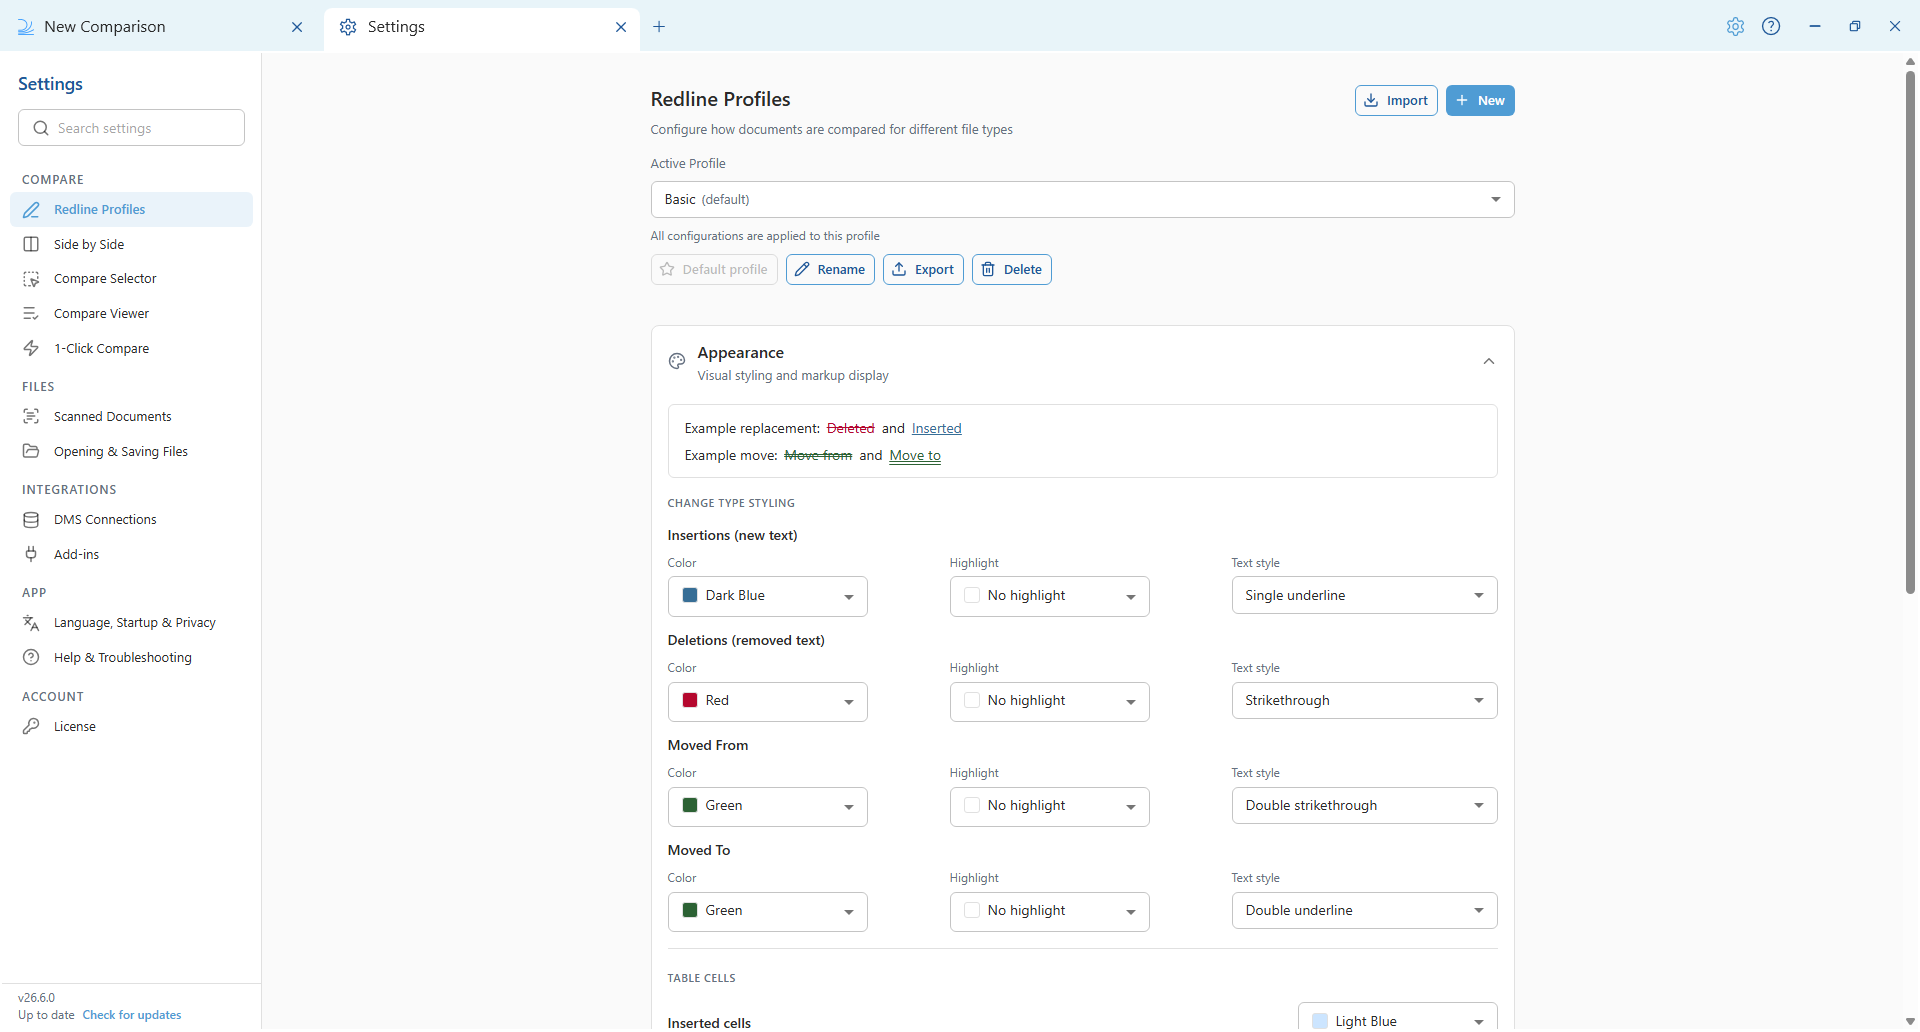
What profiles do and do not control
Profiles hold your Redline comparison settings, such as the markup scheme, what is compared, and how tracked changes are authored. From 26.6, a small number of output settings are application-wide rather than per profile. The output filename pattern, the summary page placement, the default view mode, whether comments show in three-pane view, and PDF line number stripping all now have a single value shared by every profile.Upgraded from a version before 26.6? Those settings were carried across from your default profile only. Values saved on other profiles are still recorded on your machine and can be recovered. See Recovering per-profile settings after upgrading to 26.6.
Configuring Redline settings Profiles
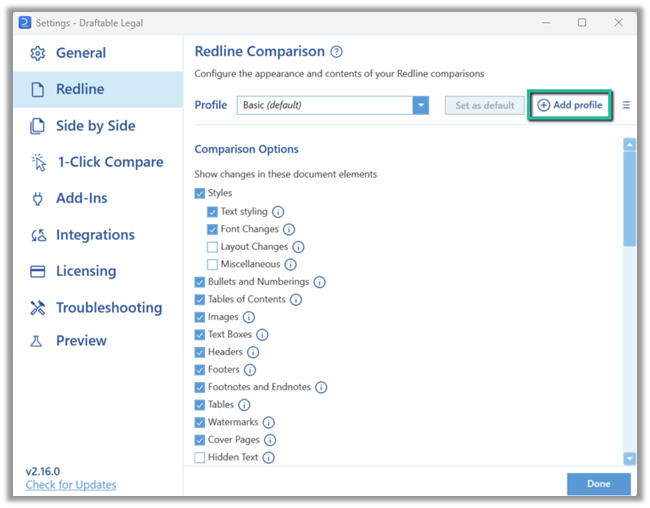
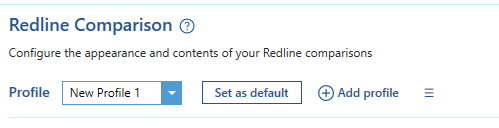
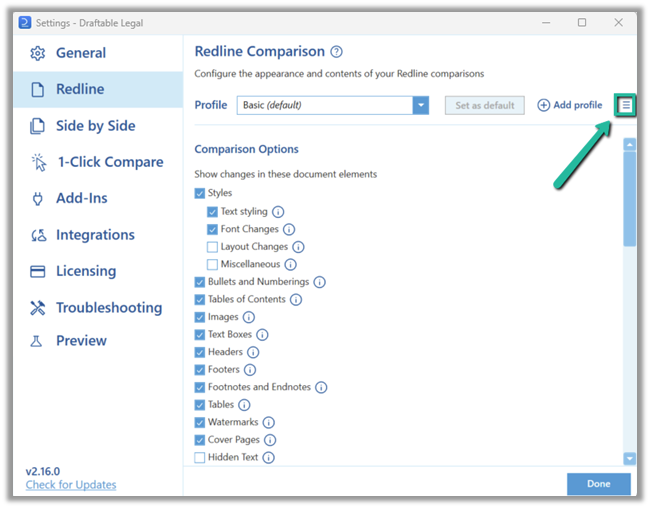
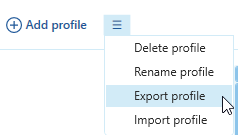
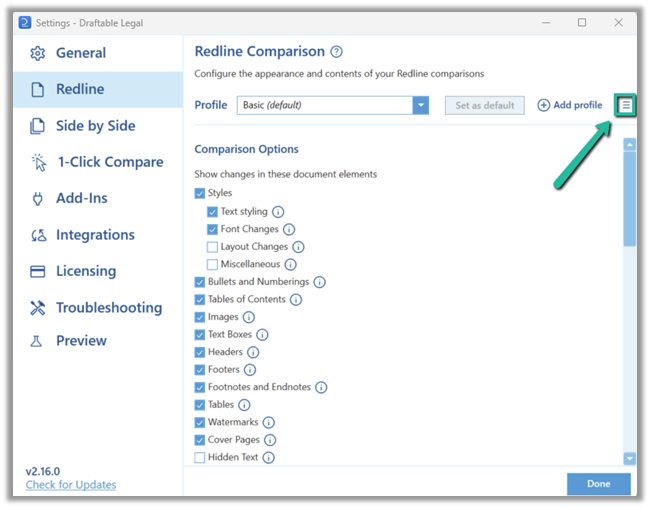
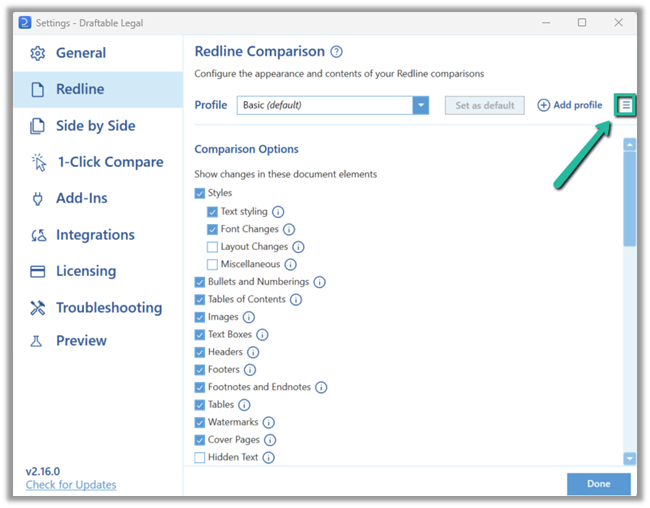
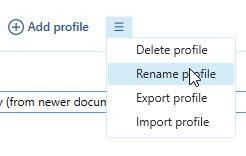
Below are all the different methods for creating, importing, exporting, renaming and deleting profiles from within the Redline comparison settings.In 26.6 and later, each profile action is a dedicated button. Import and New are in the top right of the Redline Profiles screen, and Set as default, Rename, Export and Delete sit in a button row under the Active Profile dropdown. On versions before 26.6 these actions were reached through a single menu icon next to the profile dropdown.
Creating a profile
Create a profile from the starting settings you need, then adjust the new profile’s settings.- 26.6 and later
- Before 26.6
Select New in the top right of the Redline Profiles screen.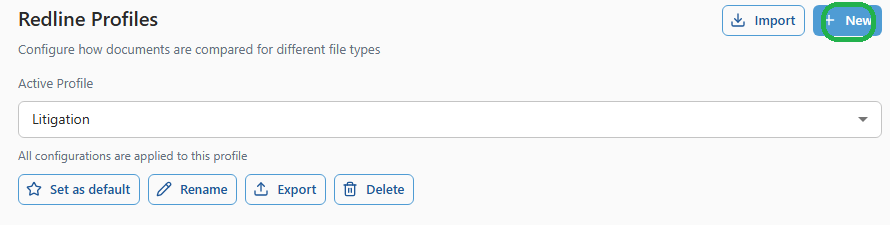
- 26.10 and later
- 26.6 to 26.9
- Before 26.6
Choosing a base profile
Available from version 26.10.01
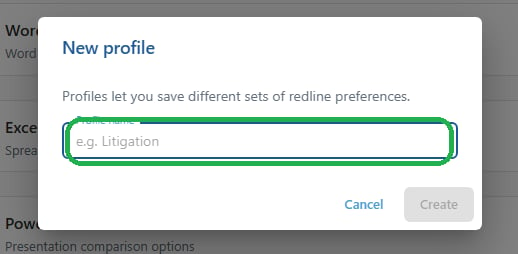
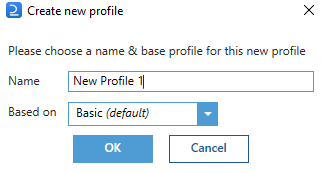
Name the profile
Enter a Profile name in the New profile dialog.
2
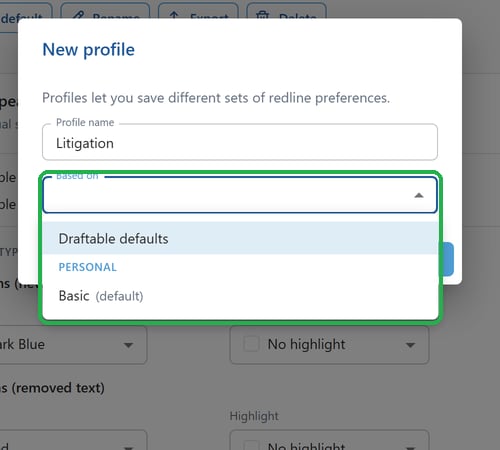
Choose the starting settings
In Based on, keep the currently active profile or select another profile to copy its settings. The list includes your personal profiles and any available built-in or team profiles. Select Draftable defaults to start from the default settings instead.Your administrator can restrict the starting settings, so Draftable defaults may not be available.
3
Create the profile
Select Create, then adjust the new profile’s settings as needed.
- 26.6 and later
- Before 26.6
The new profile becomes the Active Profile at the top of the Redline Profiles screen. Open the Active Profile dropdown and you will find it grouped under Personal, alongside the built-in profiles.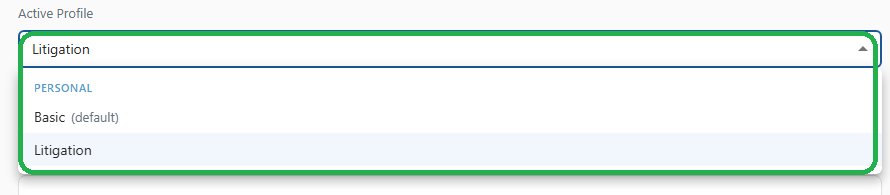
Exporting a profile
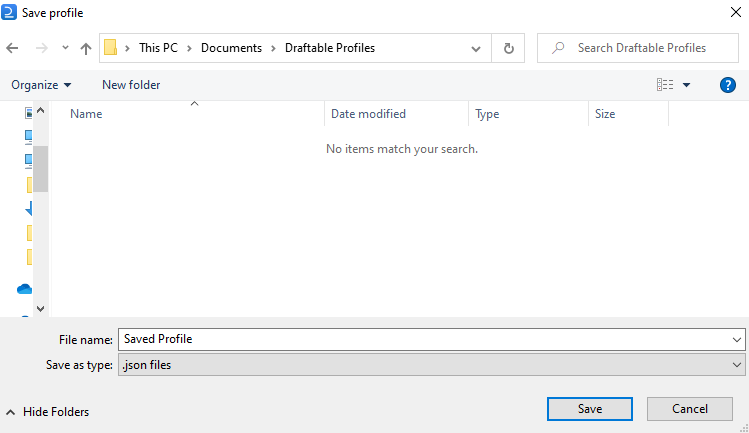
Exporting saves the profile to a JSON file that you can share with teammates.- 26.6 and later
- Before 26.6
Select the profile you want to export in the Active Profile dropdown, then select Export.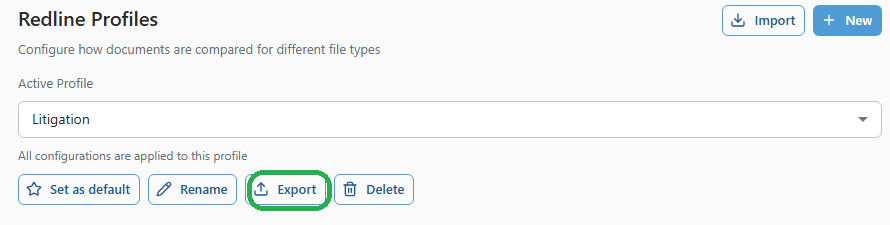
Importing a profile
- 26.6 and later
- Before 26.6
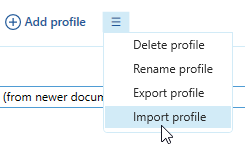
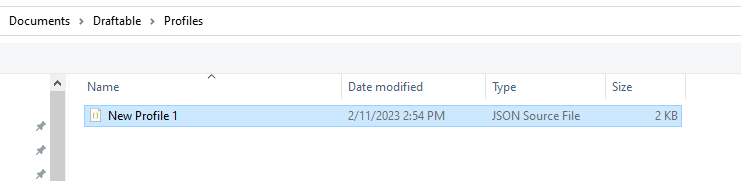
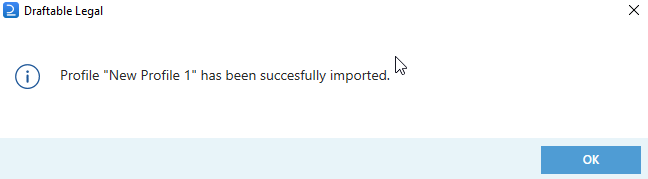
Select Import in the top right of the Redline Profiles screen.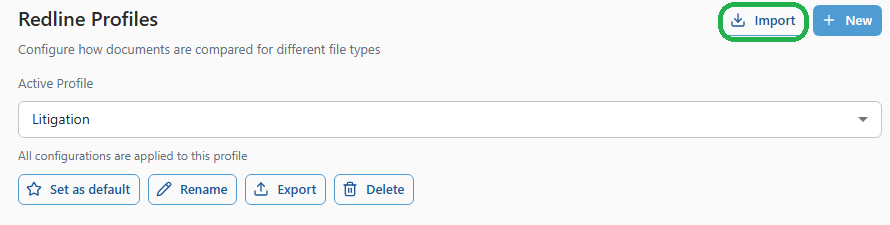
Renaming a profile
- 26.6 and later
- Before 26.6
Select the profile you want to rename in the Active Profile dropdown, then select Rename.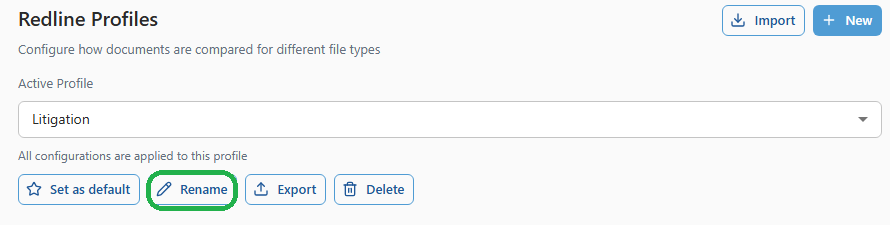
- 26.6 and later
- Before 26.6
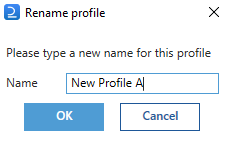
The Rename profile dialog opens with the current name pre-filled. Edit the Profile name, then select Rename to apply the change.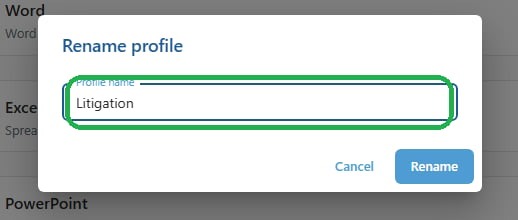
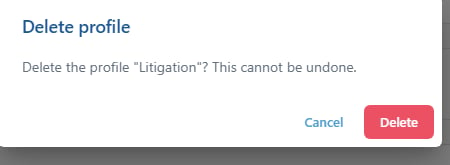
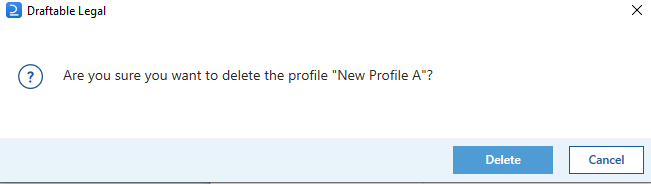
Deleting a profile
The built-in profiles are read-only, so Rename and Delete are disabled while a built-in profile is active. You also cannot delete the default profile or your only remaining profile. To delete one of those, set another profile as the default first, then delete it.
- 26.6 and later
- Before 26.6
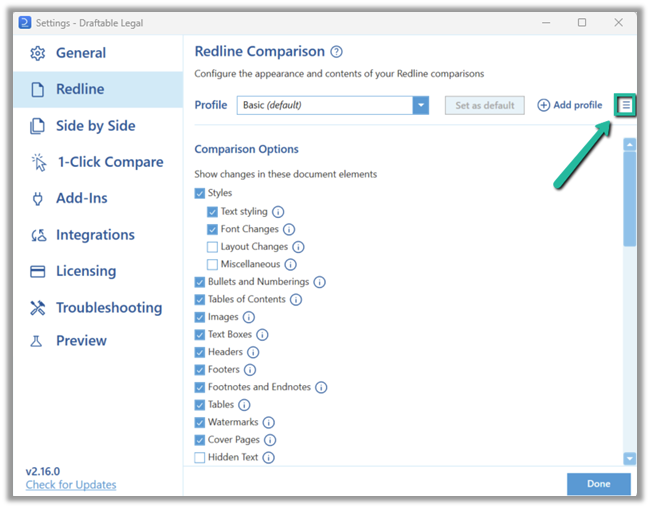
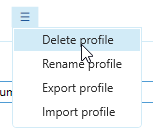
Select the profile you want to delete in the Active Profile dropdown, then select Delete.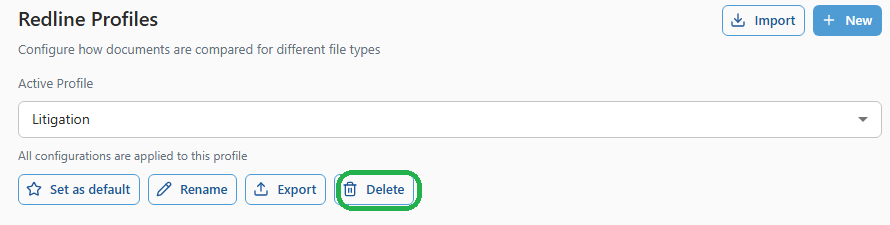
- 26.6 and later
- Before 26.6
Setting a default profile
In 26.6 and later you can mark the active profile as the default with the Set as default button at the top of the Redline Profiles screen. The default profile is the one Draftable uses for comparisons unless you switch the active profile. When the active profile is already the default, the button reads Default profile and is disabled.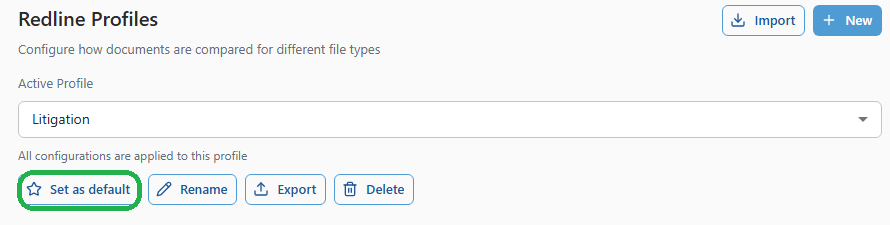
Where the profile settings live in 26.6
Every setting you configure applies to the active profile. In 26.6 and later, the settings on the Redline Profiles screen are organised into accordions:- Appearance: change type styling (colours, highlights and text styles for insertions, deletions, moved from and moved to), table cell colours and revised line markers.
- Word: what to compare and how Word comparisons behave.
- Excel: how spreadsheet comparisons behave.
- PowerPoint: how presentation comparisons behave.
- Output: the tracked changes author used for Tracked Changes output.