Setting up
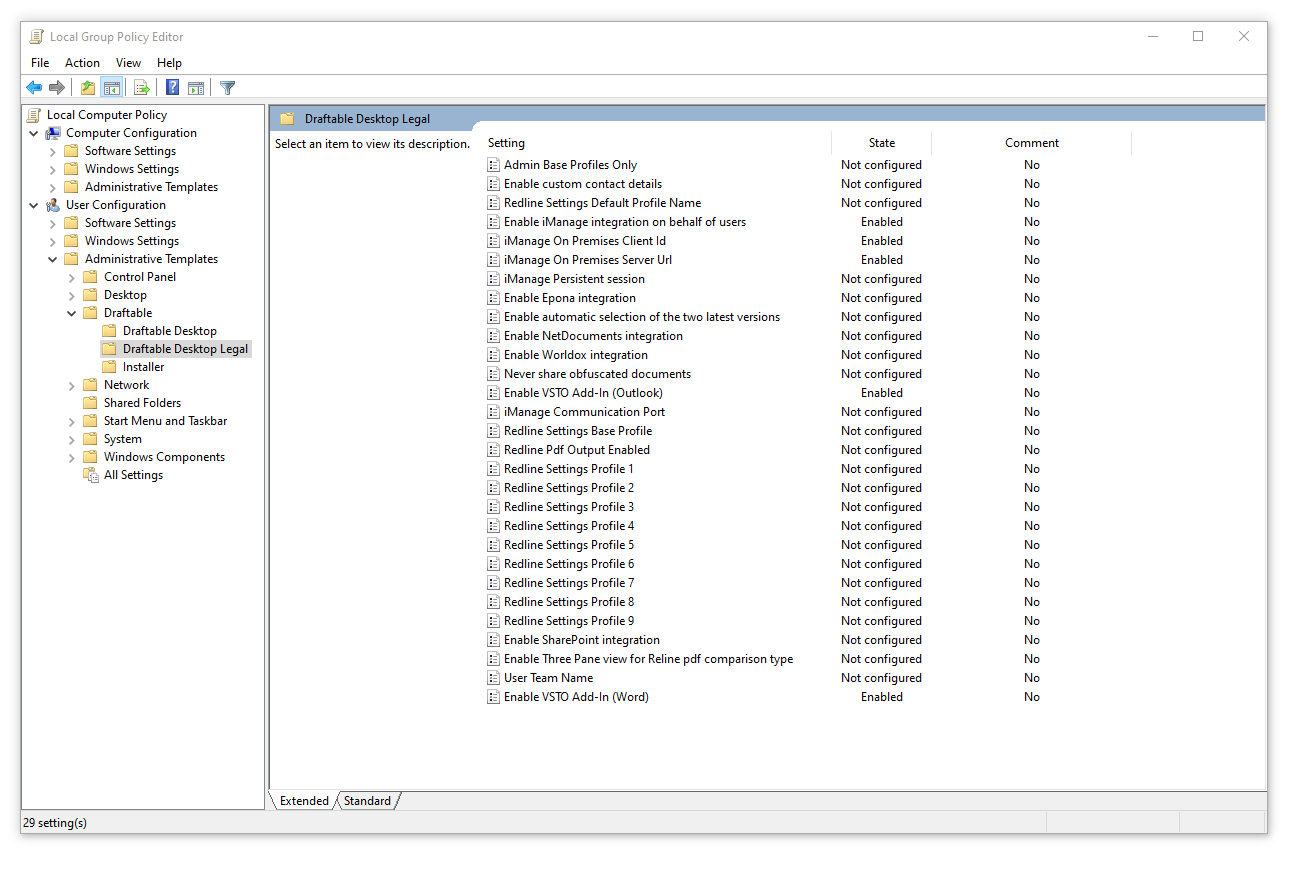
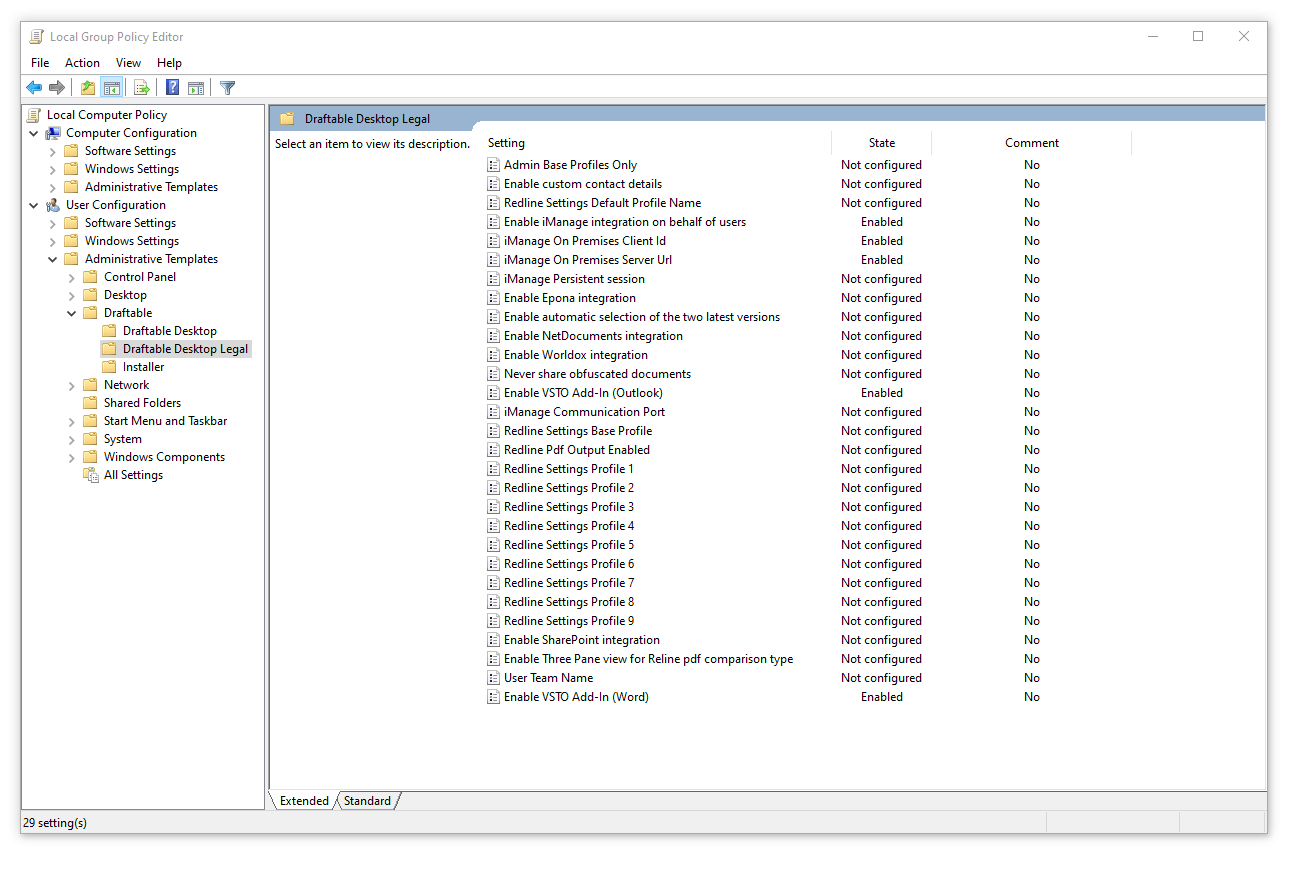
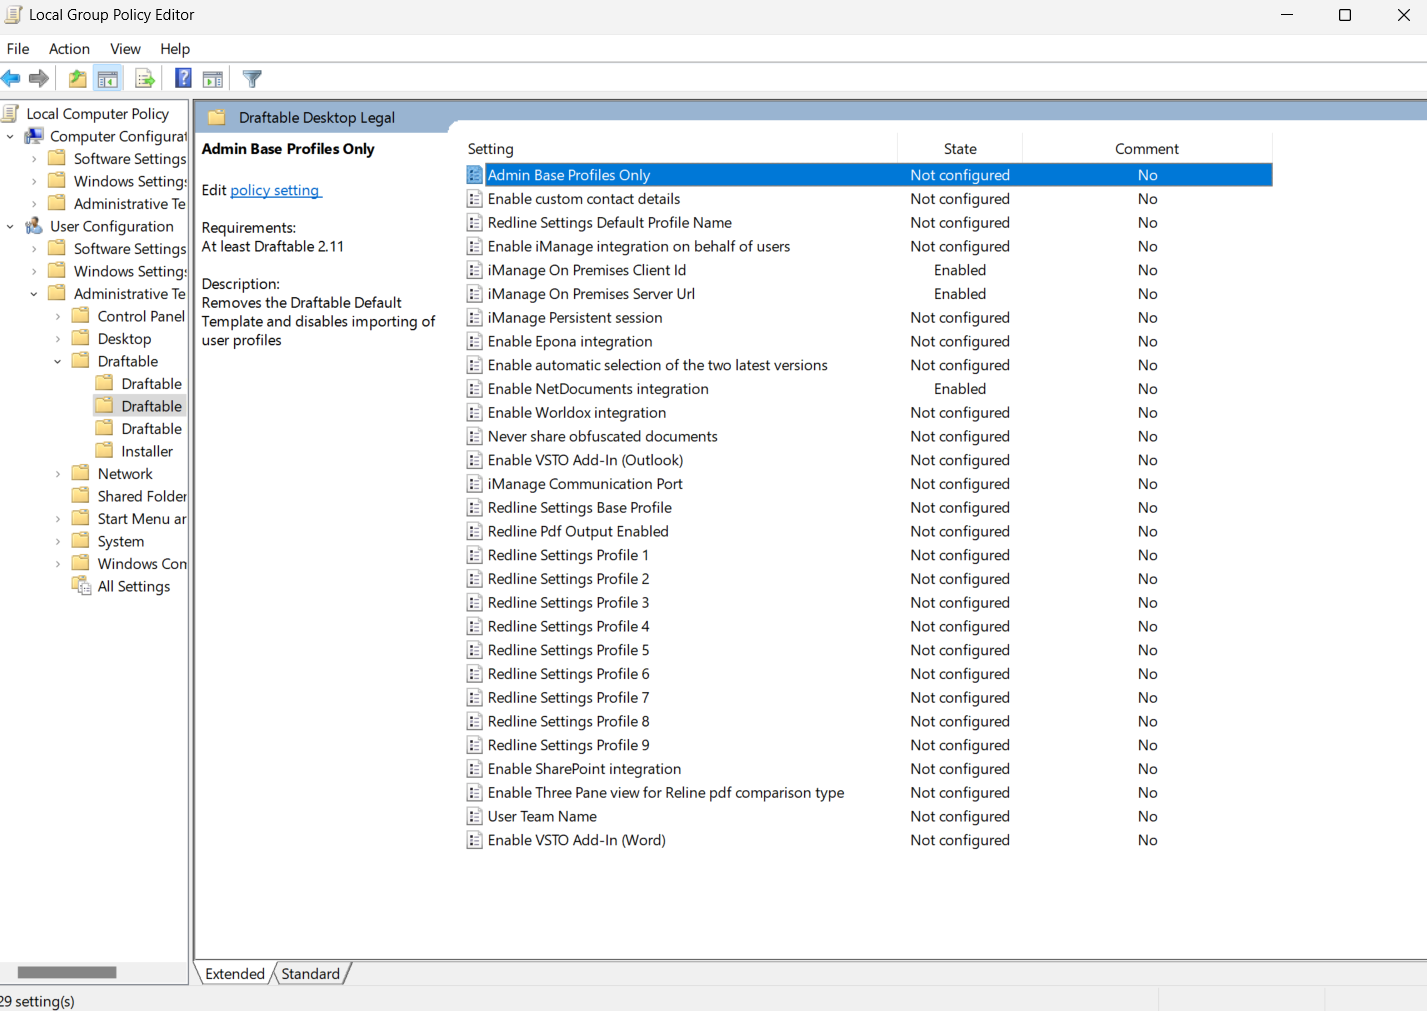
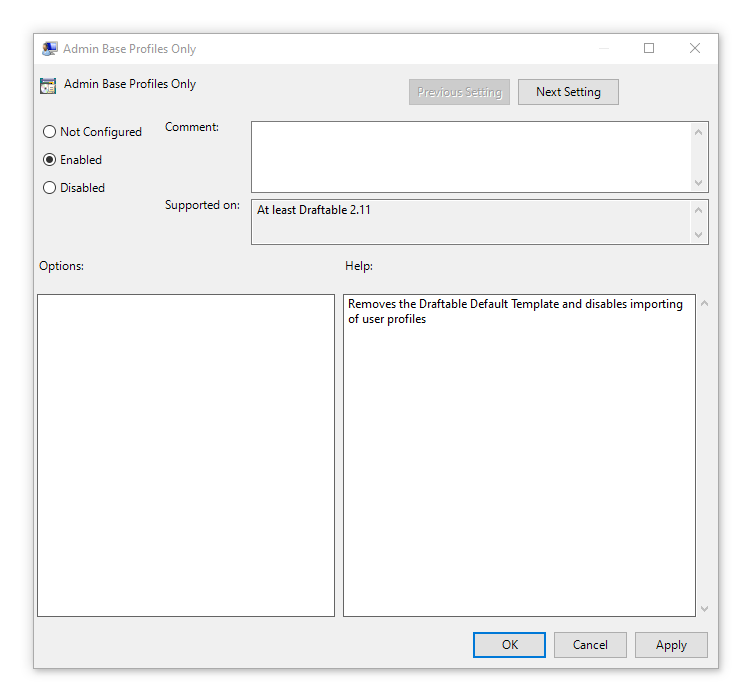
Ensure you have already followed the Draftable Group Policy guide in respect to adding the templates for the group policy. Open the Group Policy Editor (via Control Panel) After installing the group policy template you should see following policies in the Draftable Legal section: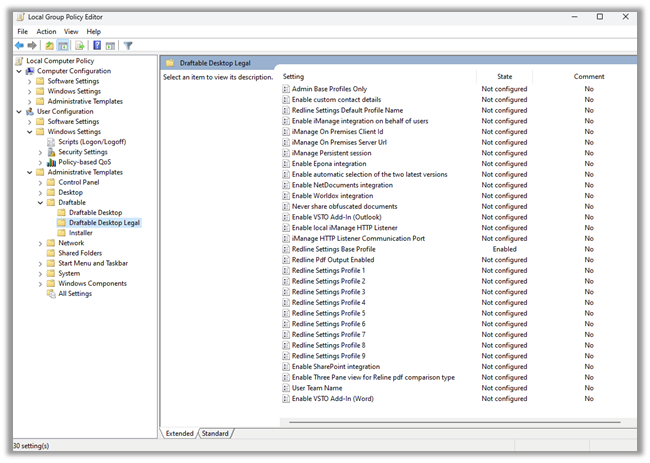
Getting the profile JSON ready
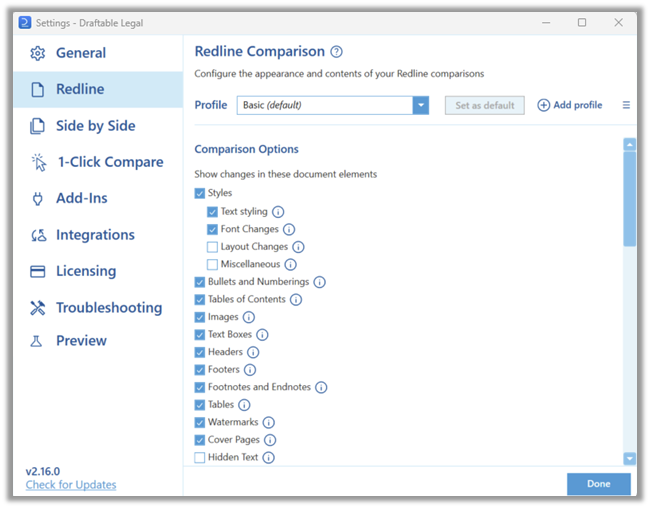
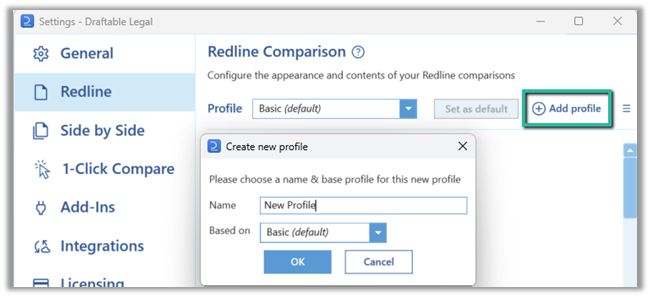
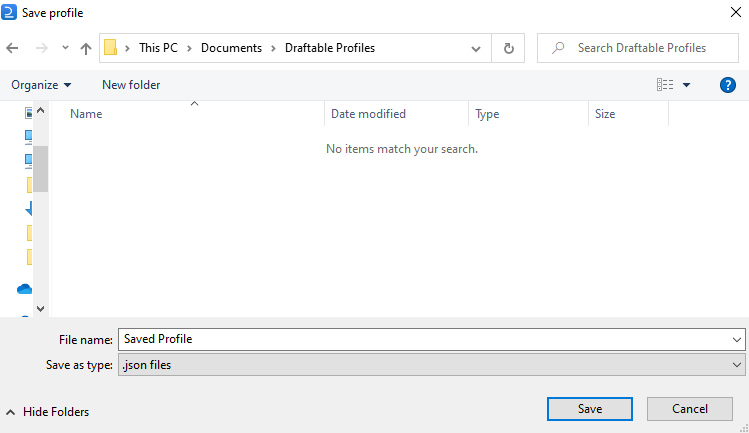
To pre-configure the Redline settings profiles within group policy, you must already have the JSON for profile ready to be added into the group policy setting. To get this, see the process below:Start building the profile as required for your user by selecting the settings desired. Then once you have finished building the profile, export it by clicking on the option icon, and then selecting export
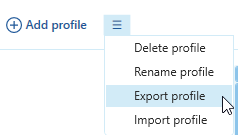


Configuring Redline profiles within group policy
There are a few components to the Redline profiles configuration in group policy. Configuring Redline profiles to be loaded for the user, team allocation for what profiles users can see and setting the default Redline profile used.Configuring the team name for user
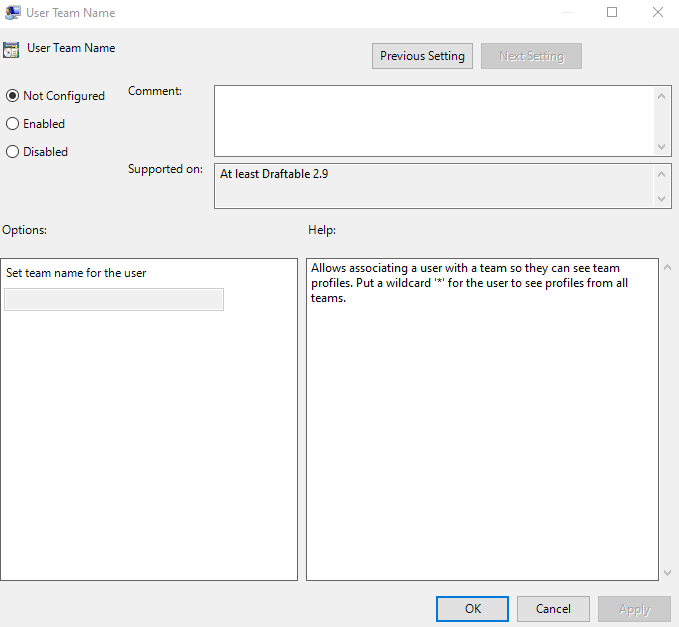
As an administrator, you can allocate a user to a team as a way to further distinguish what profiles they can use from the Redline settings configured by group policy. Mutliple team names can exist, which has the benefit of easily allocating which profiles are loaded for different groups of users.Note: This step is entirely optional, and only required if you wish for certain users to only use certain Redline profiles.
Enable the policy and set a string based name for the user in the Set team name for the user field. Alternatively, putting a wildcard * for the user, will allow them to see all profiles from all teams.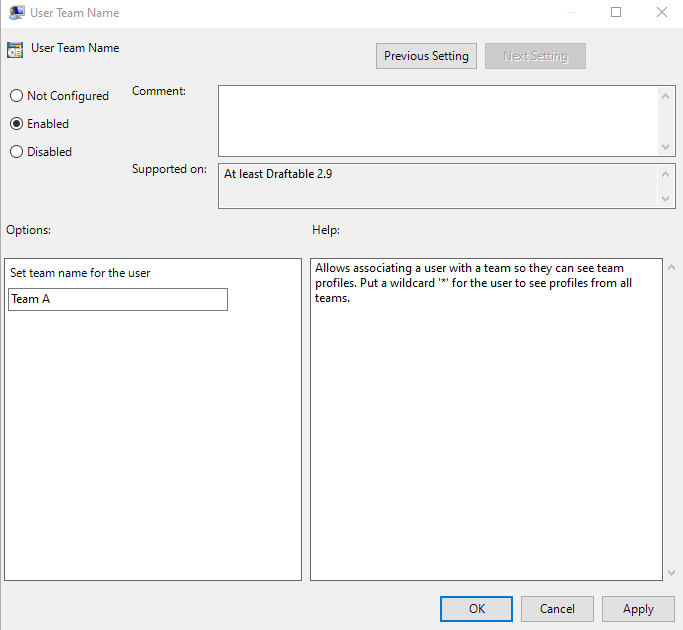

Configuring the Redline profiles
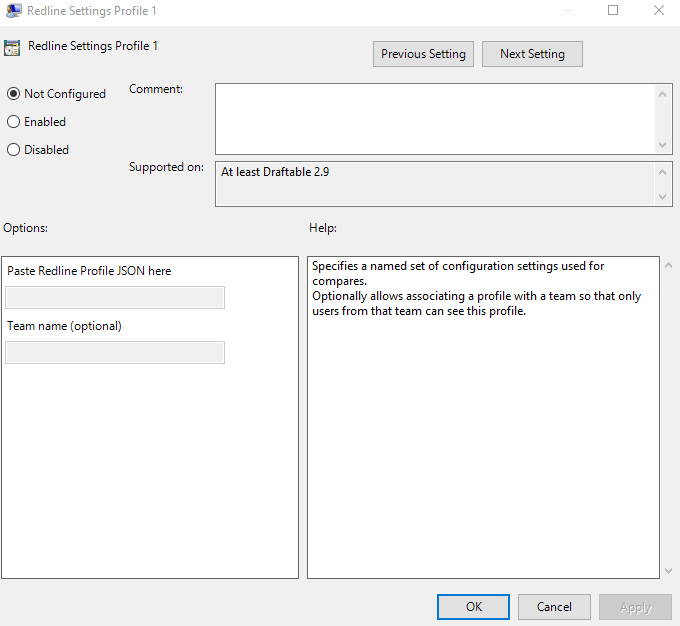
You can configure up to 10 Redline profiles that can be automatically loaded into your user machines. Here is how you configure the Redline profiles:Enable the policy and paste the Redline profile JSON (that we created using the processed outlined earlier in this article) into the Paste Redline Profile JSON here field.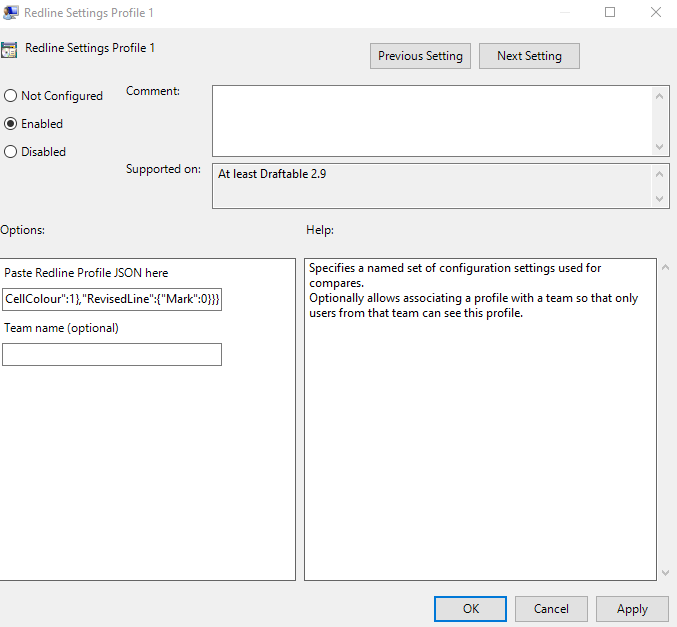

Optionally: you can enter the team name of the Redline setting profile, so that only users with that team name can see that profile. If you would like to do this, add the team name in the Team name field.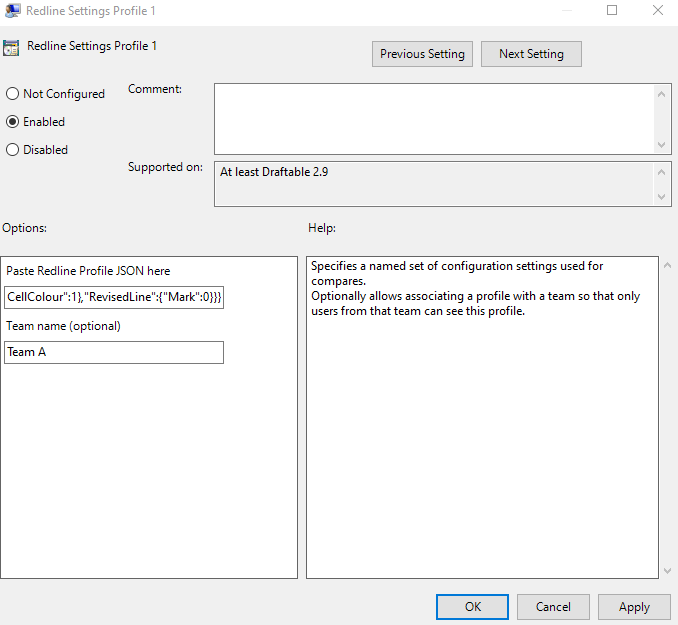

Setting the default profile
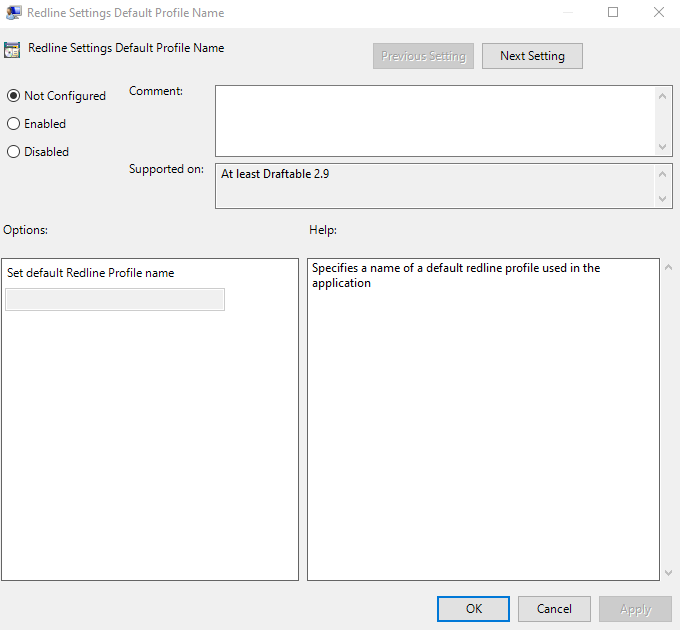
You can select the default Redline profile that is used when a user loads Draftable Legal. To do this follow the procedure below:Enable the policy and enter the name of the profile you wish to load as default into the Set default Redline Profile name field.
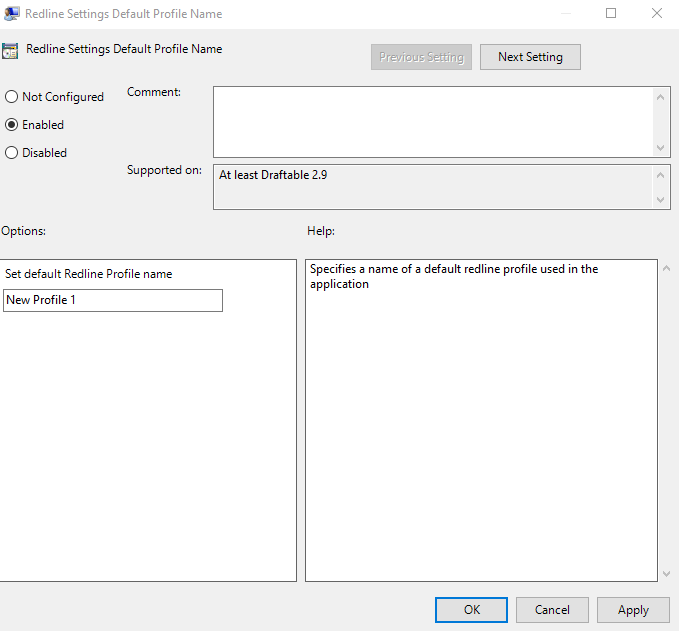
Note: This is the name of profile you saved it as, not the name of the policy.

Configuring locking specific settings across all Profiles
From v2.15.300, Draftable Legal allows administrators to override any Profile setting using a “Redline Settings Base Profile” in Group Policy. This is designed to allow some Profile settings (e.g. author of changes) to be kept consistent across all profiles while still allowing administrators and end user to create custom profiles by changes other ‘unlocked’ settings. This section outlines how administrators can lock specific Profile settings across all Profiles with this functionality.Configuring and locking specific settings across all Profiles
The “Redline Settings Base Profile” policy looks the same as all other Redline profiles group policy items, but it has the additional configurable property called “Enforced” that can be added to the JSON string.Administrators can nominate keys (i.e. Redline settings) that are to be “Enforced” at the end of the profile JSON by listing them. This configures the setting using the key in the Redline profile value and locks this setting from end user configuration. Below is an example of the Redline profile JSON showing the Enforced key added for locking down settings.As you can see above, the keys “CommentOption” and “RedlineMarkupScheme” are now enforced.For reference, the following keys can be set as enforced:
Using the information above, you can prepare your base profile JSON, and once you have your JSON profile ready, go to the Group Policy Editor and find the “Redline Settings Base Profile” item.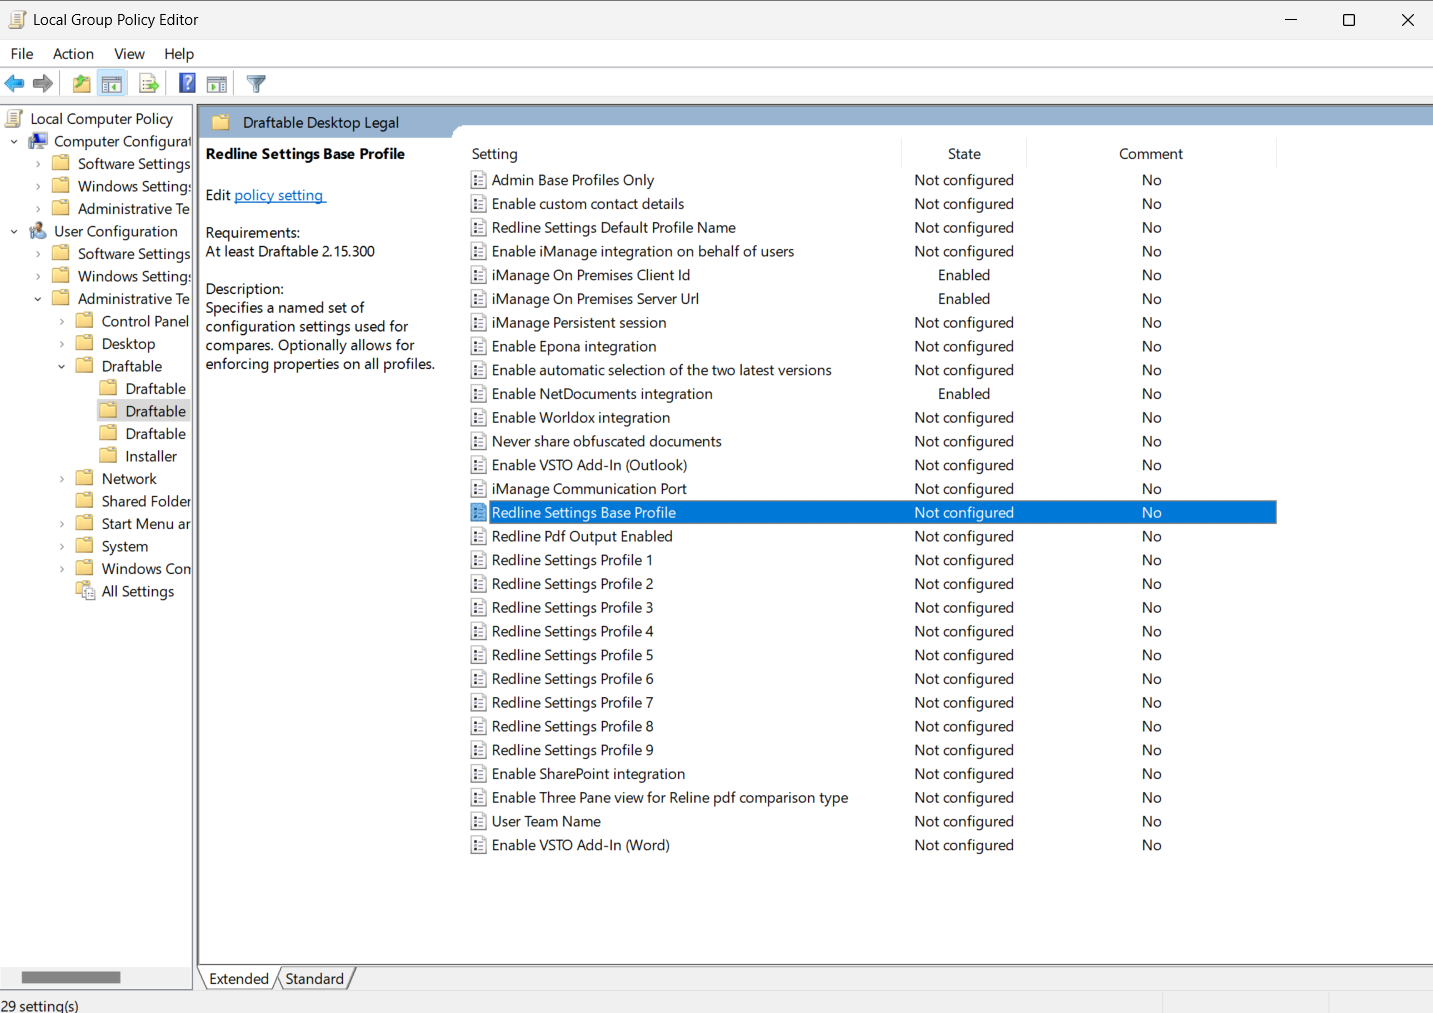

Within this policy, paste the entire JSON profile as a string, to use as a base template to add enforced Redline settings (i.e. to configure and lock the specific Redline setting across all profiles)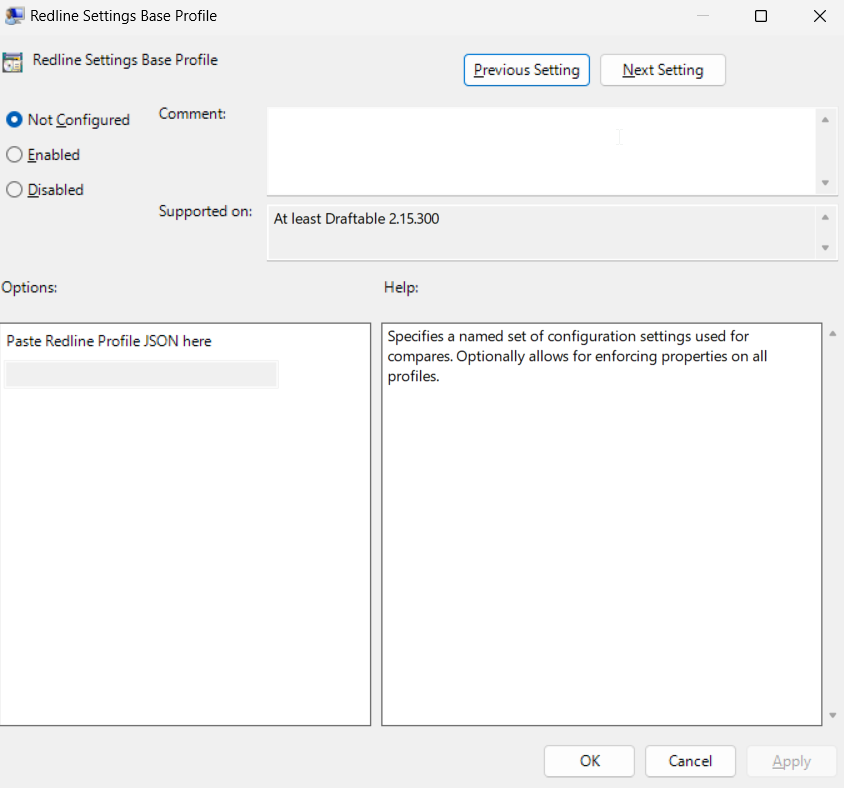

Note: Enforcing does not allow for a setting to be locked, while still being configurable across different profiles. The enforced setting will be the same for all Profiles and will be based on the “Redline Settings Base Profile” entered in the above policy.
