Video Resource
This topic is included in our specially crafted explainer video.
Navigating to the Redline comparison settings
Firstly, we need to open the settings menu, this can be done in a few ways:- Open settings via the Taskbar
-
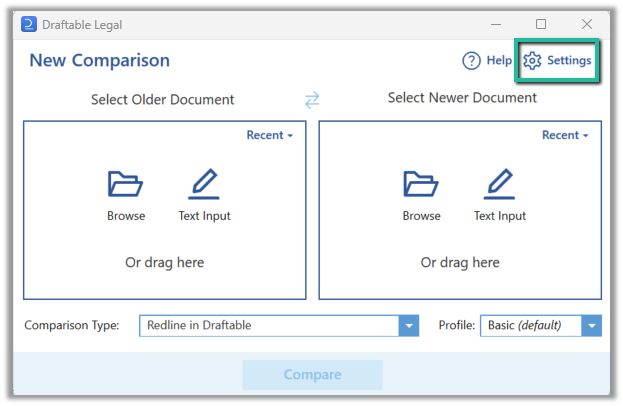
Or, open the settings menu via the New Comparison Window
Open the New Comparison window

Configuring Redline settings Profiles
Below are all the different methods for creating, importing, exporting, renaming and deleting profiles from within the Redline settings section.Creating a profile
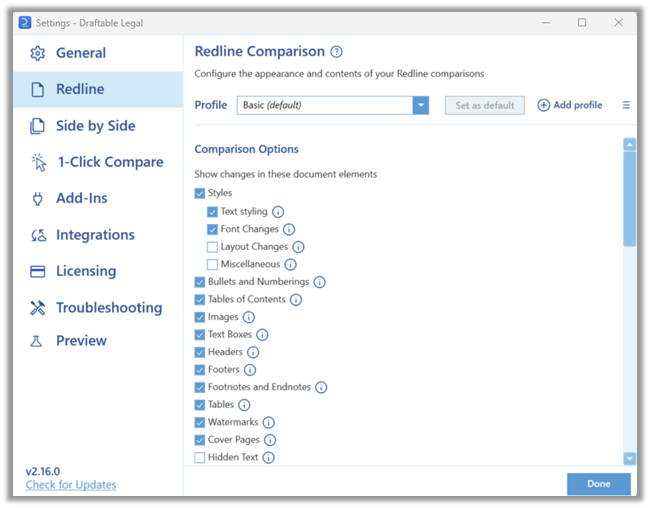
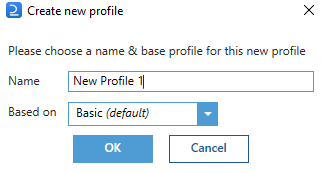
Within the Redline Comparison section, make all the changes you require to all the different settings for your Redline comparisons. Once you have completed doing so, go to the top of the Redline section, select Add profile.**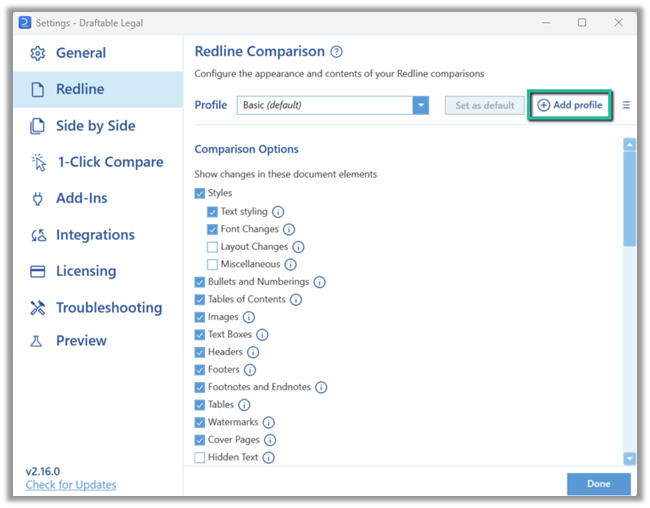
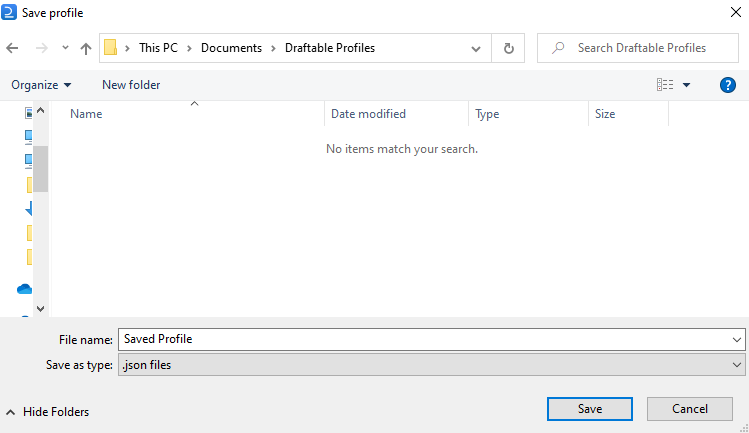
Exporting a profile
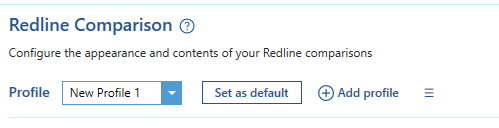
In the profile section, select the profile you wish to export in the drop down box. Then select the menu icon as highlighted below.**
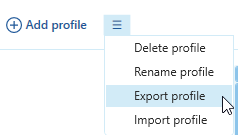
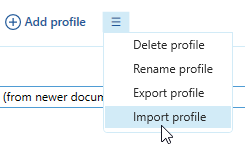
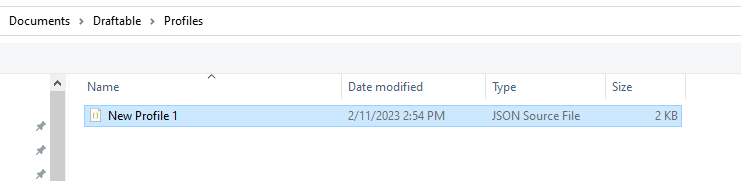
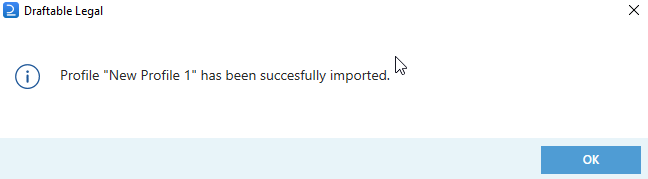
Importing a profile
Within the profile section, select the menu icon as highlighted below.
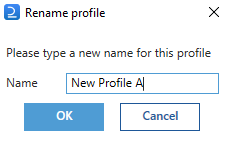
Renaming a profile
Within the profile section, ensure you have the profile you wish to rename selected in the profile dropdown box. Then select the menu icon as highlighted below.

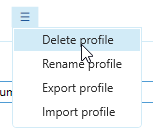
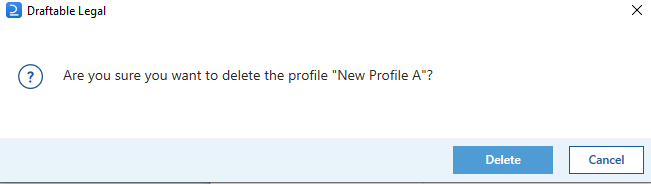
Deleting a profile
Within the profile section, ensure you have the profile you wish to delete selected in the profile dropdown box. Then select the menu icon as highlighted below.