The settings menu was reorganised in Draftable Legal 26.6. If you are on 26.6 or later, follow the “26.6 and later” tabs below. On earlier versions, follow “Before 26.6”. To check your version, open Settings. The version number shows at the bottom-left (for example, v26.6.0).
Please note: This workflow is required to use the NetDocuments integration (i.e. loading files from NetDocuments, saving to NetDocuments). To use this integration, you will also need to have your system administrator set up the integration with your NetDocuments cabinet (see here).
Enable NetDocuments integration in Draftable
1
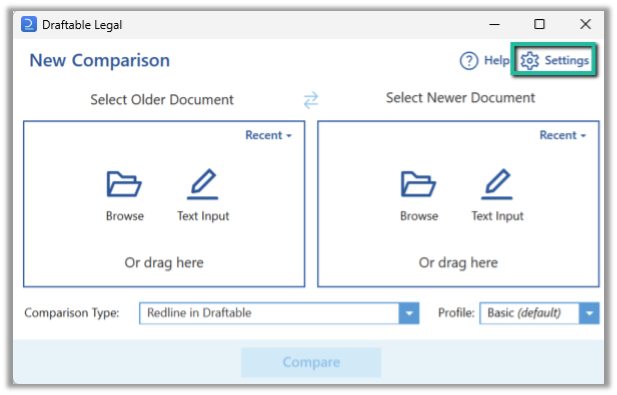
Open Draftable Legal and go to the Settings menu in the top right corner of the New Comparison Window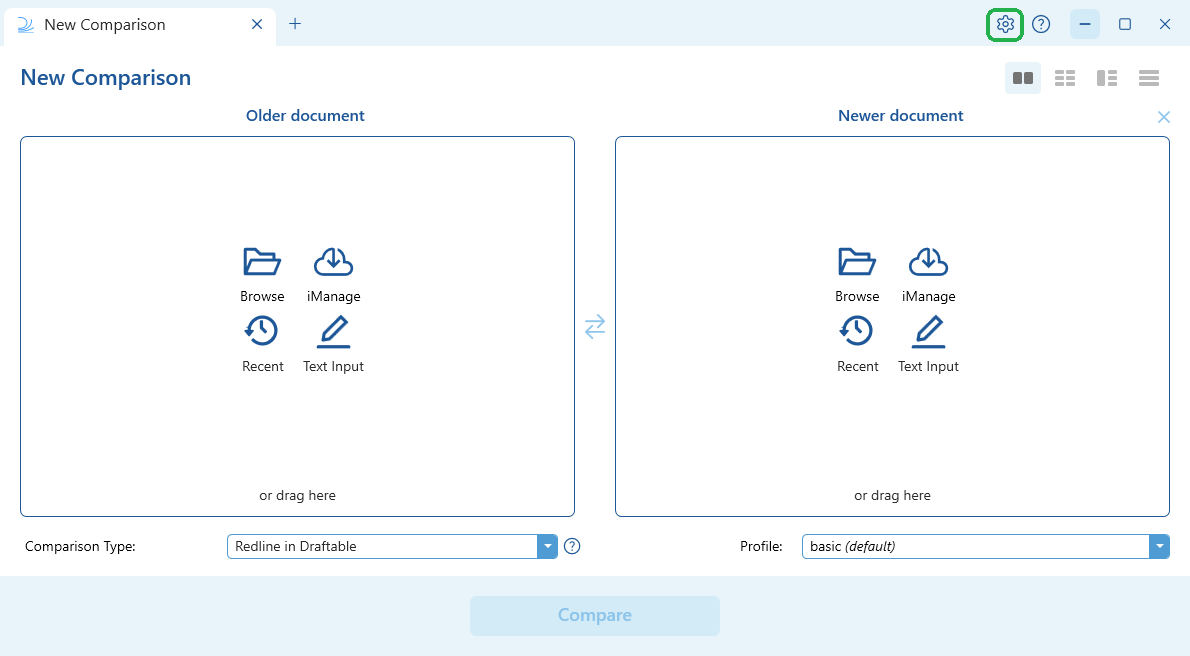
- 26.6 and later
- Before 26.6
2
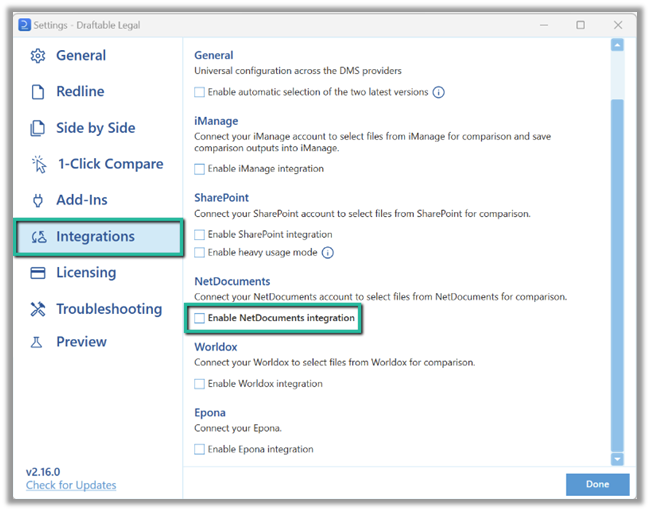
Open the NetDocuments connection settings and turn the integration on.
- 26.6 and later
- Before 26.6
In the settings menu, select DMS Connections under the Integrations group, then expand the NetDocuments row and turn on its toggle to enable the integration.
NetDocuments must be enabled before you can connect your account. Turn on the NetDocuments toggle in Settings > DMS Connections > NetDocuments first; the Connect button only becomes available once the integration is enabled.
3
Select the Connect button to start linking your account.You will be prompted to log in to your NetDocuments account via the ND Office app’s Activity Center
- 26.6 and later
- Before 26.6
With the NetDocuments row expanded, select the Connect button to sign in to your account. You can also turn on Auto check-in here if you want files to be checked back in automatically after saving.
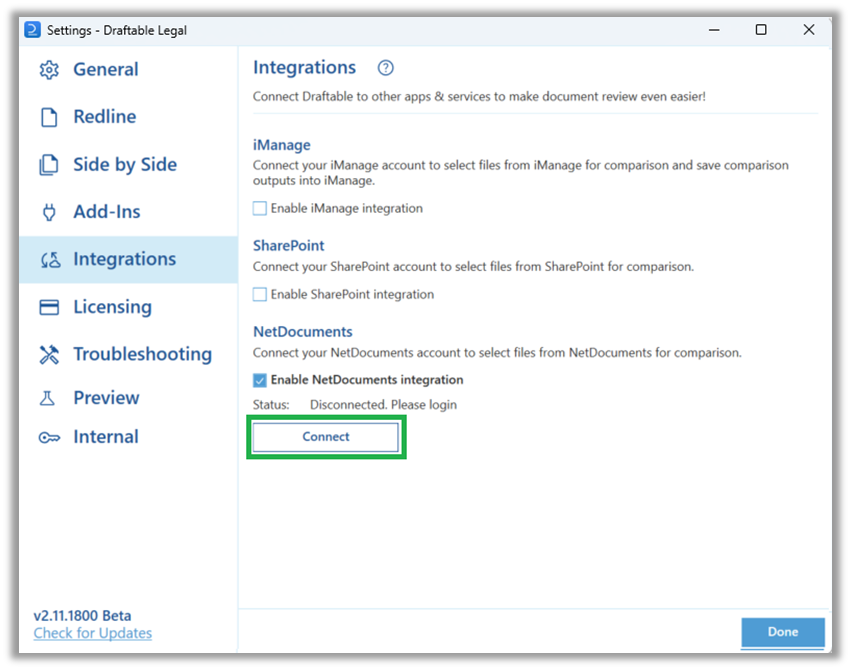
Connect your NetDocuments Account
If required: Connect ND Office if you are not already logged in
1
If you are not already logged into you NetDocuments account via the ND office app, you will be prompted to do so via the screen below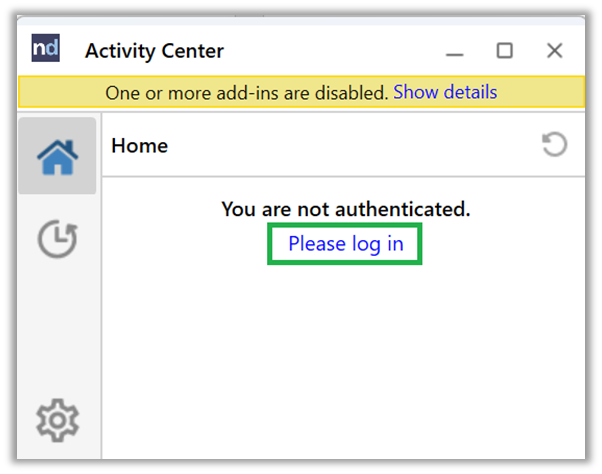
2
Once logged in, ND office will automatically prompt to authenticate Draftable Legal via the screen below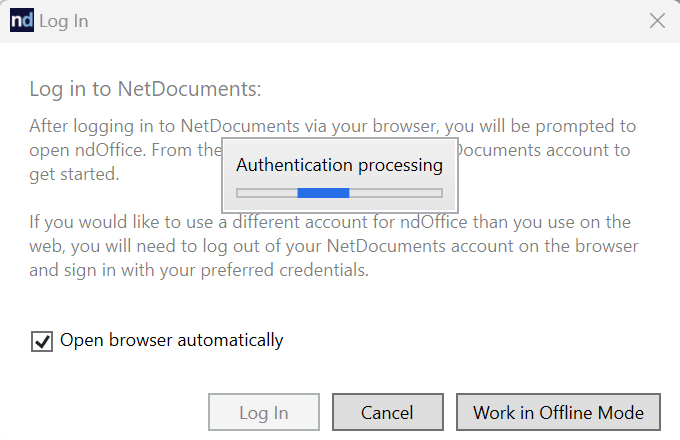
3
A web browser window will open automatically asking you to agree to allow ND Office to connect to your NetDocuments account. Hit ‘Allow’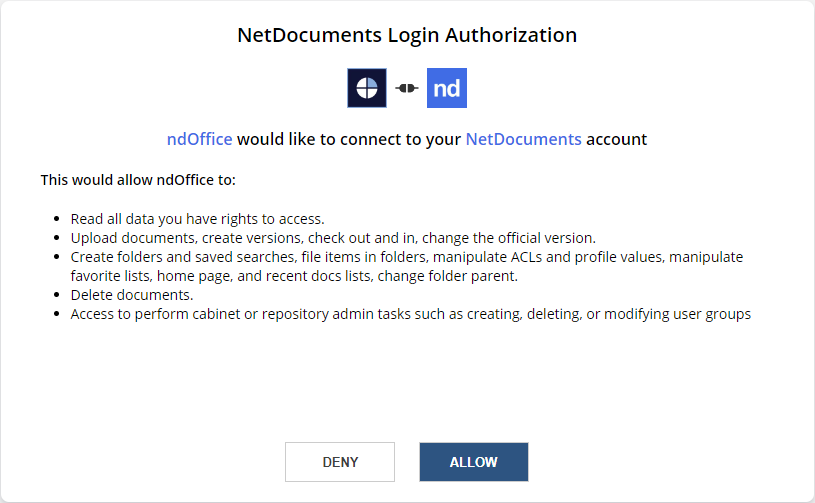
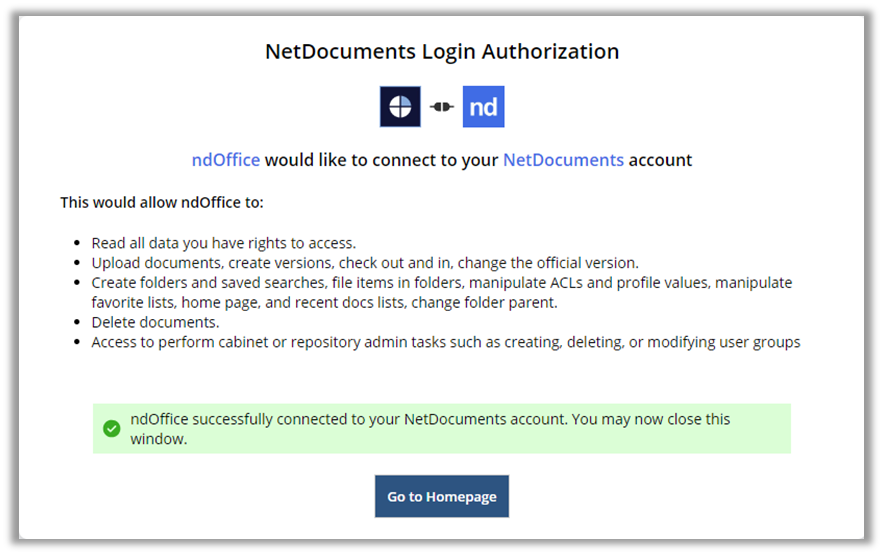
Allow Draftable to connect to your NetDocuments account
1
Once you hit the ‘Connect’ option under the NetDocuments integration in the Draftable Settings menu, a popup should appear in your ND office application.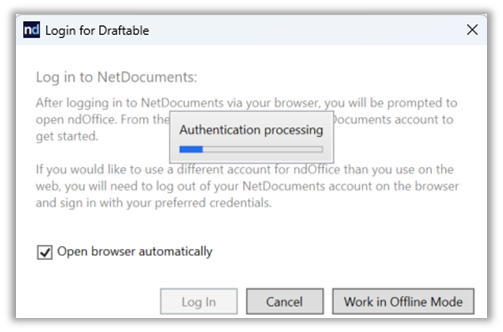
2
ND office will automatically open a web browser window, asking you to allow Draftable to connect to your NetDocuments account. Select “Allow”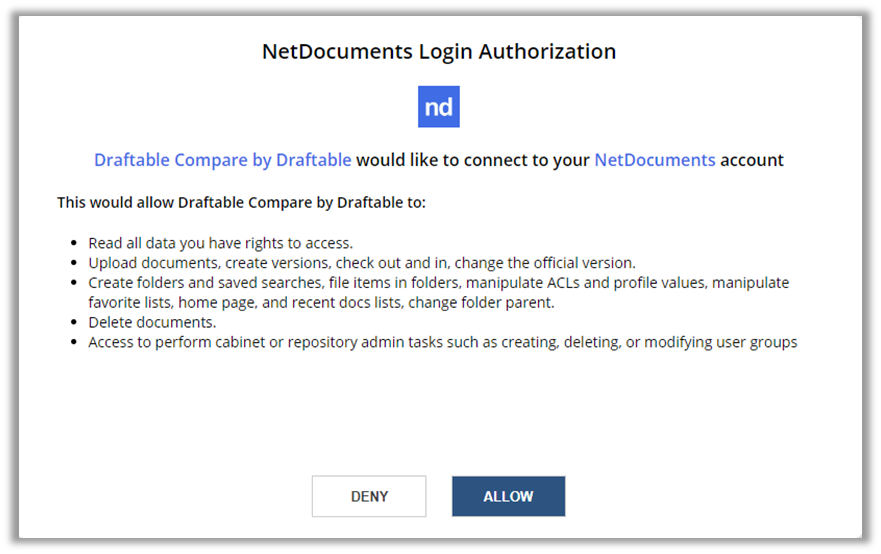
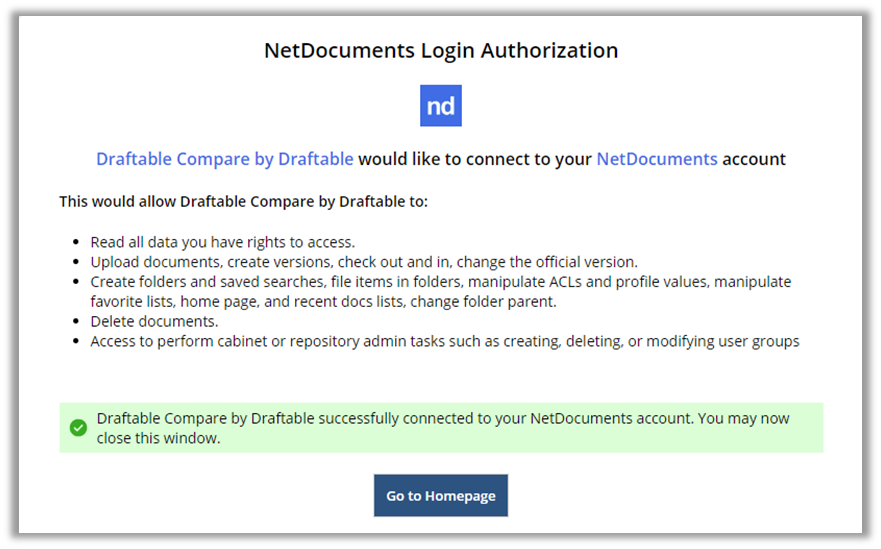
If required, update Service Region for ND Office
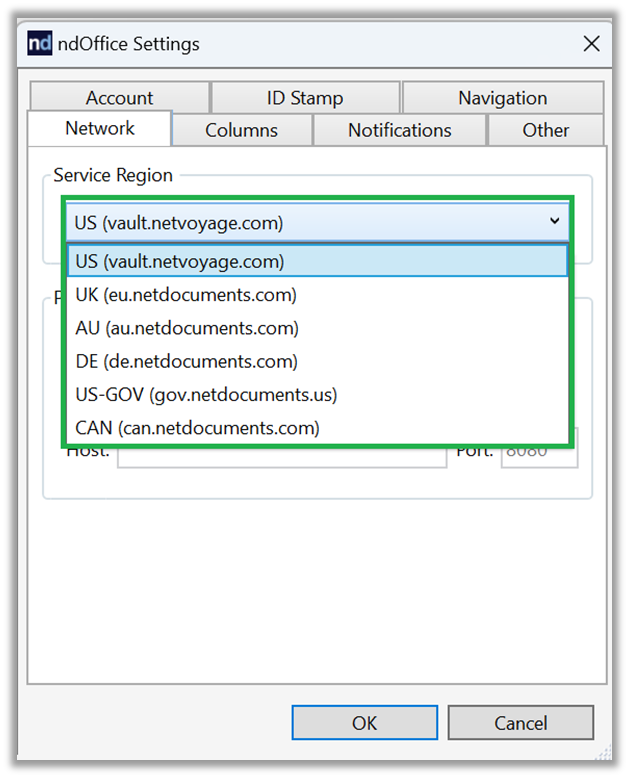
If your ND Office prompts you to login to a NetDocuments URL that does not accept your login credentials, you may need to update the Service Region in your ND Office account.1
Open your ND Office Activity Center in the system tray (located in the windows start bar at the bottom right corner of your primary monitor)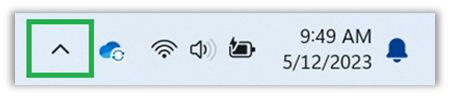
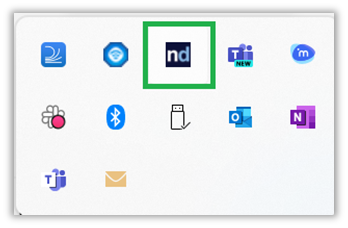
2
Open the settings menu in the activity center by selecting the cog in the bottom left corner and selecting Settings from the popup menu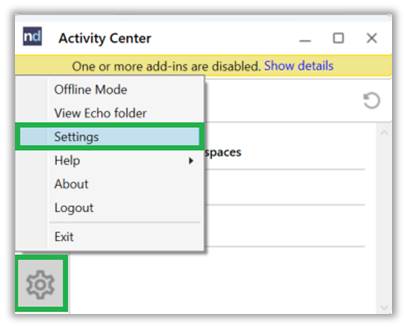
3
In the settings menu, select the Network tab at the top left corner of the window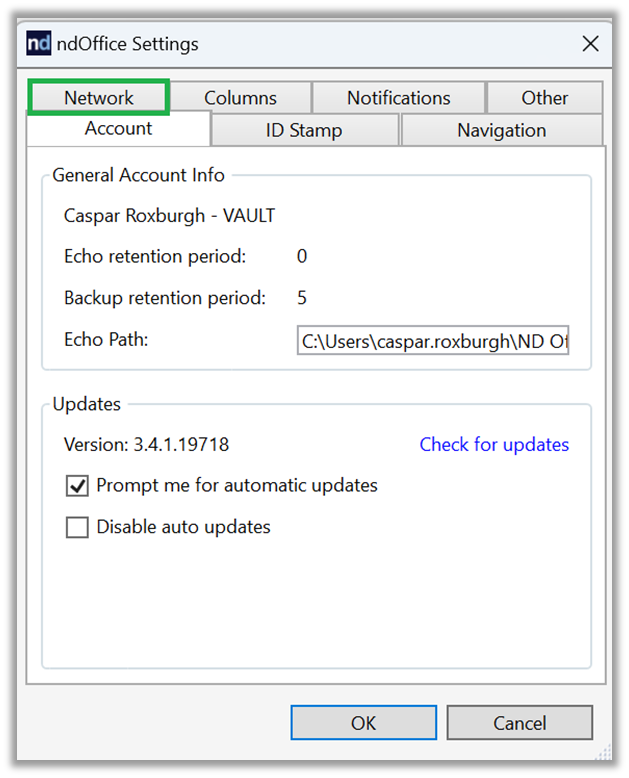
4
In the Service Region section, select the region used by your NetDocuments account and hit OK at the bottom of the window.