Please note: In order to use the features outline in this article, you must first:
Ensuring SharePoint integration can handle large numbers (1000+) of sites
For users who have 1000s of SharePoint sites, you will need to first enable “Heavy Usage Mode” in your Integration Settings (go to the Settings in Draftable, select the “Integrations” tab and under the SharePoint integration section, select the checkbox for ‘Enable Heavy Usage Mode’)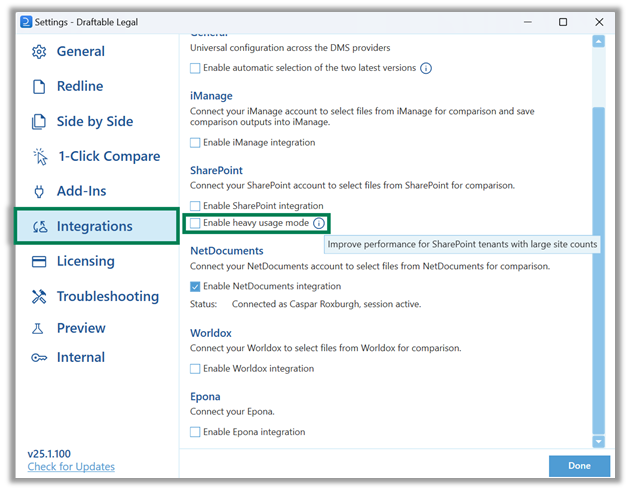
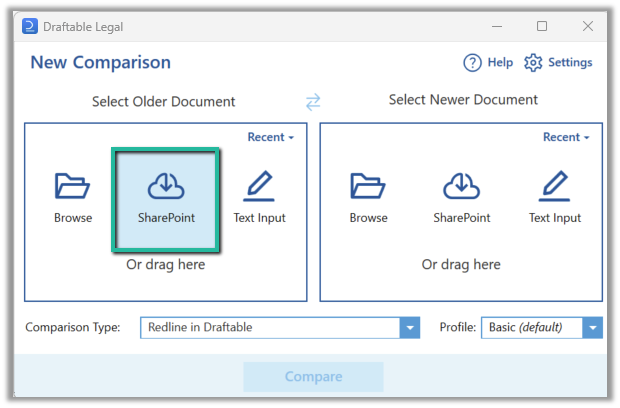
Selecting input files from SharePoint Online to start a comparison
This will launch Draftable’s file explorer menu, where you can navigate to the file(s) you wish to compare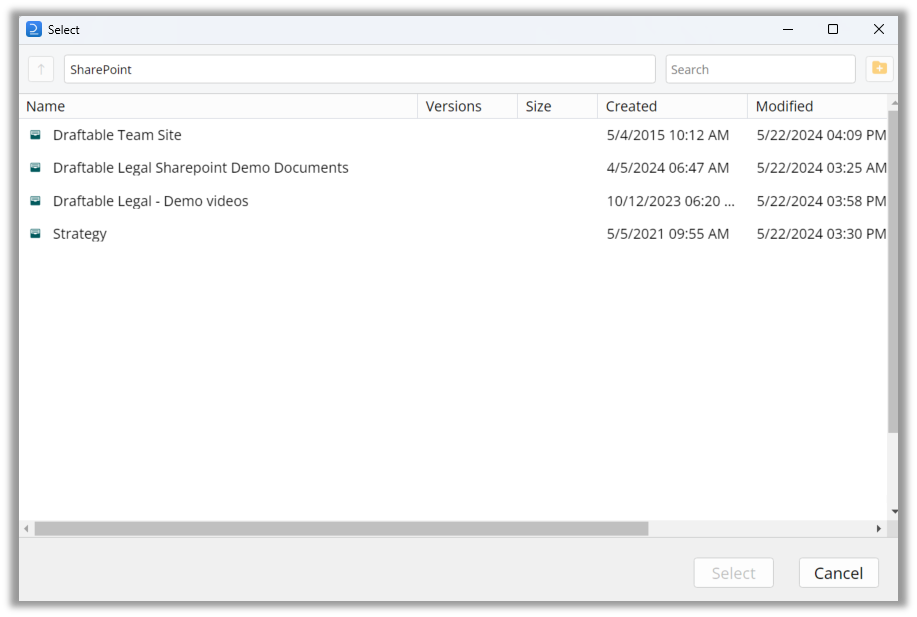

Navigate to your desired file location and click on the document you wish to load. Once the document is highlighted click on Select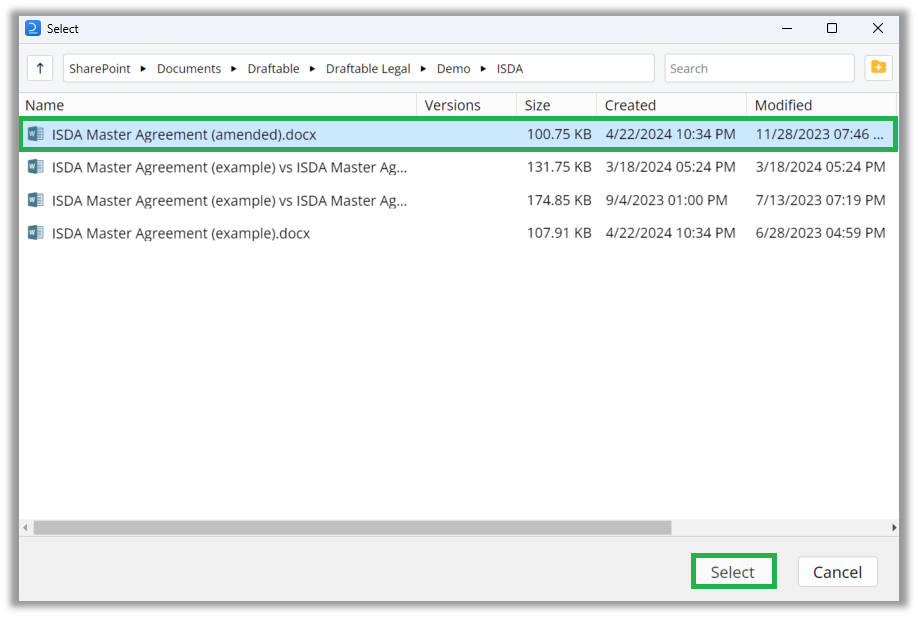

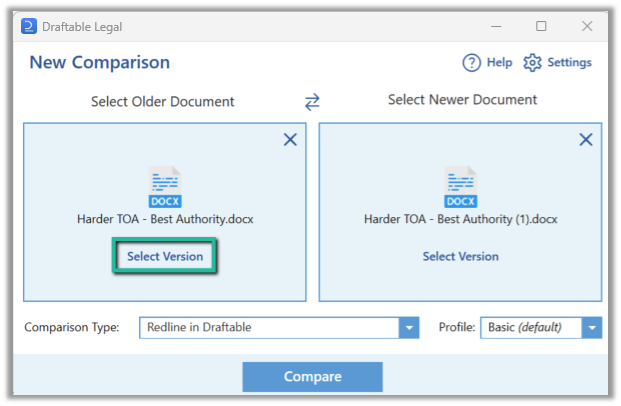
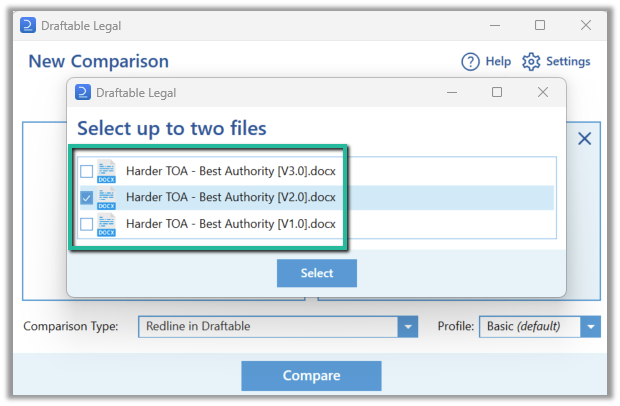
If you would like to load a specific version of a document, simply click on the Show option in the Versions column and the file versions will appear. Select the version(s) you wish to compare (using Ctrl for multi select) and click Select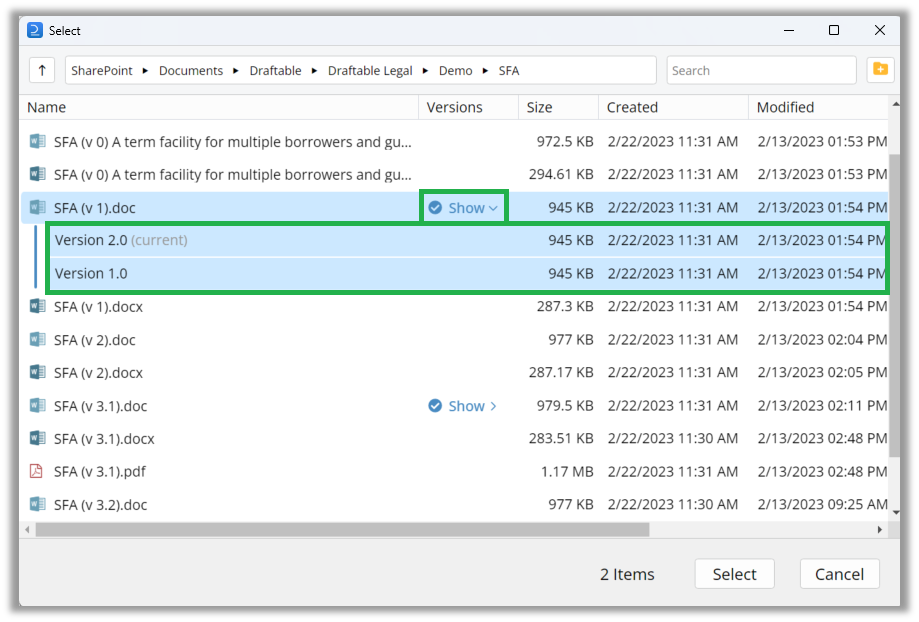

Once selected, the input document(s) will appear in the New Comparison Window. You can repeat this process (steps 1-4) for the newer document if this wasn’t selected with the older document. If you need to switch the order of the documents loaded, you can use the two arrows icon in the top-center of the window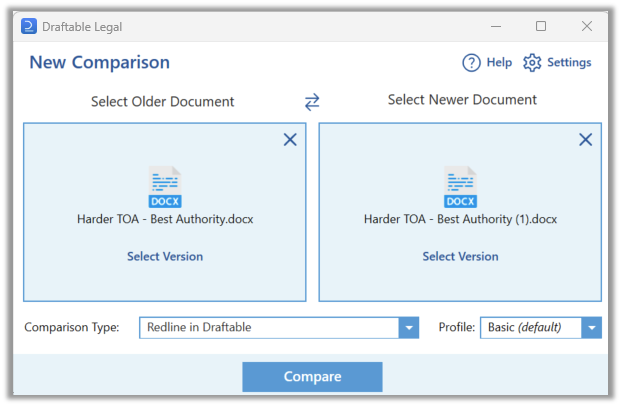


Saving comparison outputs to SharePoint
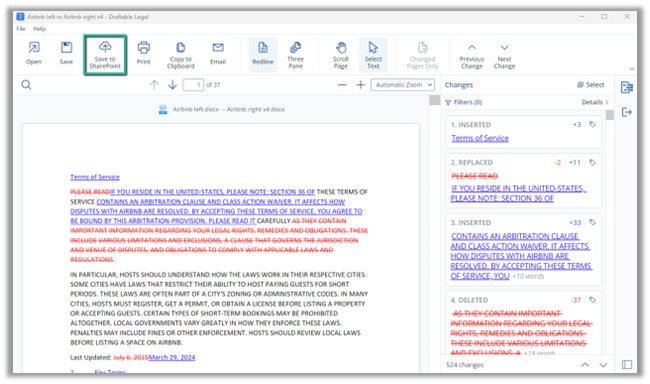
Option 1: Saving via the Draftable Viewer (all output types)
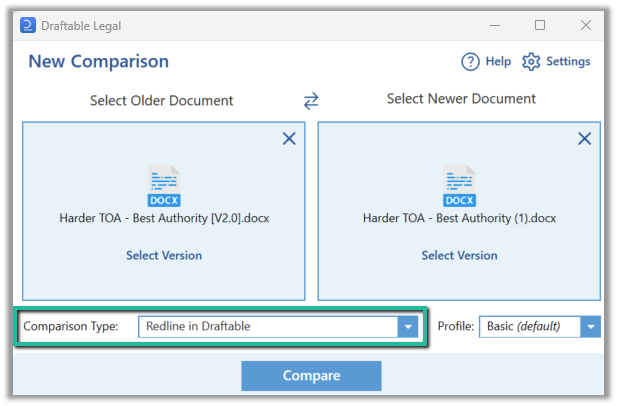
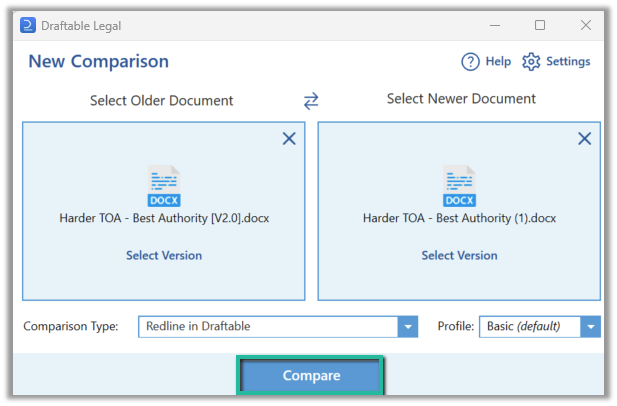
First, in the New Comparison Window ensure the Redline in Draftable Comparison Type has been selected then hit Compare

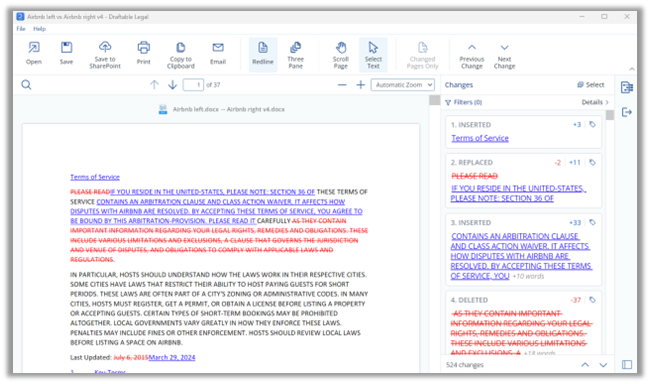
This will bring up the Comparison Results options: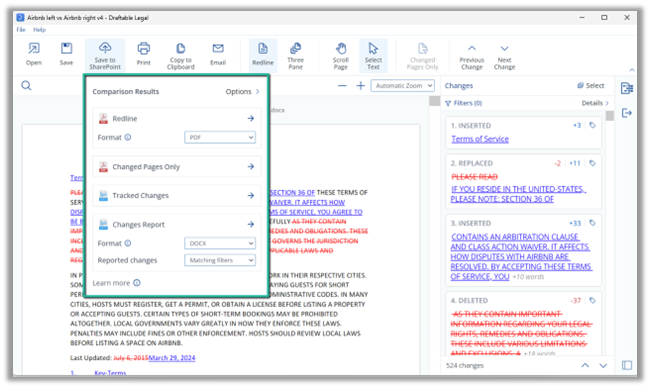
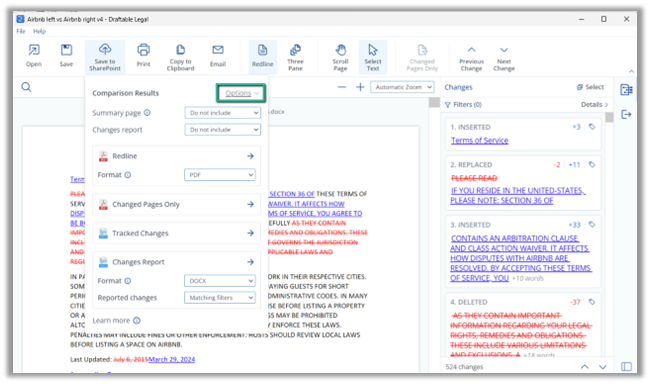


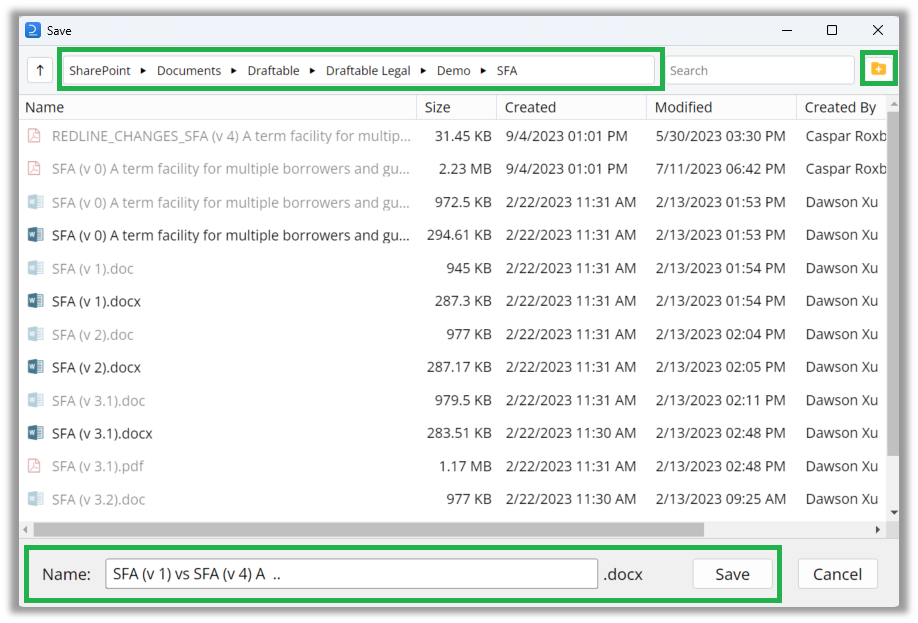
The Draftable ‘Save As’ window will now appear. By default, this will open in the SharePoint location where the newer input file was stored. From here you can navigate through SharePoint online, edit the file name and create new folders as needed.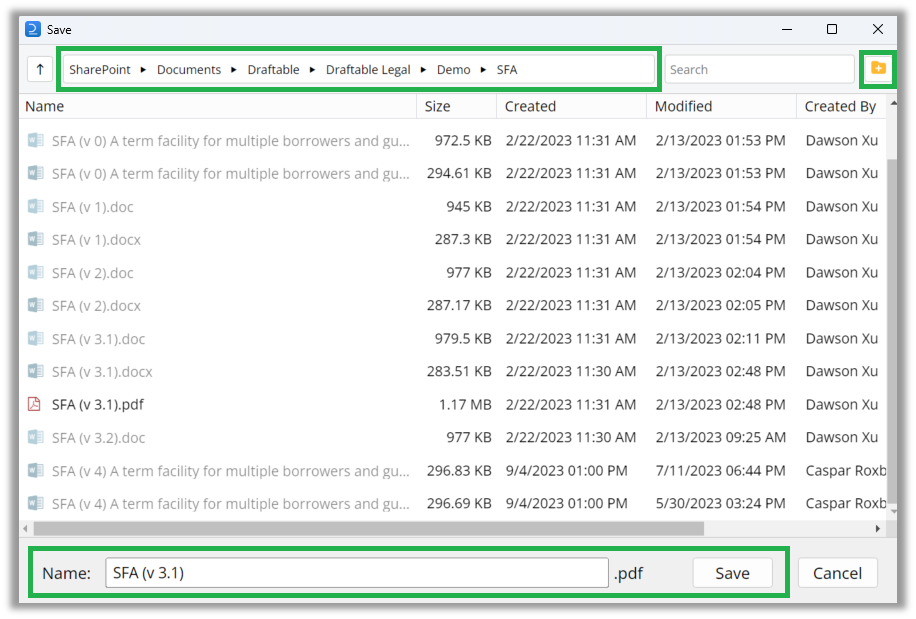

Option 2: Saving directly to SharePoint (Tracked Changes in Word outputs)
First, in the New Comparison Window ensure the Tracked Changes in Word has been selected then hit Compare

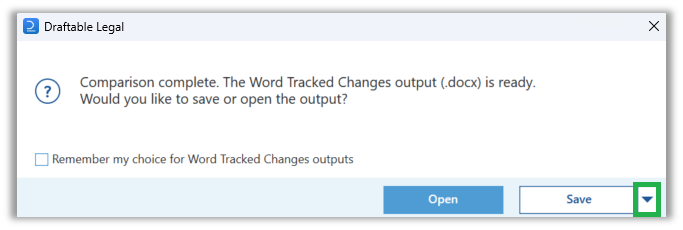
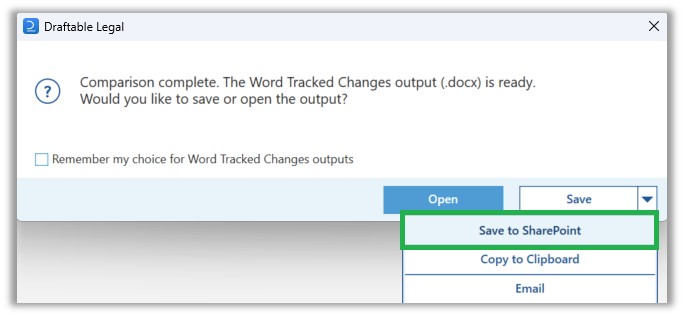
Once the comparison is ready, you will see a popup asking whether you want to Open or Save your comparison output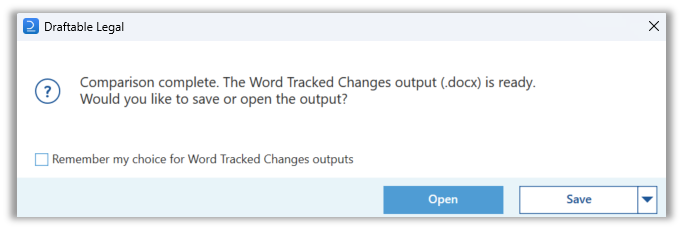
Note, some users may have set a default action for these comparisons in the Redline section of the Settings menu. If this is the case, you will need to change this setting to see the popup. See Redline comparison settings for details.

The Draftable ‘Save As’ window will now appear. By default, this will open in the SharePoint location where the newer input file was stored. From here you can navigate through SharePoint online, edit the file name and create new folders as needed