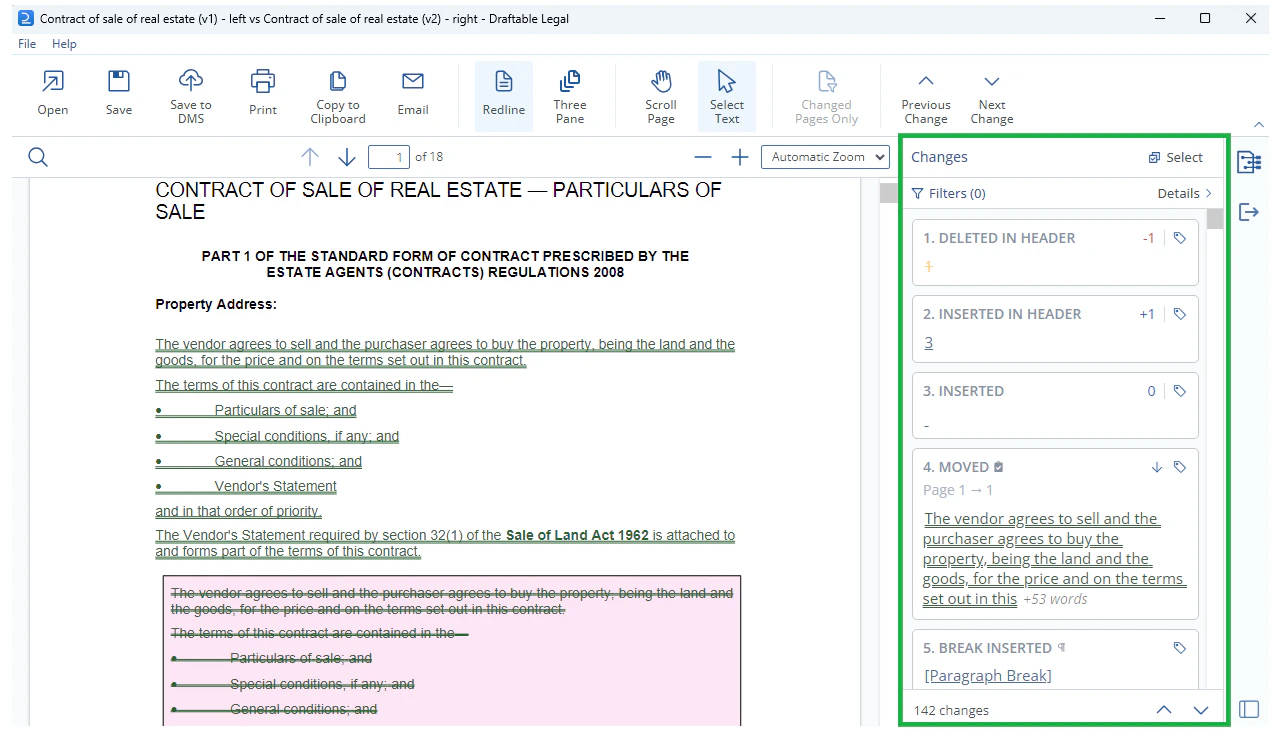
What is the Change List?
The Change List is an interactive list of changes found in your comparison. By default, it is shown in the Draftable PDF viewer on the right hand side of your window in the same location as the ‘next actions’ menu. The Change List provides several functions to make it easier to review your comparison prior to sharing it with others or continuing drafting in MS Word. These include:- Navigating sequentially through changes, with the relevant section of the redline being shown on screen and highlighted
- Tagging the status of changes
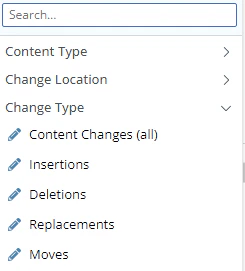
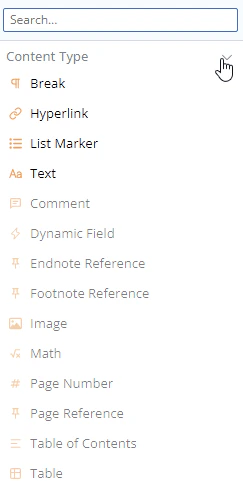
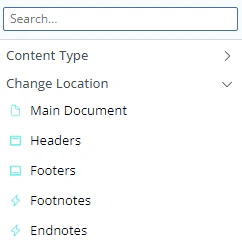
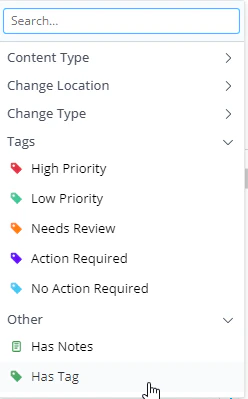
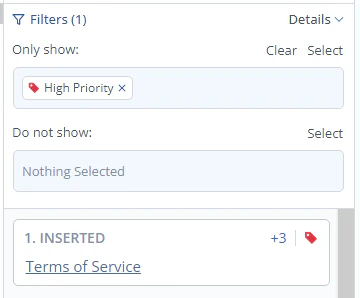
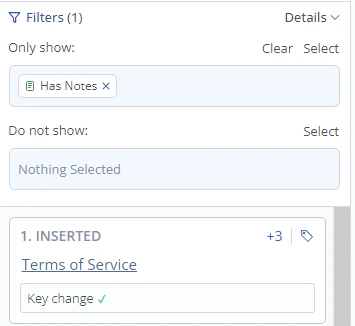
- Filtering changes shown by change type (e.g. insertion / deletion), content type (e.g. numbering, table, table of contents, comments) status tag or with / without notes
- Exporting the changes (including tags and notes) into a Changes Report to share with others
How to view the Change List
Open the New Comparison Window, load your input files and run a comparison using the Redline (.pdf) Comparison Type \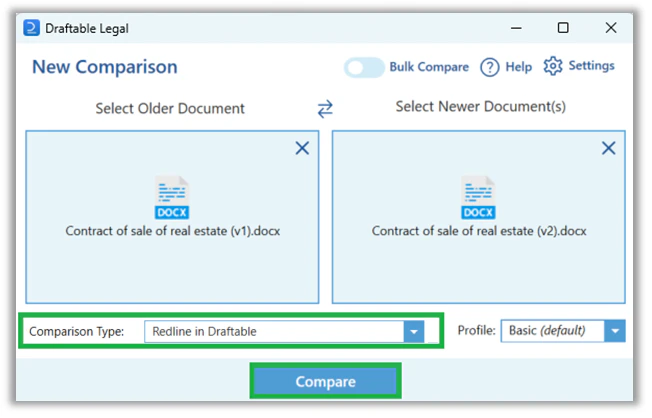
Once you have run your compare, your Redline PDF will open in the Draftable viewer. The Change List will load on the right hand side of the screen by default. \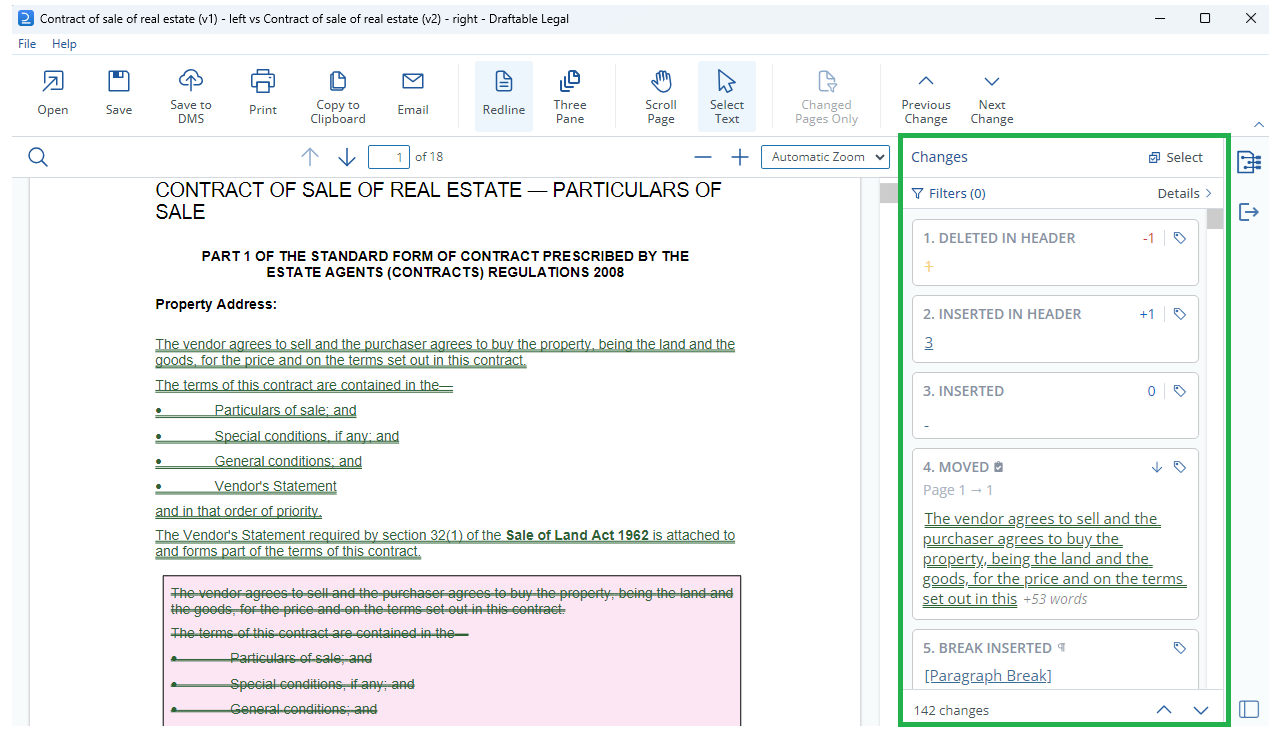
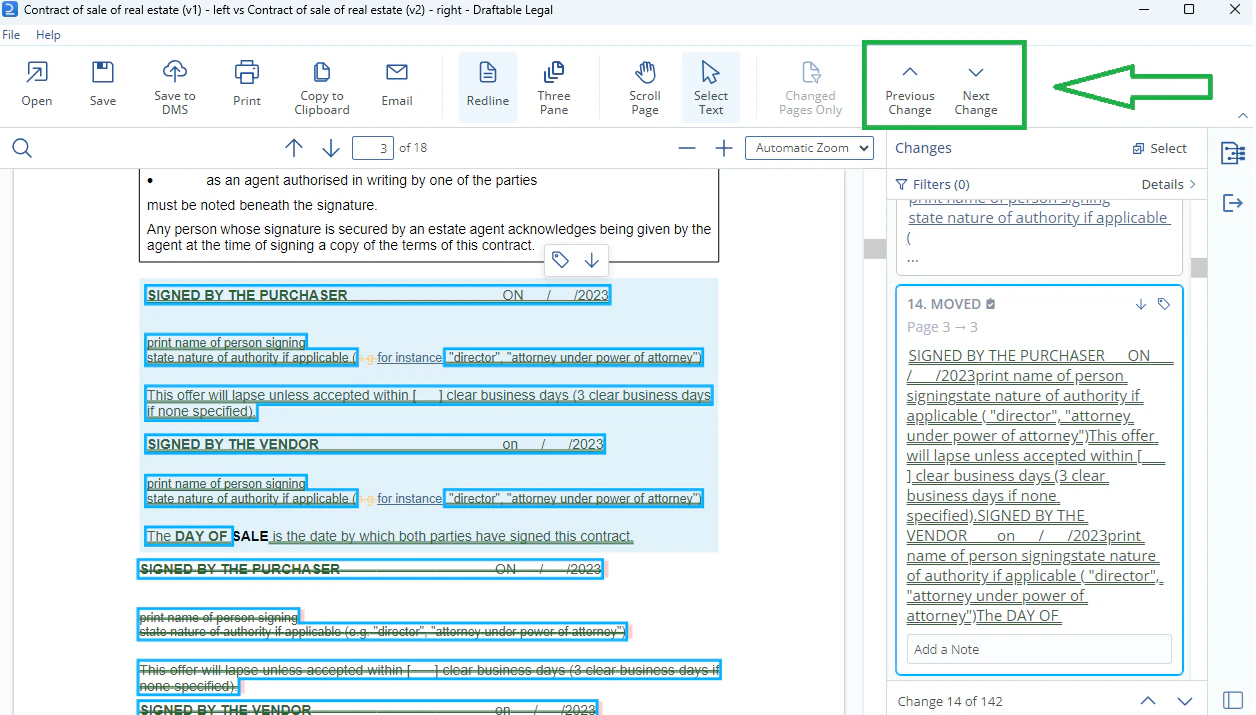
Navigating through the changes
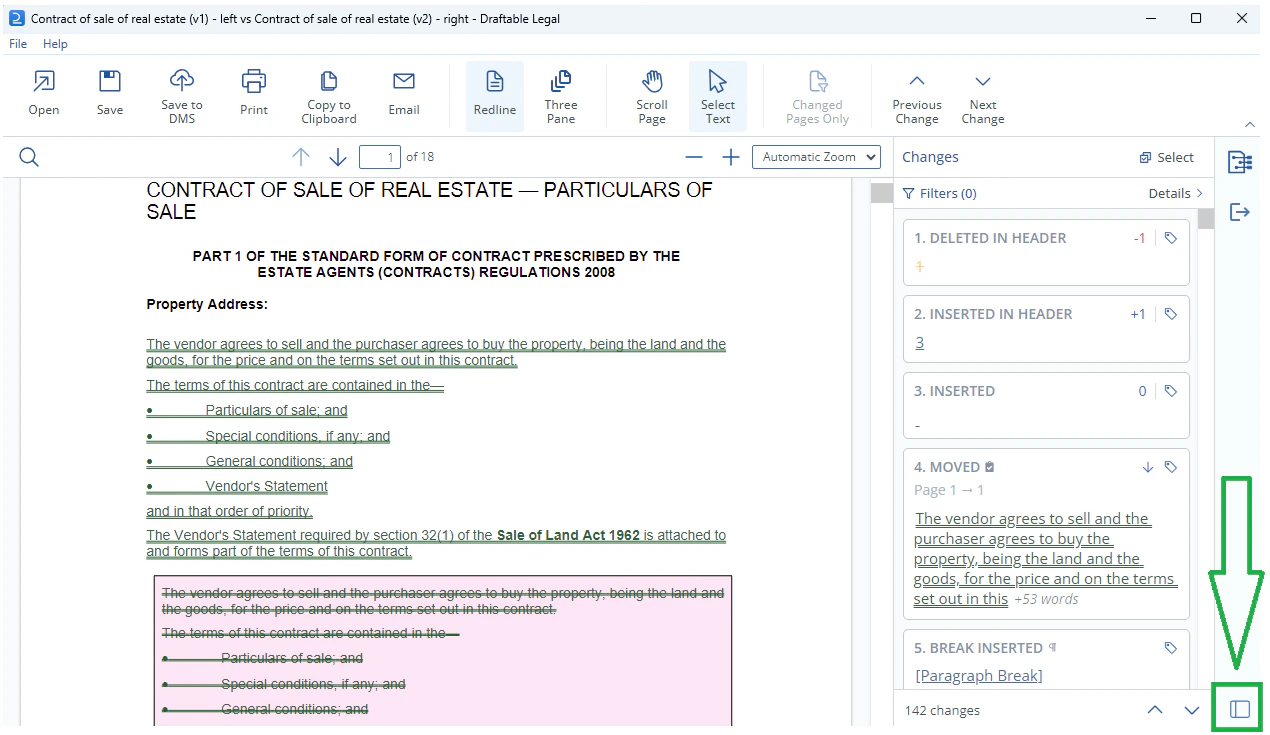
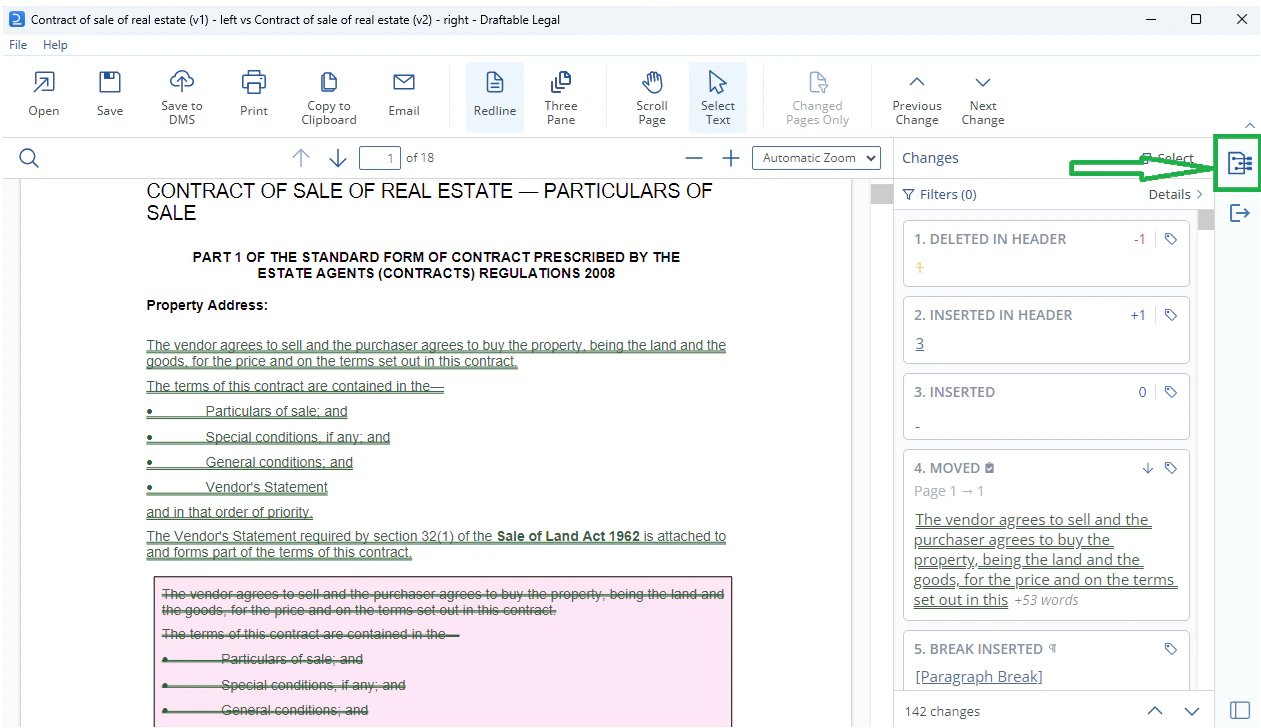
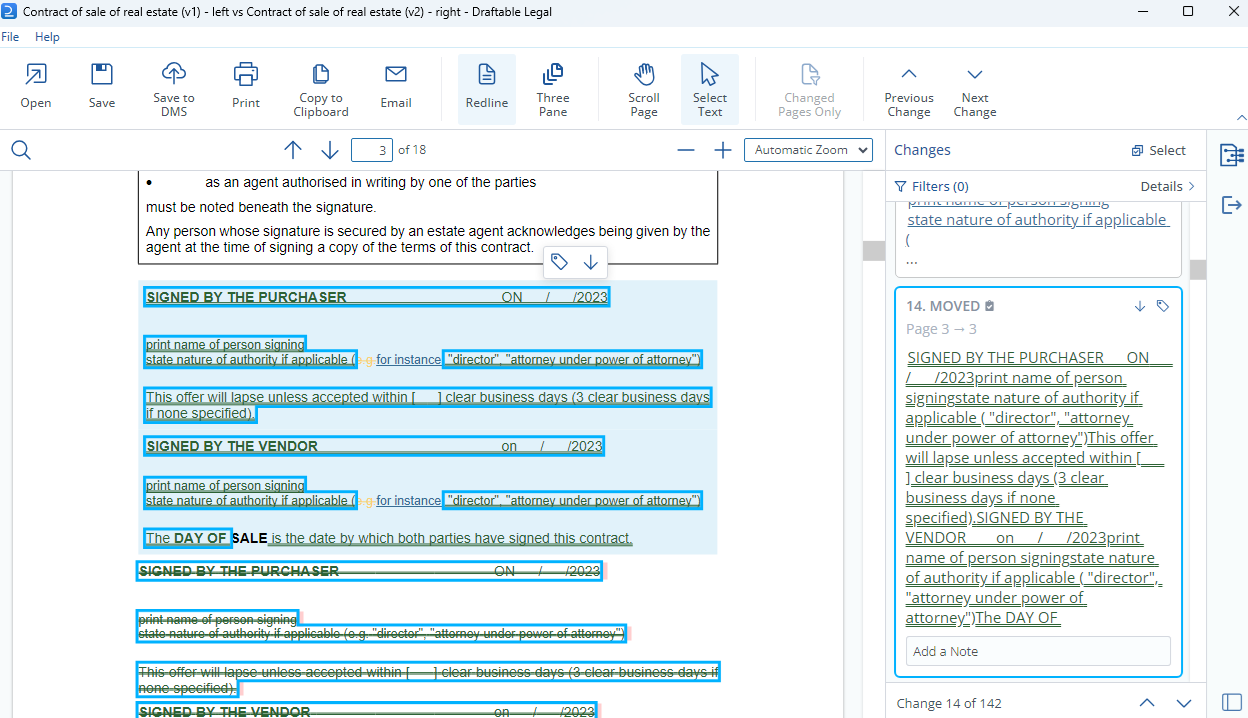
- You can easily review your changes by scrolling the change list, and can review them in your redline PDF by clicking on the individual Change Card in the Change List. This will scroll to the change and highlight it with a blue box around the relevant text.\
- You can also navigate changes by using the ‘next’ and ‘previous’ change commands in the ribbon menu. This will scroll to the change and highlight it with a blue box around the relevant text.\
Filtering the change list
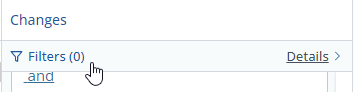
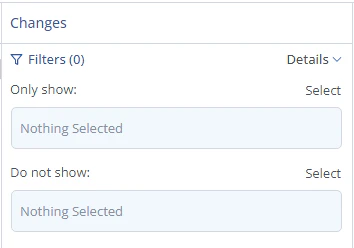
When selecting what is or is not shown, you have several options.\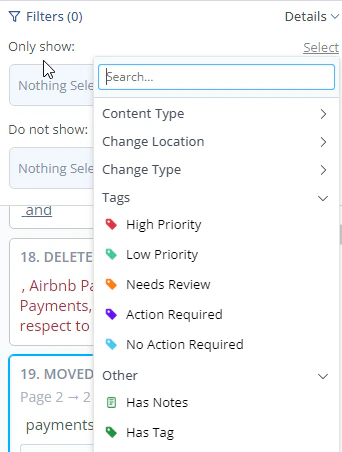
Tagging and leaving notes on changes
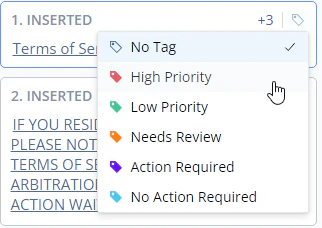
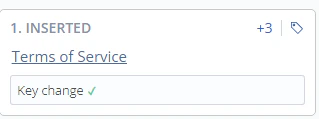
With the change list, you can now also tag specific changes in your comparison, and also leave notes on changes as well using the change list.Tagging
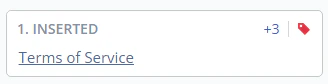
To tag a change, go to the change list and locate the change you wish to tag. In the top right section of the change card, hover your cursor the tag icon in the top right.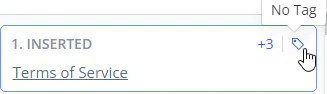
Notes
You can also add notes to changes to help you organize changes and leave information for yourself and on your team members. To leave a note, click on the change card in the change-list to reveal the note field.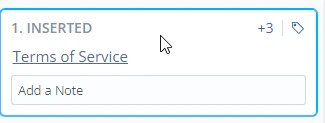
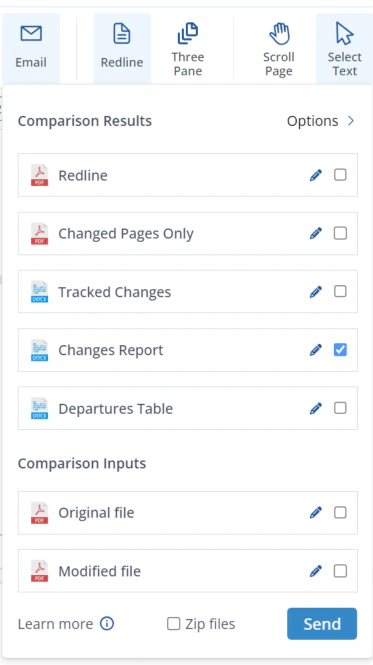
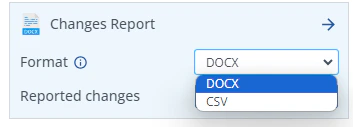
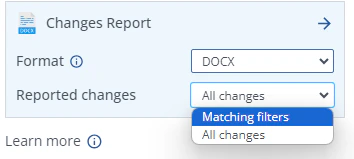
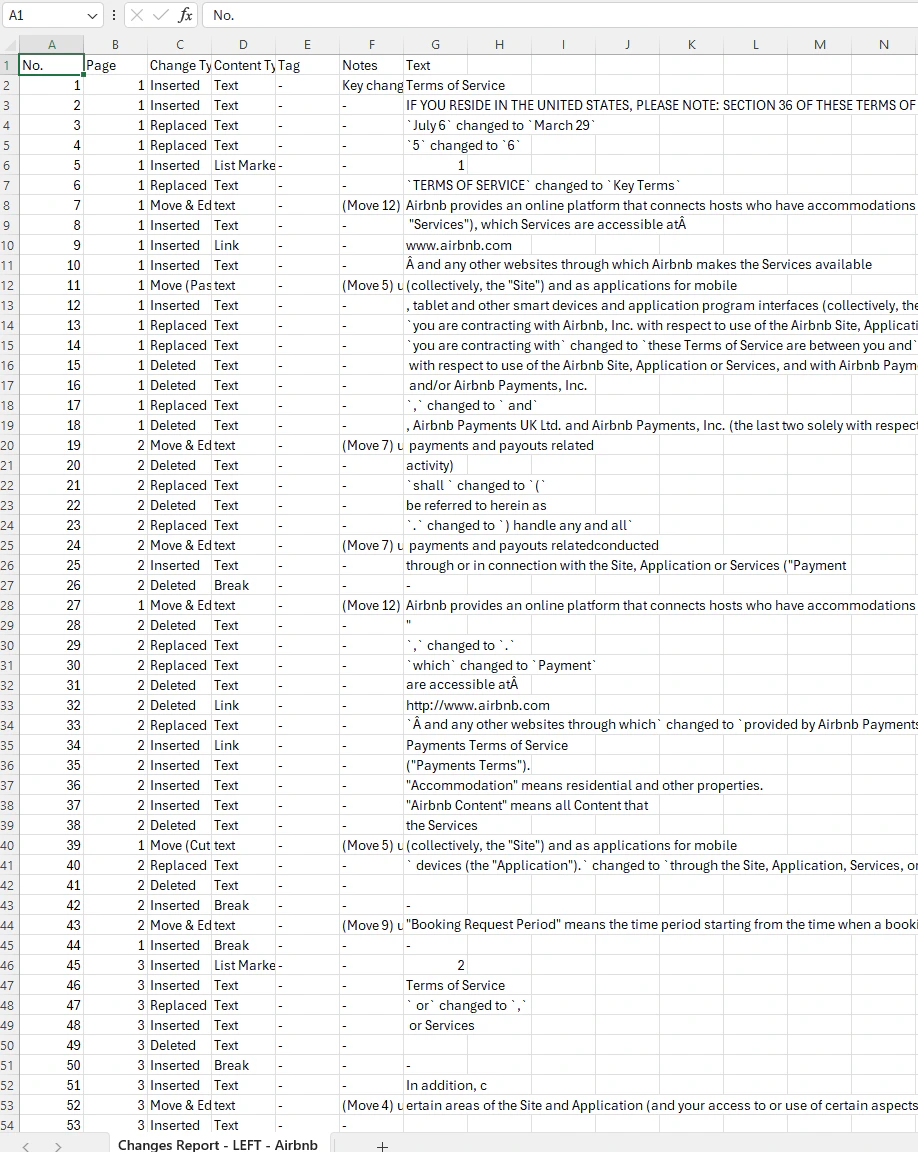
Exporting the Change List (Changes Report)
The changes report allows you to export all changes found in comparison as either a CSV file, copied as data to your clipboard or directly into your email body. This can have various useful application, and below is how you can create this report.Exporting the changes report as a file
First, navigate to the top left of the comparison window and select either the Open or Save output options.\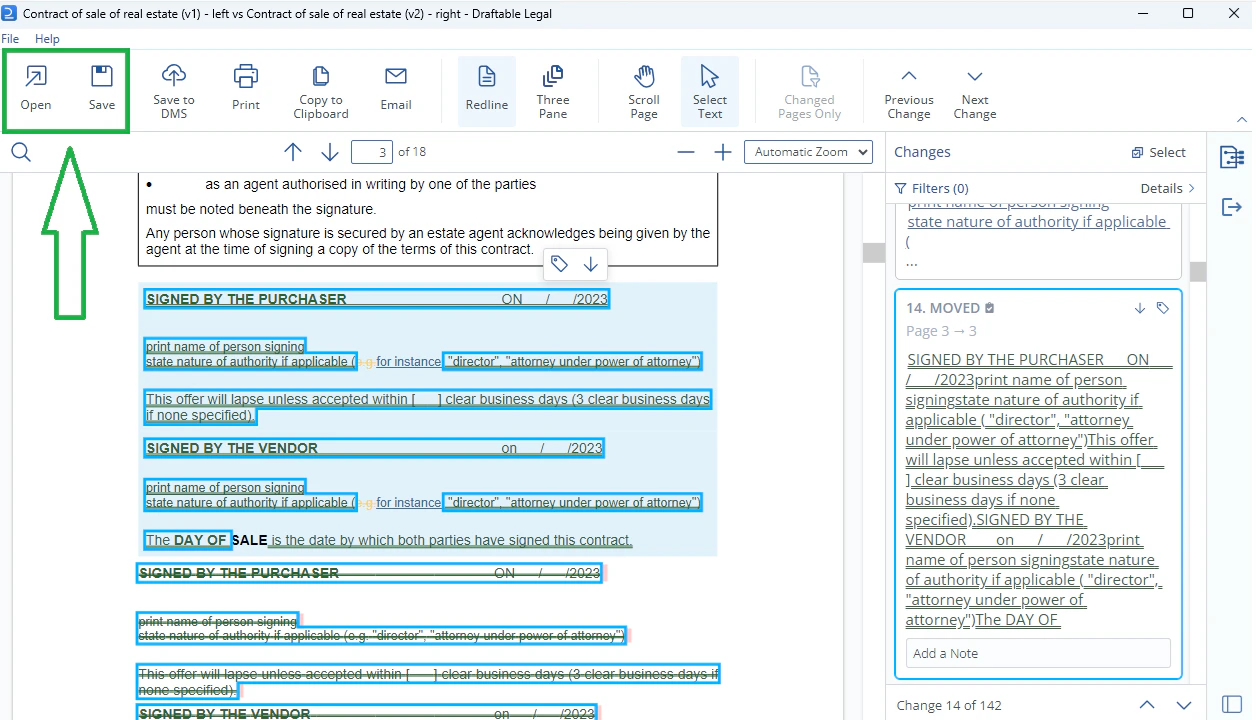
Once selected you will note the change pages option at the bottom of the export window. \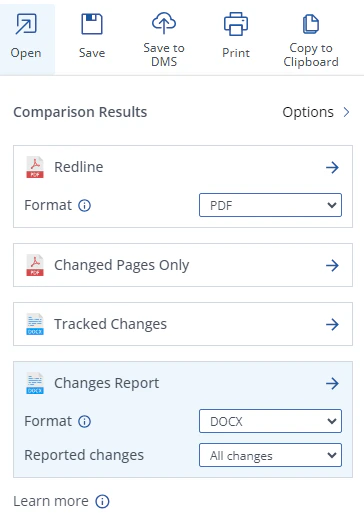
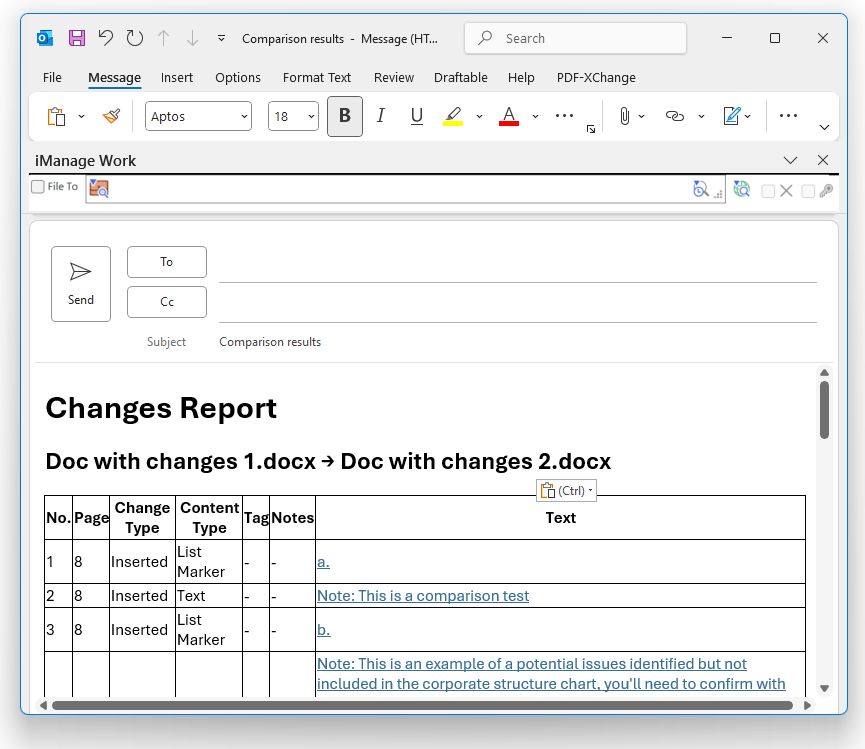
Exporting the changes report directly into an email body
Additionally, you can export the changes report directly into the email body by changing how the changes report is exported via email. In the email export selection menu, click on the pen icon where it says changes report.