- Redline PowerPoint comparison, viewed in PowerPoint
- Redline PowerPoint comparison, viewed in Draftable
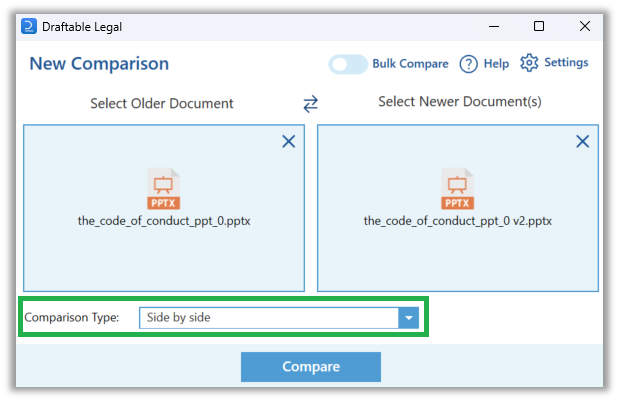
- Using the Side-by-Side comparison type
Video Resource:
This topic is included in our specially crafted explainer video.
How to compare PowerPoint files in the Redline Comparison Type in PowerPoint
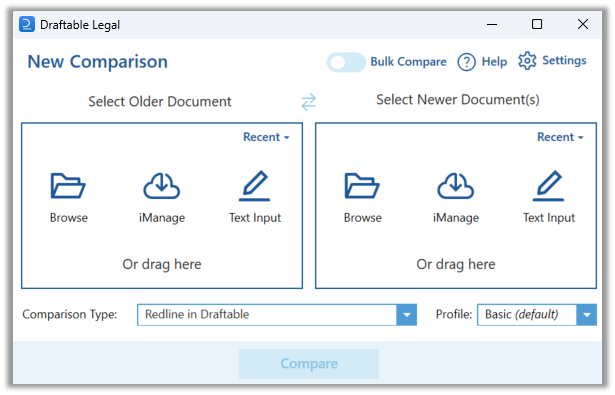
Select the two documents you want to compare, either by browsing your files or dragging and dropping them into the compare window.
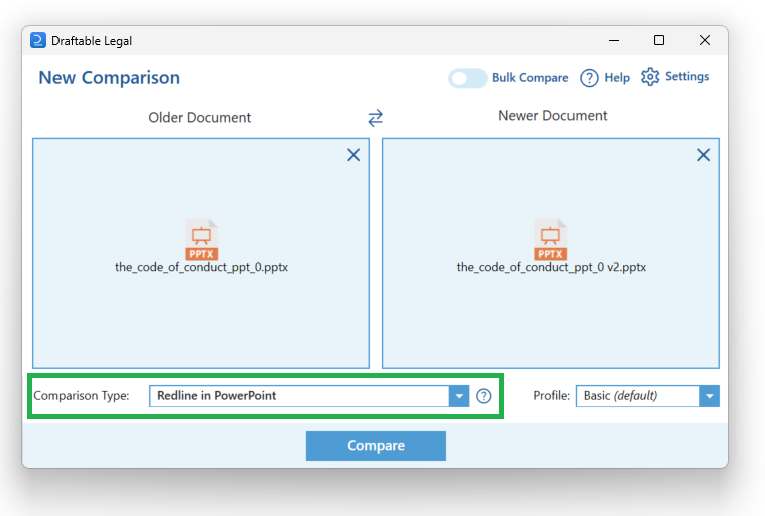
You will be asked whether you prefer to save the comparison as an export or open it directly in PowerPoint. For the sake of example, we will open this comparison directly into PowerPoint.
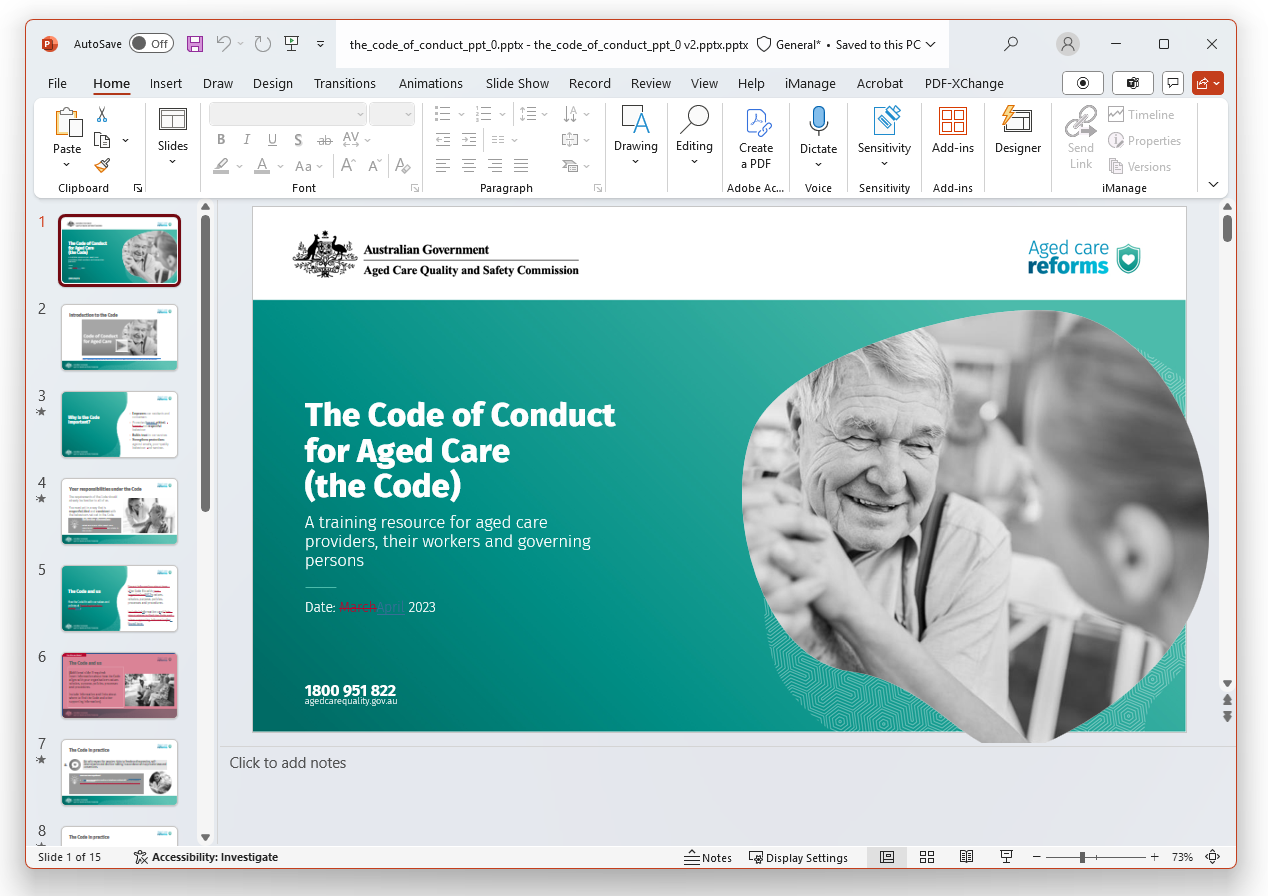
Reviewing your comparison in PowerPoint
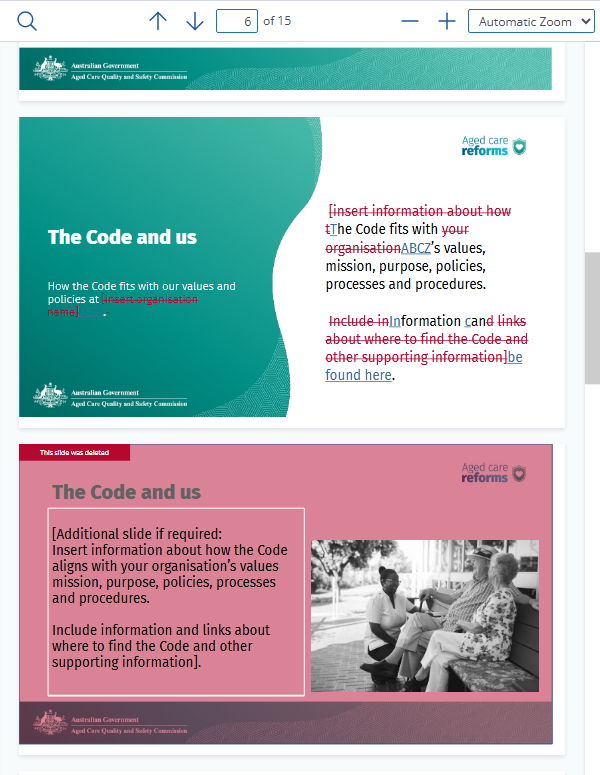
Viewing your Redline PowerPoint comparison in PowerPoint, you will note many different formatting elements. Lets take the slide below as an example: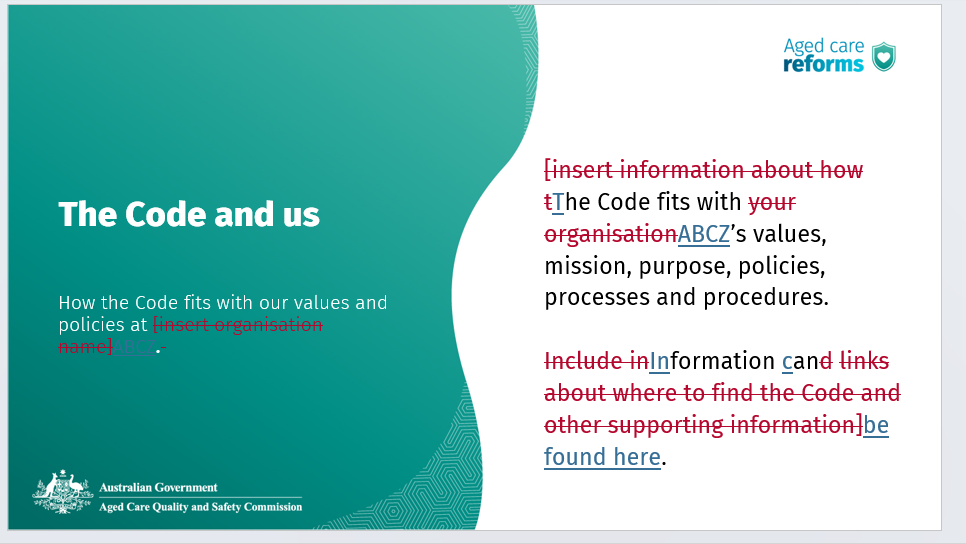
- Text that is highlighted in Red Strikethrough, to indicate this content has been deleted
- Text that is highlighted in Blue Underline, to indicate this content has been added
- Text that remains unchanged, to indicate this content is the same between both documents.

How to compare PowerPoint files in the Redline Comparison Type in Draftable

Select the two documents you want to compare, either by browsing your files or dragging and dropping them into the compare window.
Ensure you have selected the Redline in Draftable option for the comparison type. Then, hit Compare.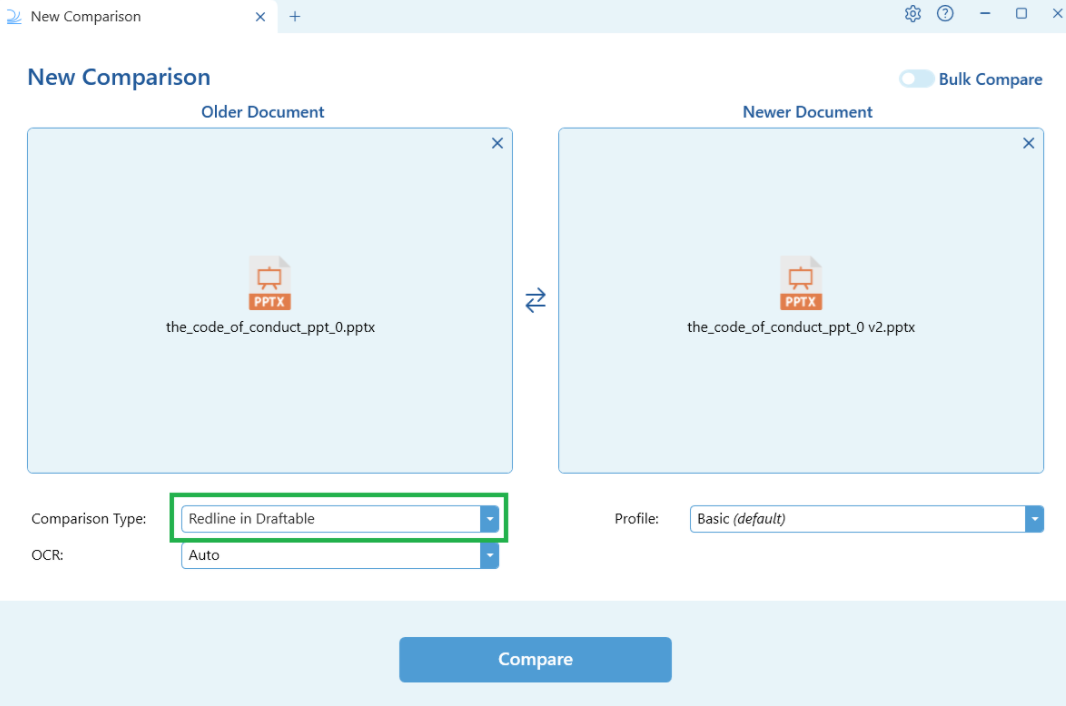
Reviewing your Redline comparison in Draftable
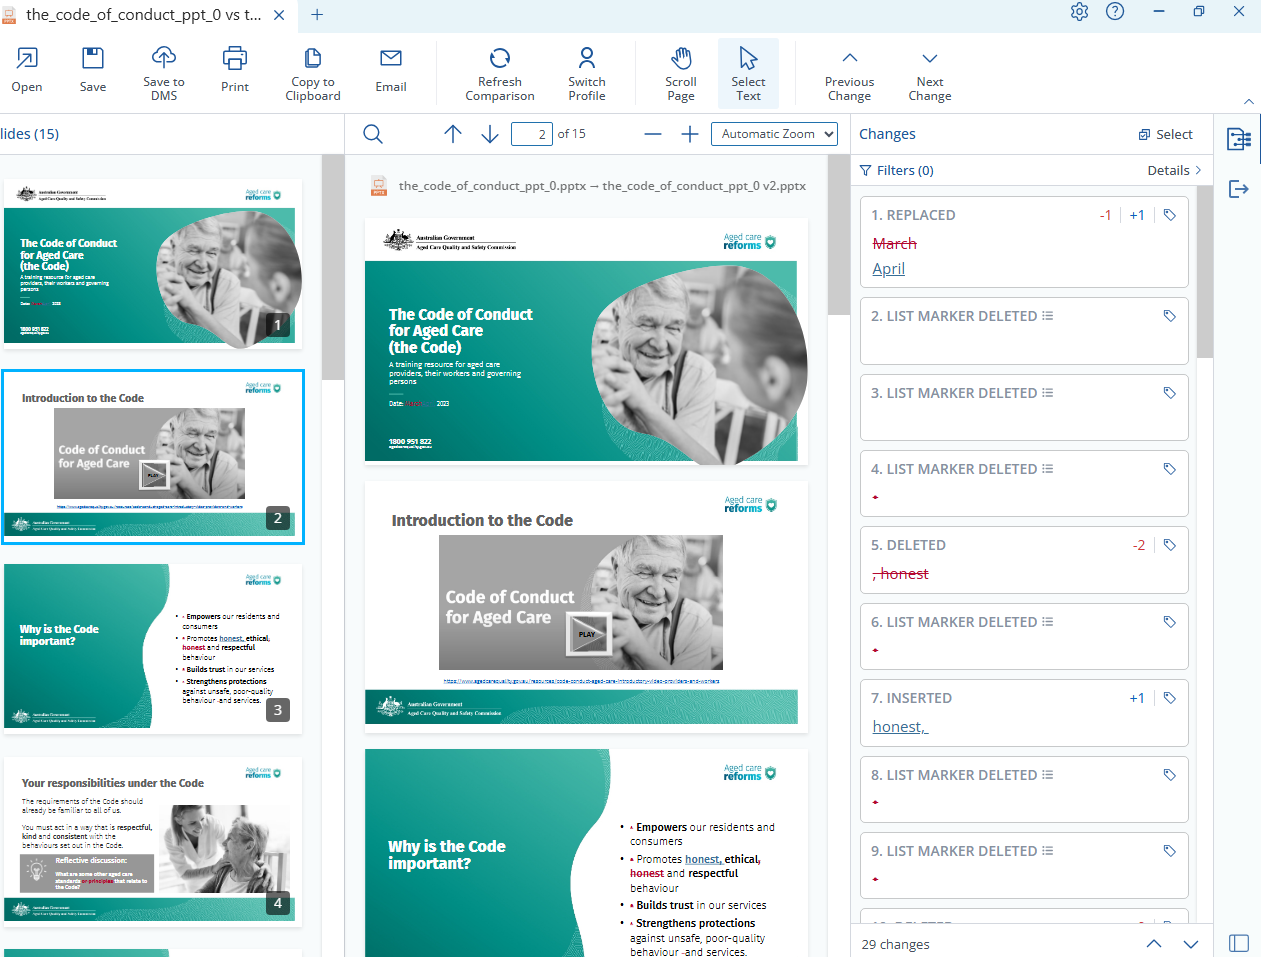
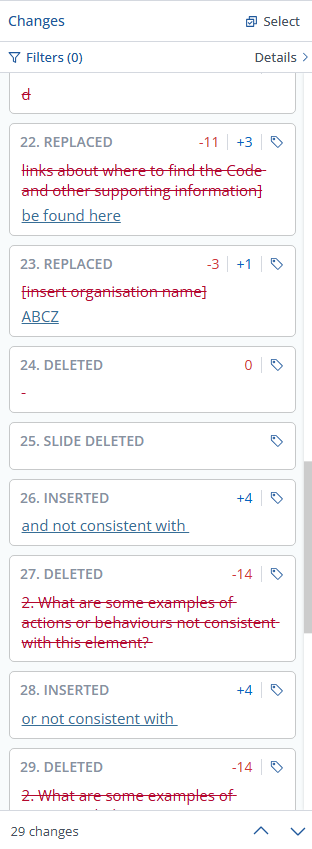
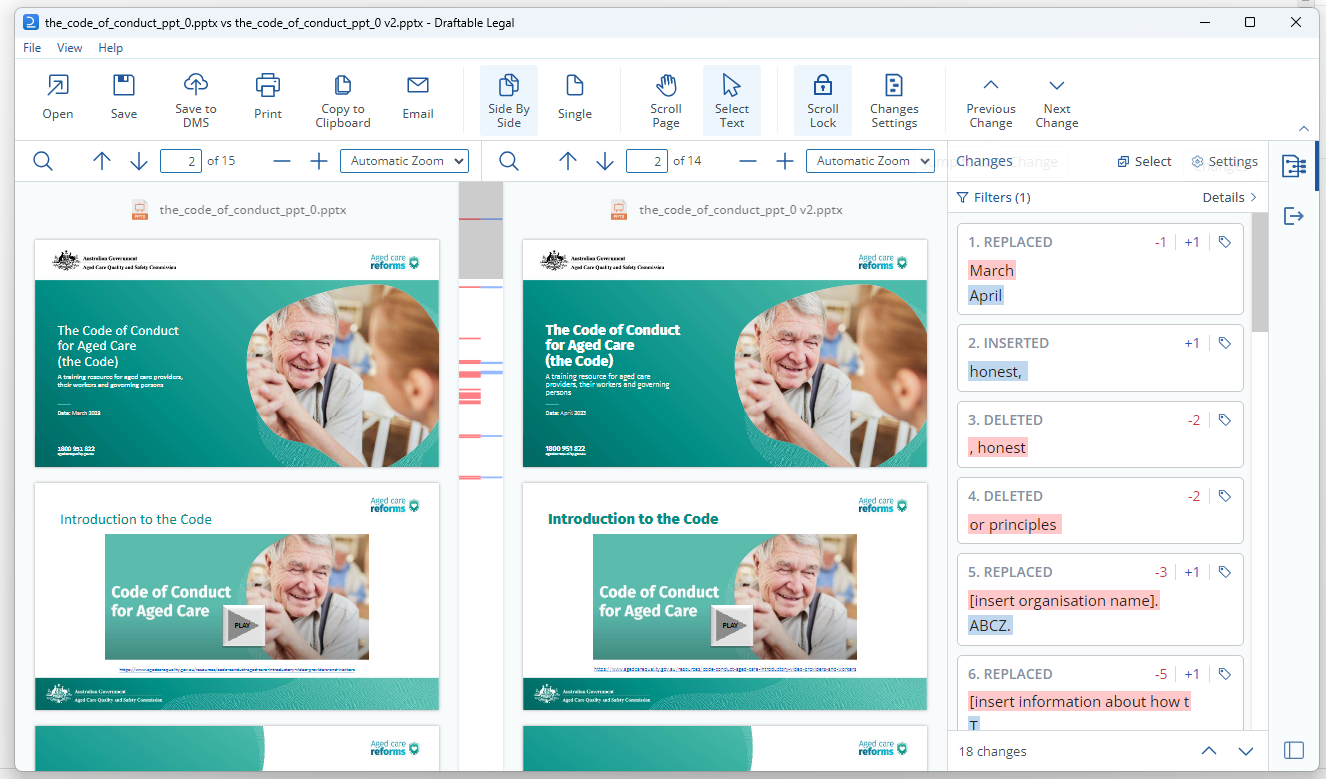
Viewing your Redline PowerPoint comparison in Draftable, you will note many different elements. Lets take the slide below as an example: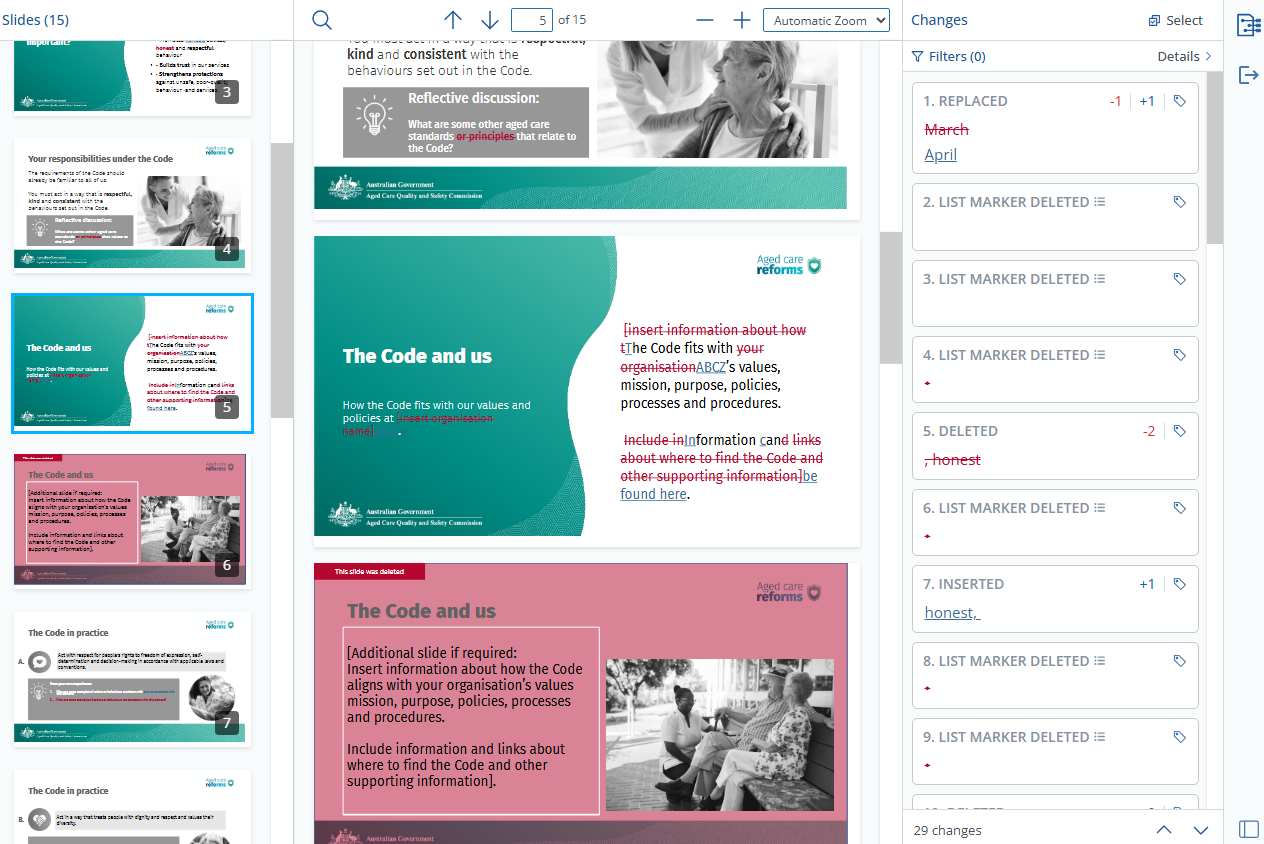
-
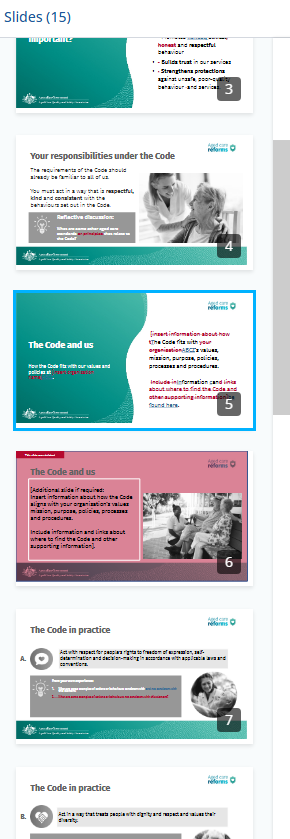
The slide selection screen on the left: Allowing you to navigate between all the slides
-
The slide preview screen in the middle: Where you can view your Redlined changes in the compared PowerPoint
-
Redline Changelist: Where you can easily view all the changes made within this comparison
-
Export and saving options: Export options are also available within the Draftable viewer for easy sharing of comparisons for your team to review. Select any of the relevant options if you wish to save or export your Redlined PowerPoint comparison for later viewing

How to compare PowerPoint files in the Side-by-Side Comparison Type

Select the two documents you want to compare, either by browsing your files or dragging and dropping them into the compare window.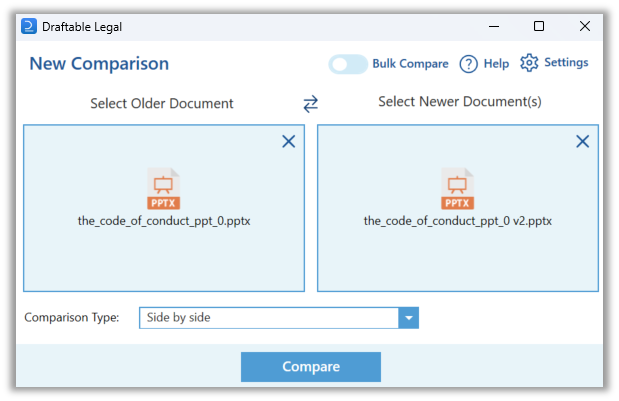
Reviewing your comparison in Draftable
The Comparison Viewer shows all changes in a dynamic Change List on the right-hand side of the screen.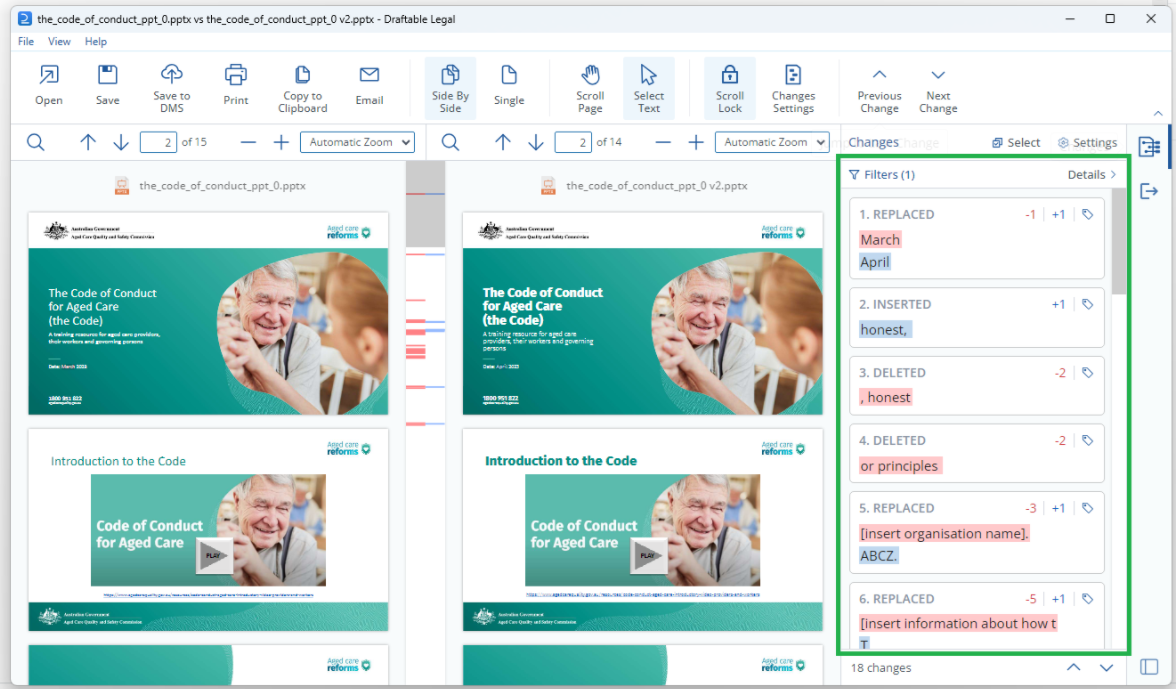
You can scroll through the Change List and click on any change to jump to its location and have the change highlighted with a blue box on both versions shown.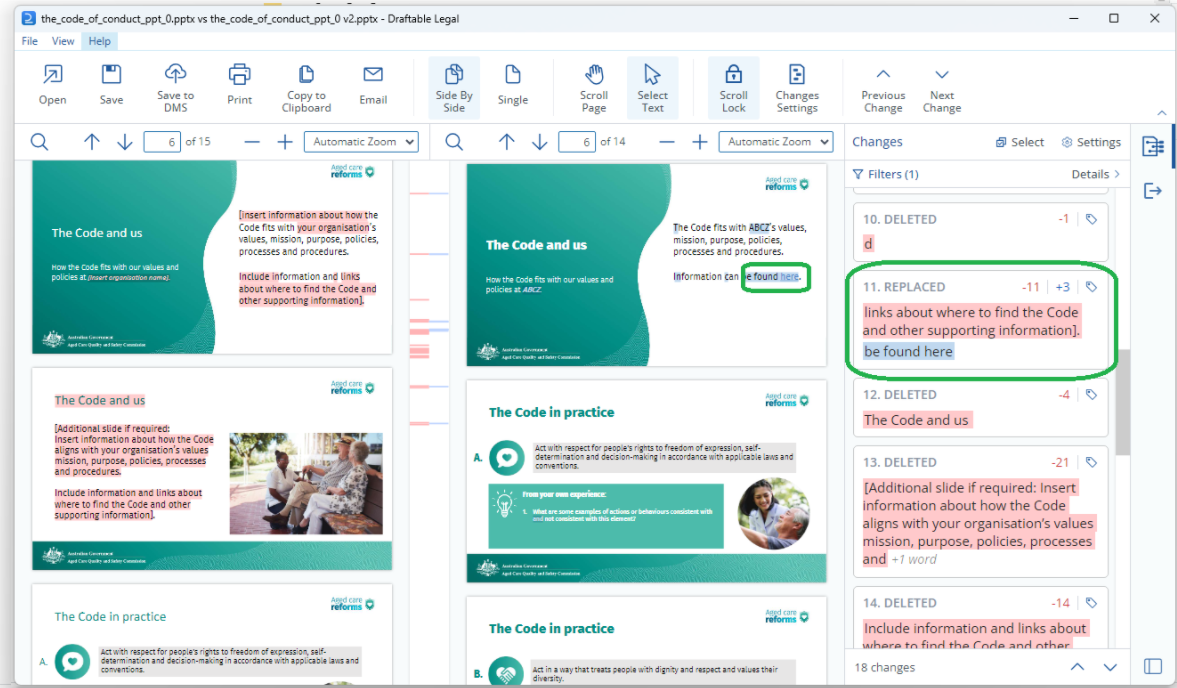
Users can tag changes by selecting the Tag Icon on the top right corner of the individual change card in the change list. This will display a list of 5 tagging options to choose from. Multi-tagging of changes is also possible.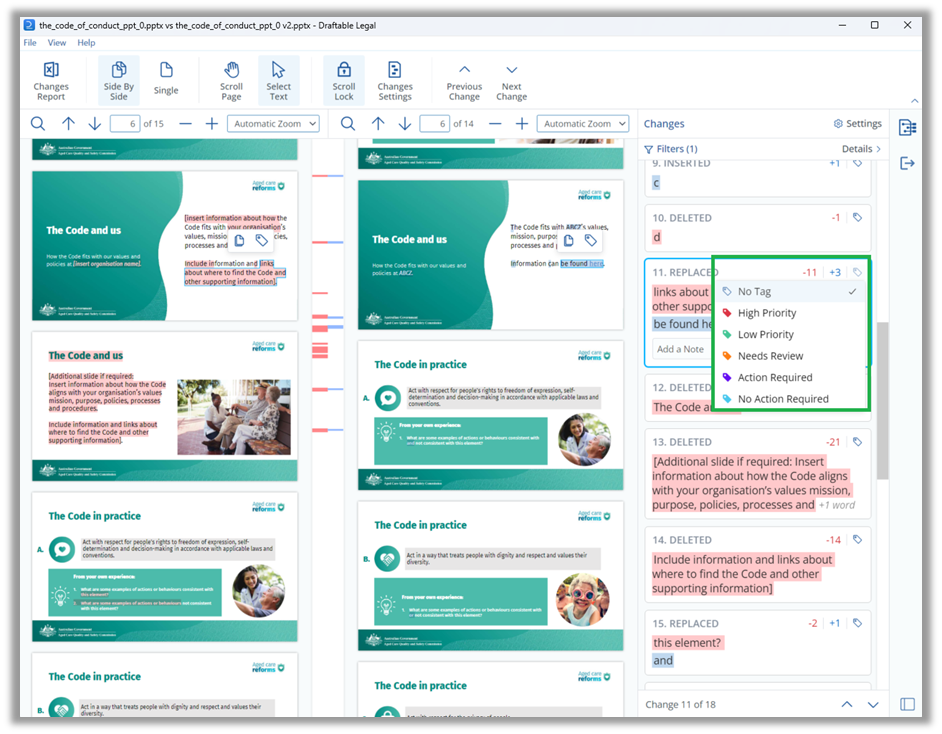
Users can also leave Notes on changes by selecting the Change Card, writing a note at the bottom of the card and hitting Enter to save the Note**.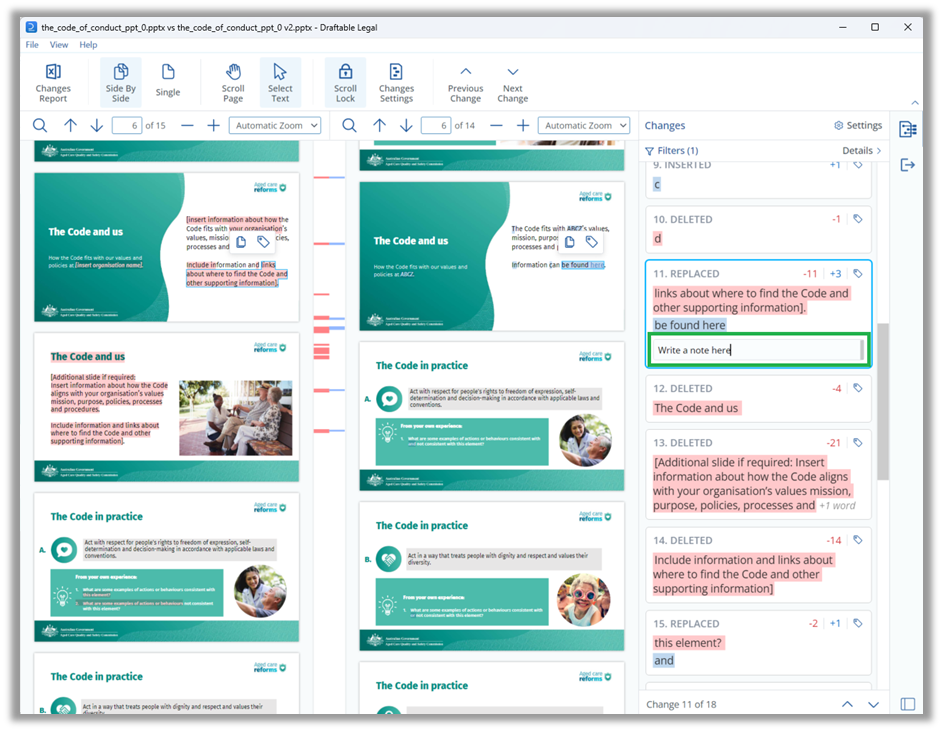
Users can filter changes by using the Interactive Filter Menu, available at the top of the change list. This can be opened by selecting the Details drop-down menu in the top right corner of the Change List.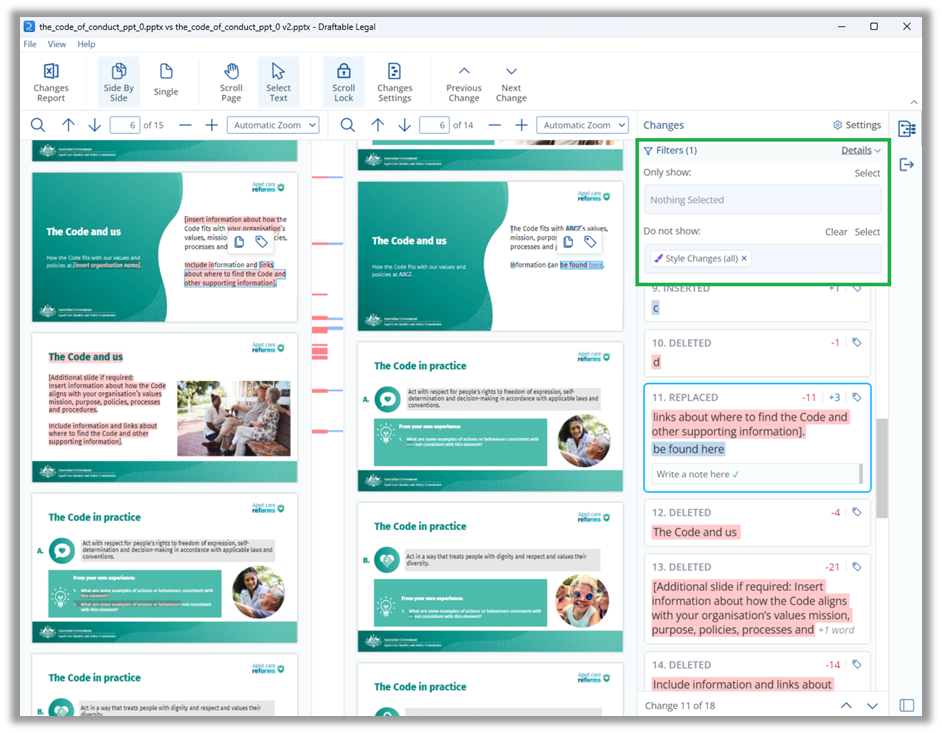
Users can see filtering options by selecting either the Only Show or Do Not Show entry forms. This will display a list of filtering options including Change Type, Style Changes, Tags and Notes.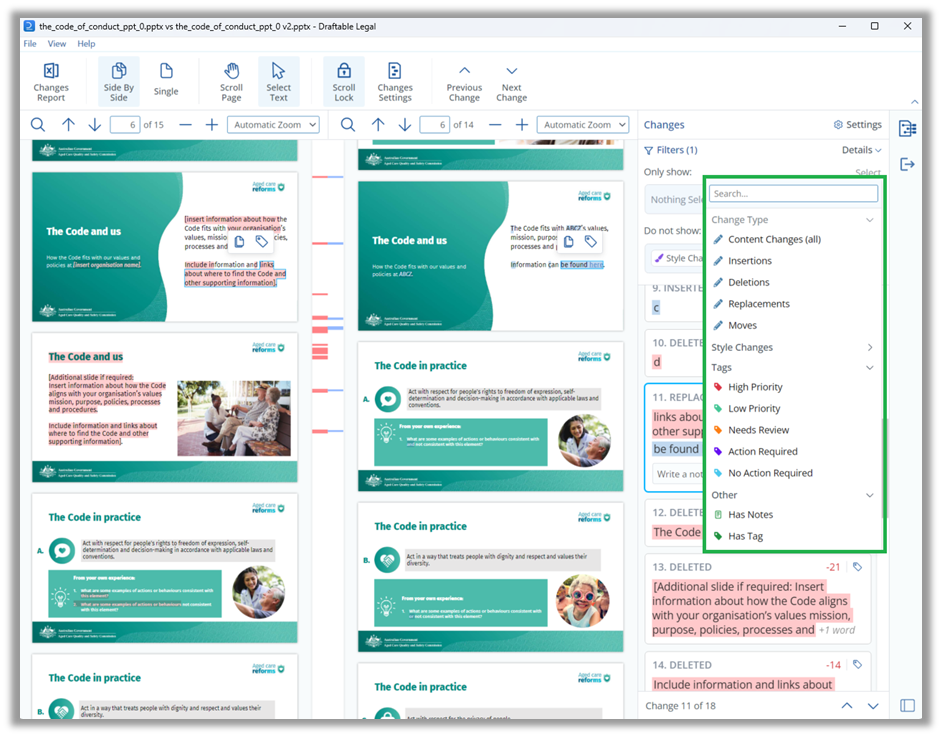
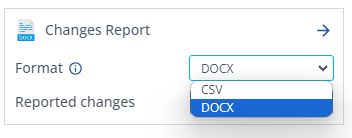
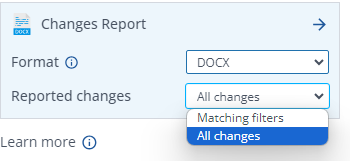
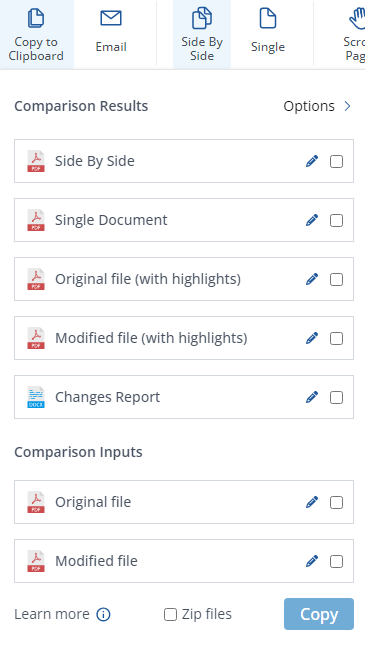
Once all changes have been reviewed, users can share the Change List, along with any Tags and Notes with colleagues or external parties via the output options, via the Changes Report export option.
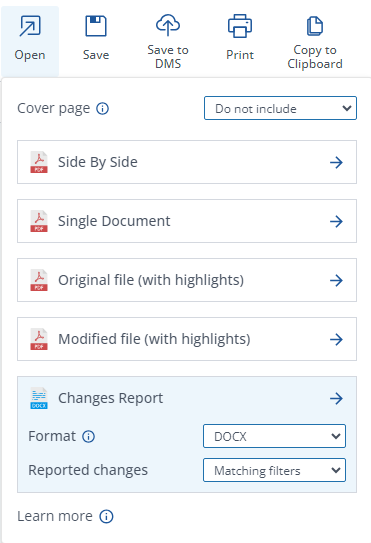
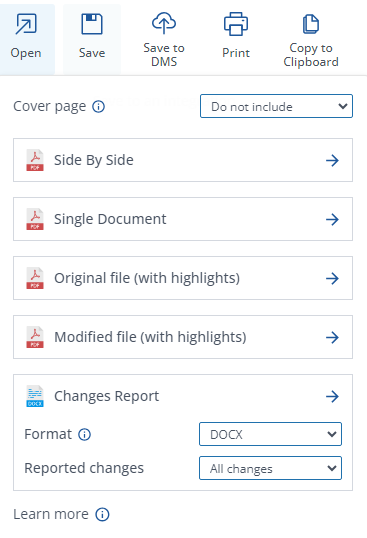
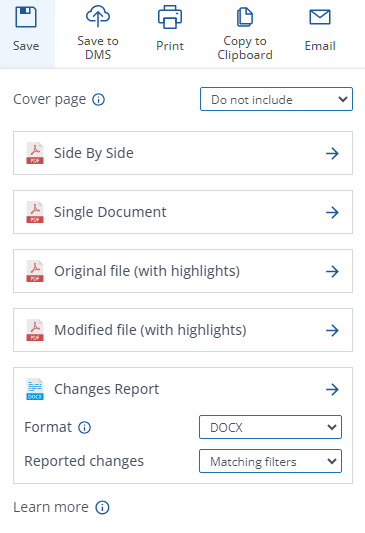
Saving / printing / sharing your PowerPoint comparison as a PDF
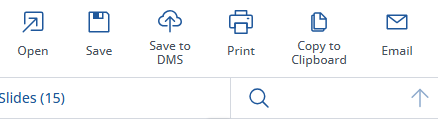
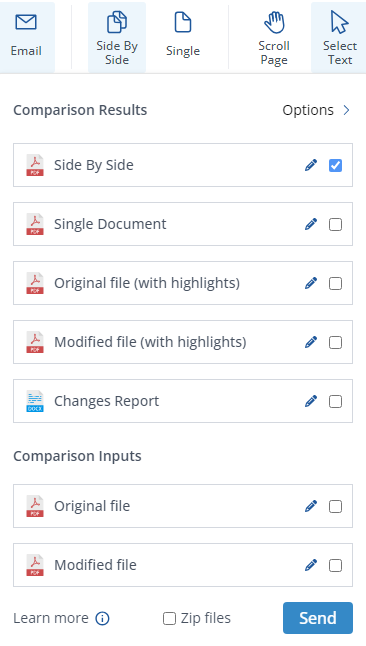
To save, print or email the Side by Side comparison, note all the export options at the top of the comparison viewer as a ribbon menu.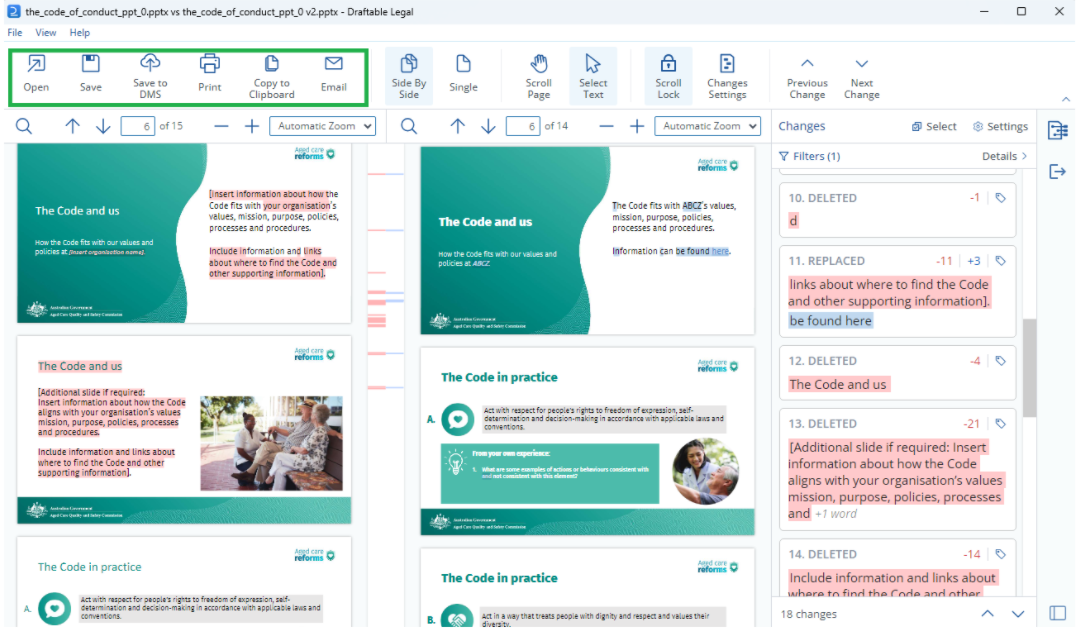
-
Open the results directly in your preferred Word processor or PDF reader.
-
Save the comparison result to your computer.
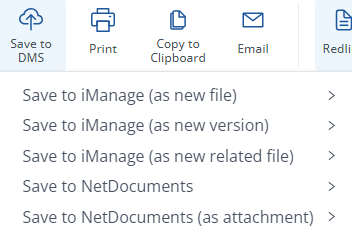
-
Save to DMS, e.g. iManage, NetDocuments
-
Print a hard copy of the comparison results.

-
Copy to Clipboard and save the comparison output to your clipboard.
-
Email the comparison results and/or the input documents using Outlook.
How to configure settings for PowerPoint Redline compare
Settings for the PowerPoint Redline comparisons can be found within the Redline tab of the settings menu. There are many options specific to Redline comparisons.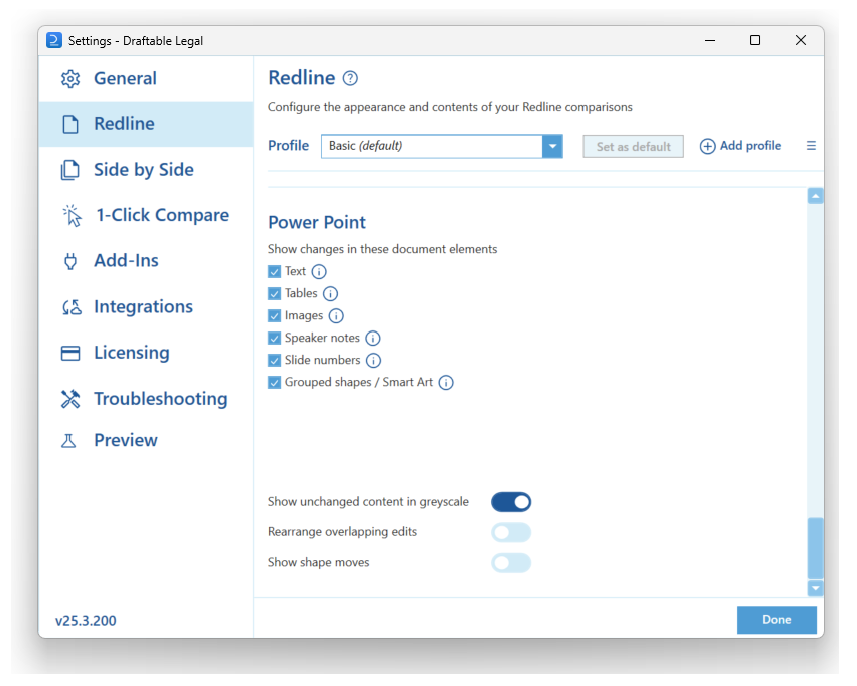
- Text: Detects text content
- Tables: Detects the tables and content inside the tables
- Images: Detects images
- Speaker notes: Compares the speaker notes of slides
- Slide numbers: Compares the slide numbers of slides
- Grouped shapes / Smart Art: Compares the grouped shapes and Smart Art within the slide